Whelp, the signature exchange results for 2025 were just posted and I guess that means it’s time for another Crafting Curiosities with Lyleberr!
This time we are talking… Resin!
As always, most of the process is collapsed to not kill your data plans.
Lets get into the concept first:
This signature exchange I was feeling like I needed something that was a bit different, especially since I had joked with @Slade the prior year that my cards might eventually weigh to much from something like being cast in resin and he said he’d love to see it and he’d make sure they shipped. So I decided to hold him to his word.
My previous to this project was using a typewriter to make an image for the 2024 E4 secret santa so mixing the personalizations with that craft seemed like the right thing to do for this one. Also, Ive never used or worked with resin and this was as good a time as any, right?
What is resin and how to use it:
Resin is a mix of liquid polymers that react to harden and become very tough. Pretty much you take 2 syrupy liquids, mix together, add in whatever you want to be inside of it, and let it harden to be forever immortalized in a crystalized prison. It can release toxic fumes when curing and once it hardens, doesnt really like to come off but things are best when fully coated. If you mix in powders or accoutrements then you can make it range from solid colors to glittery.
Choosing cards:
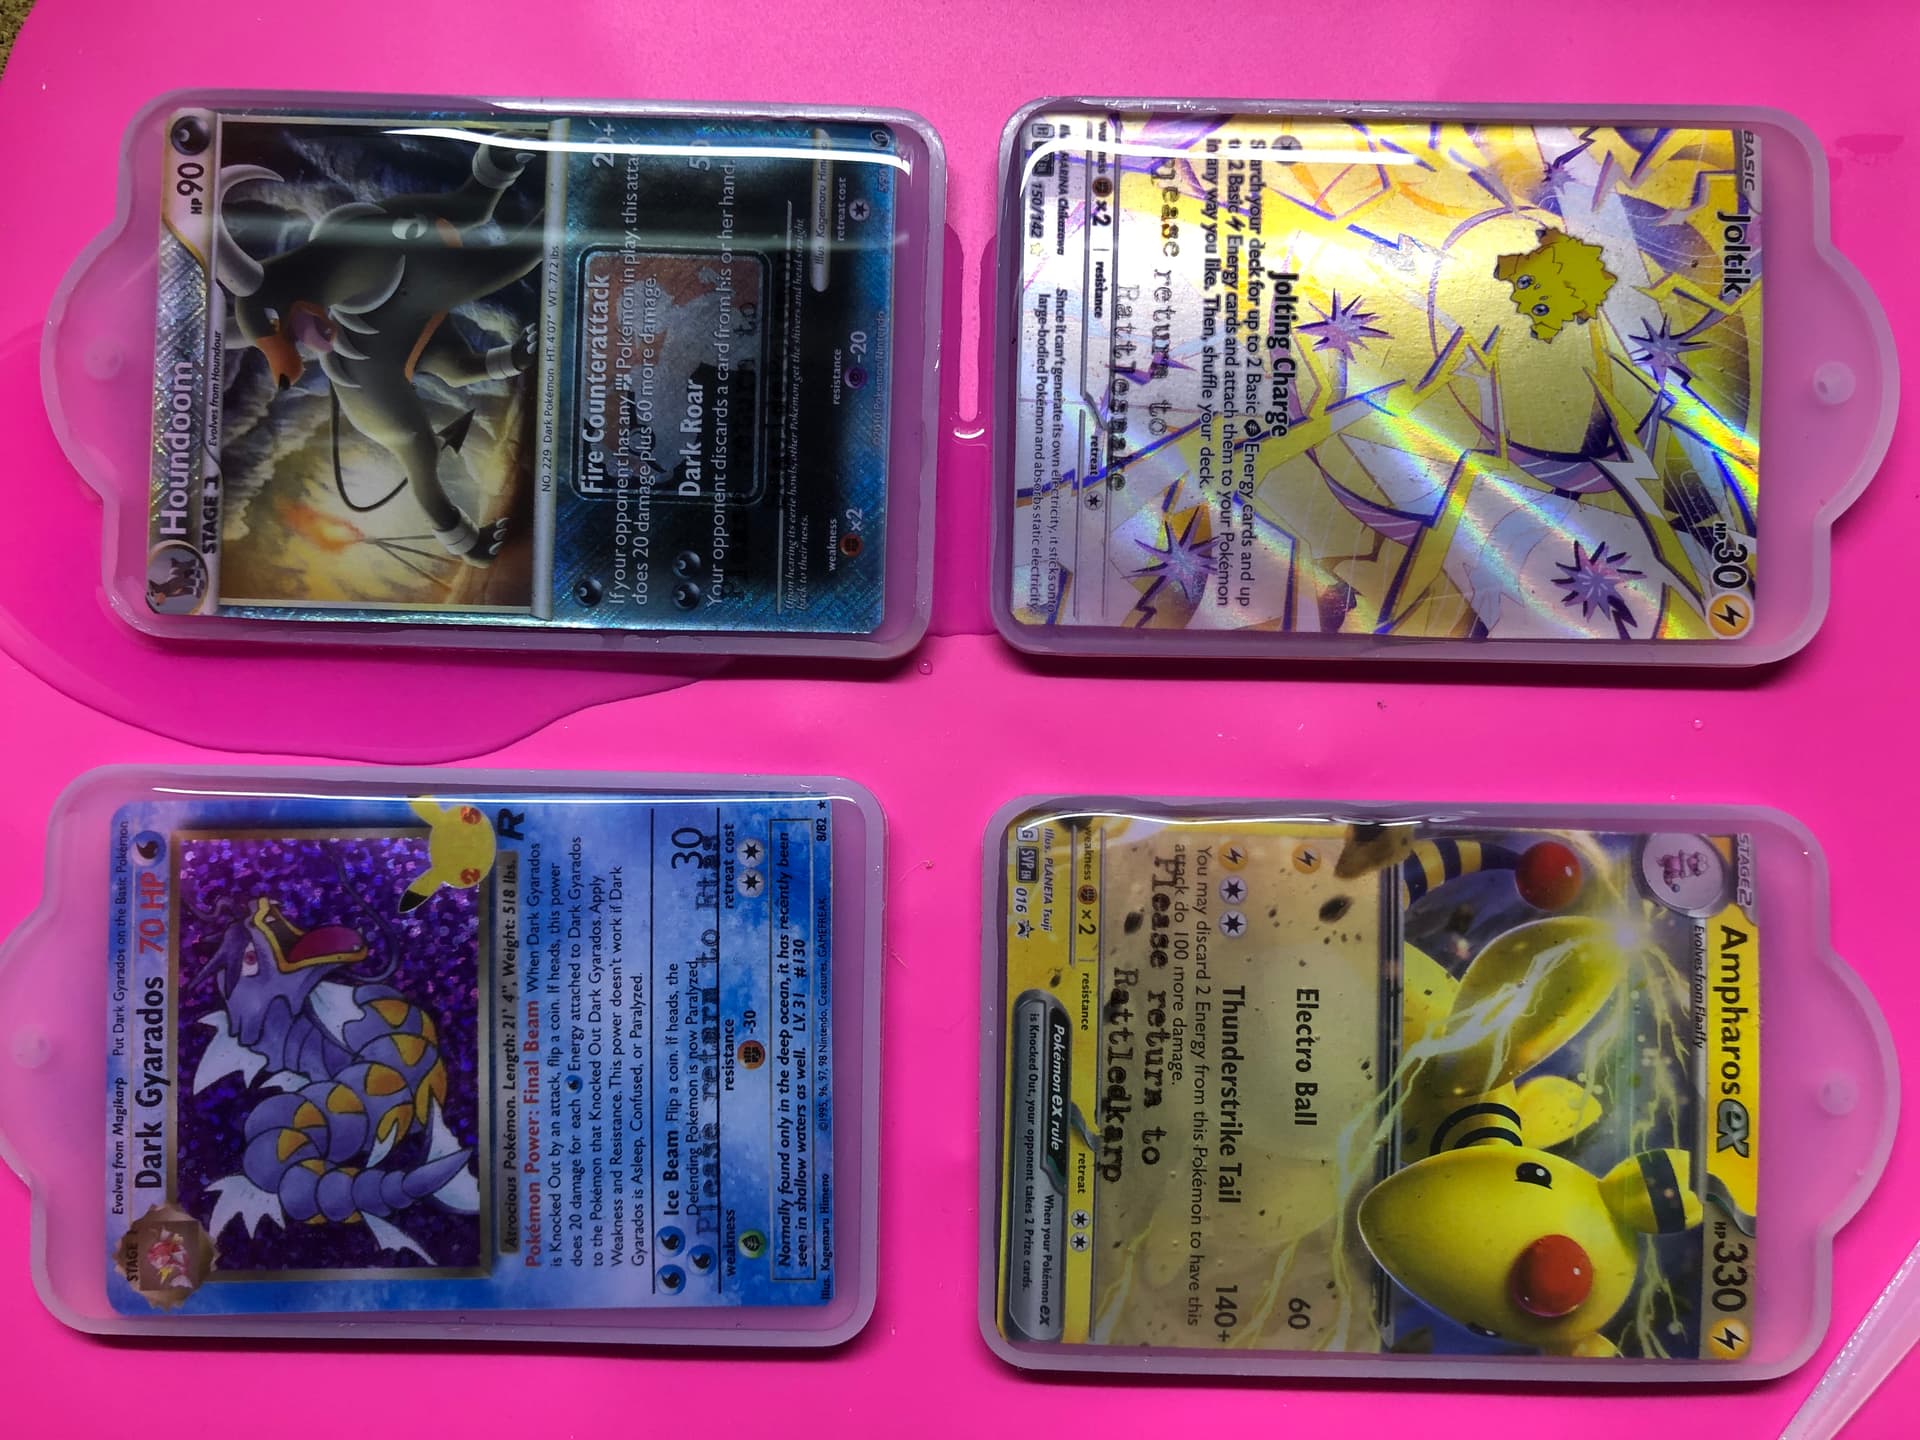
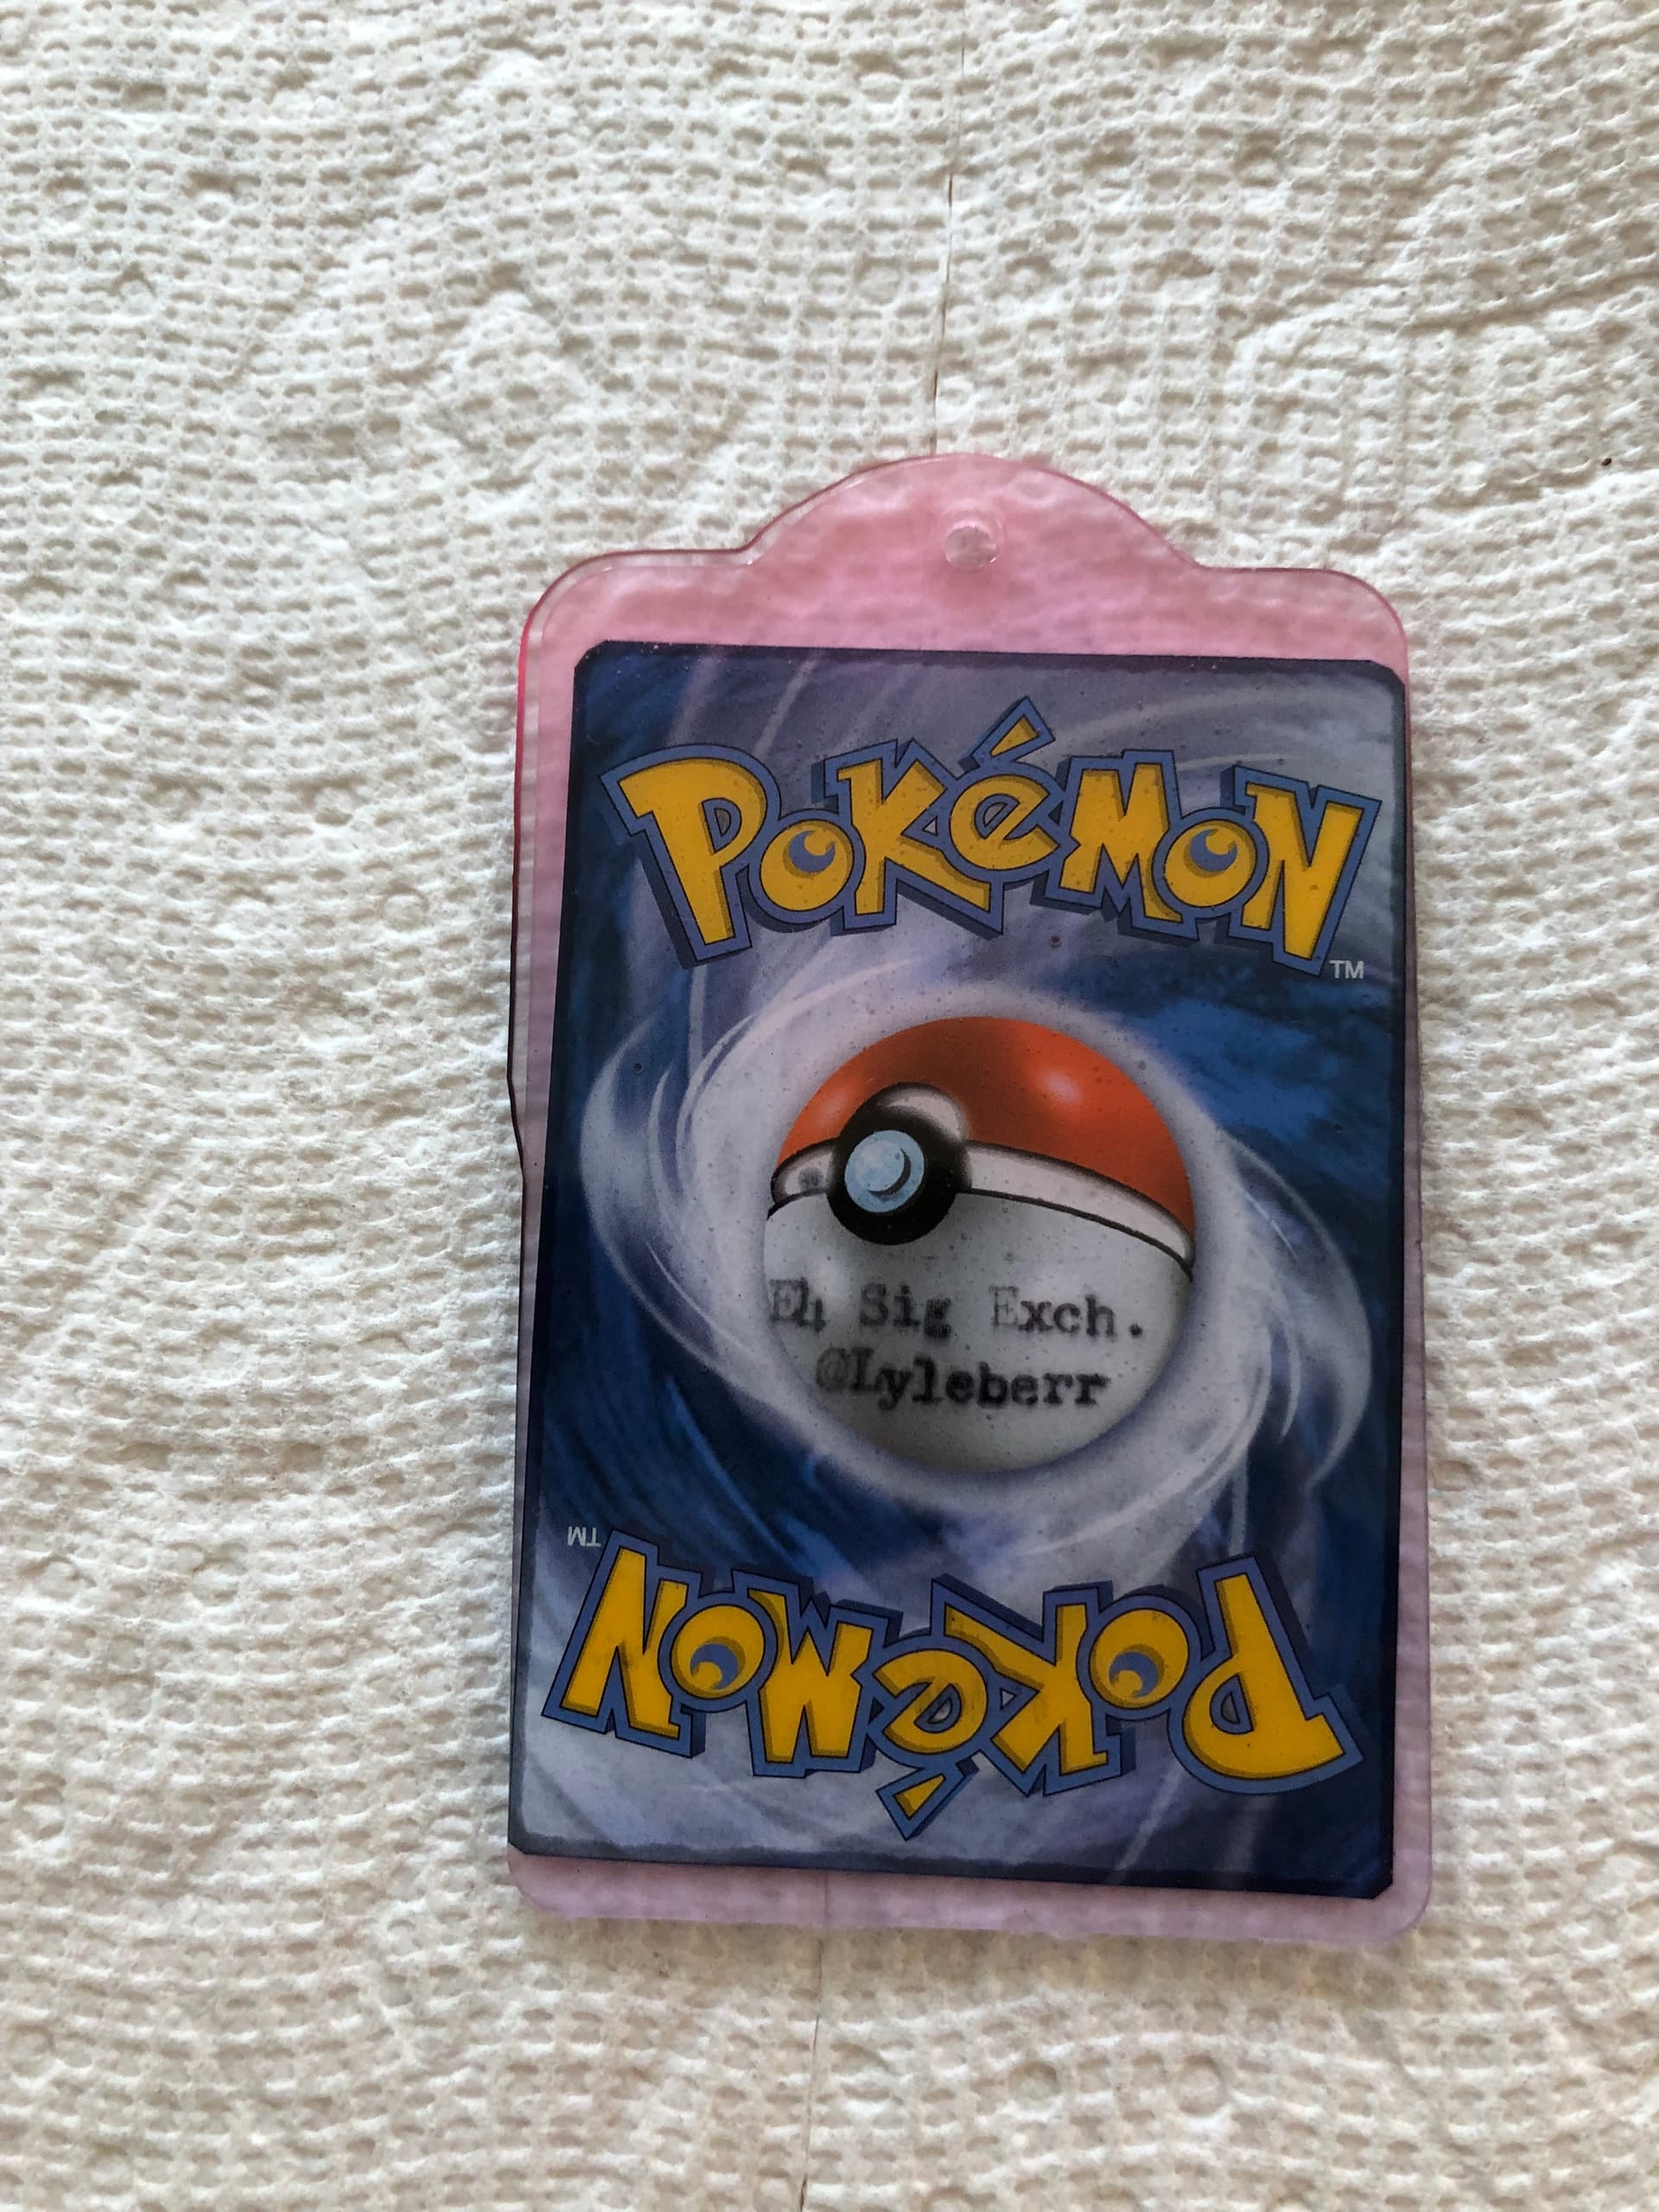
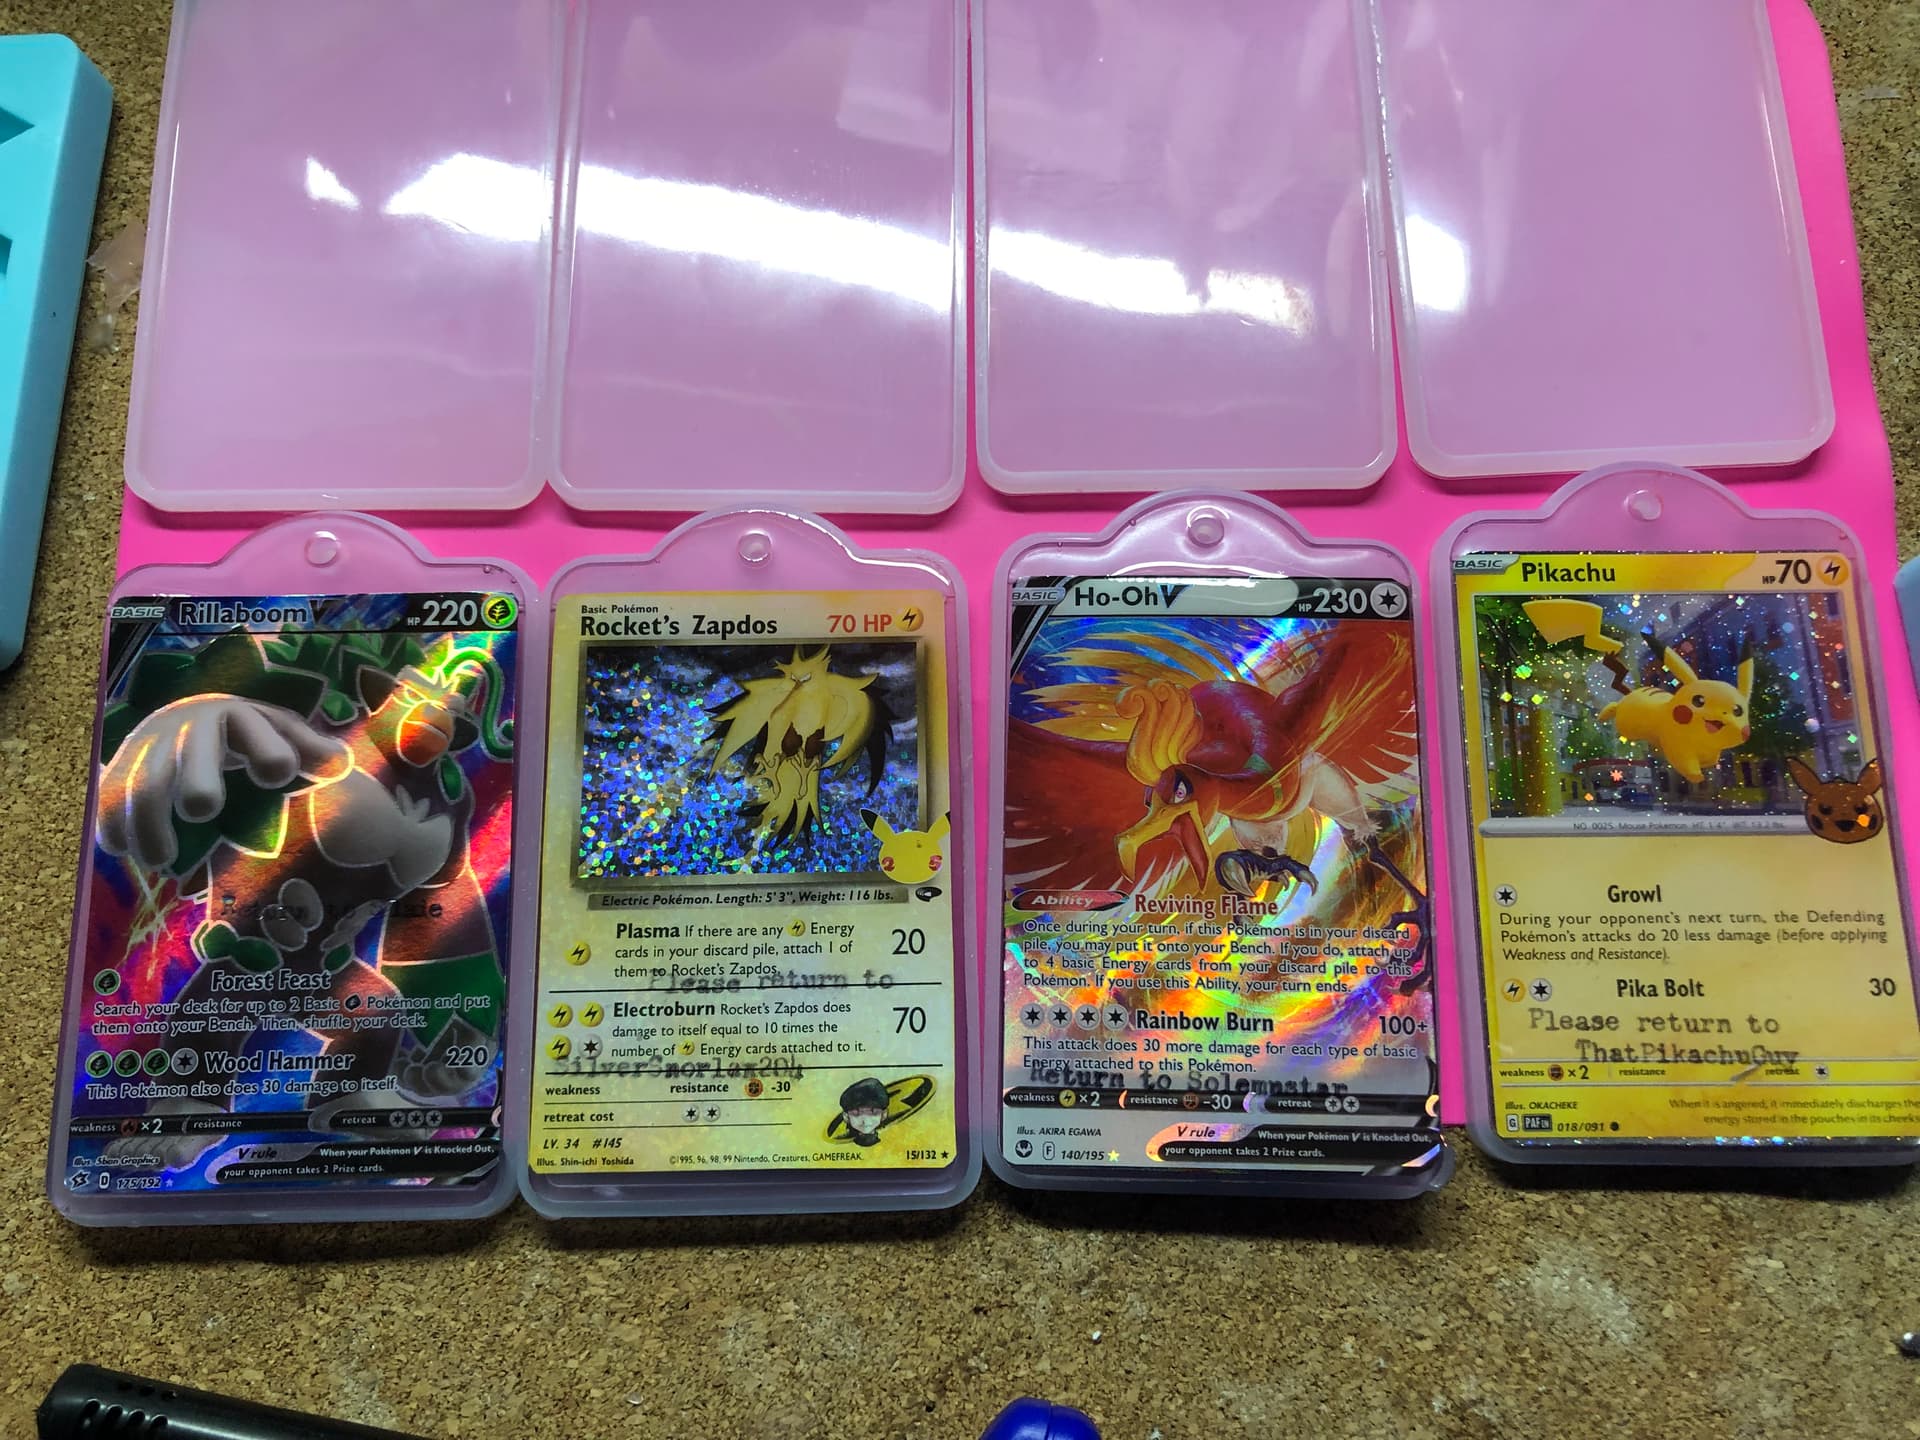
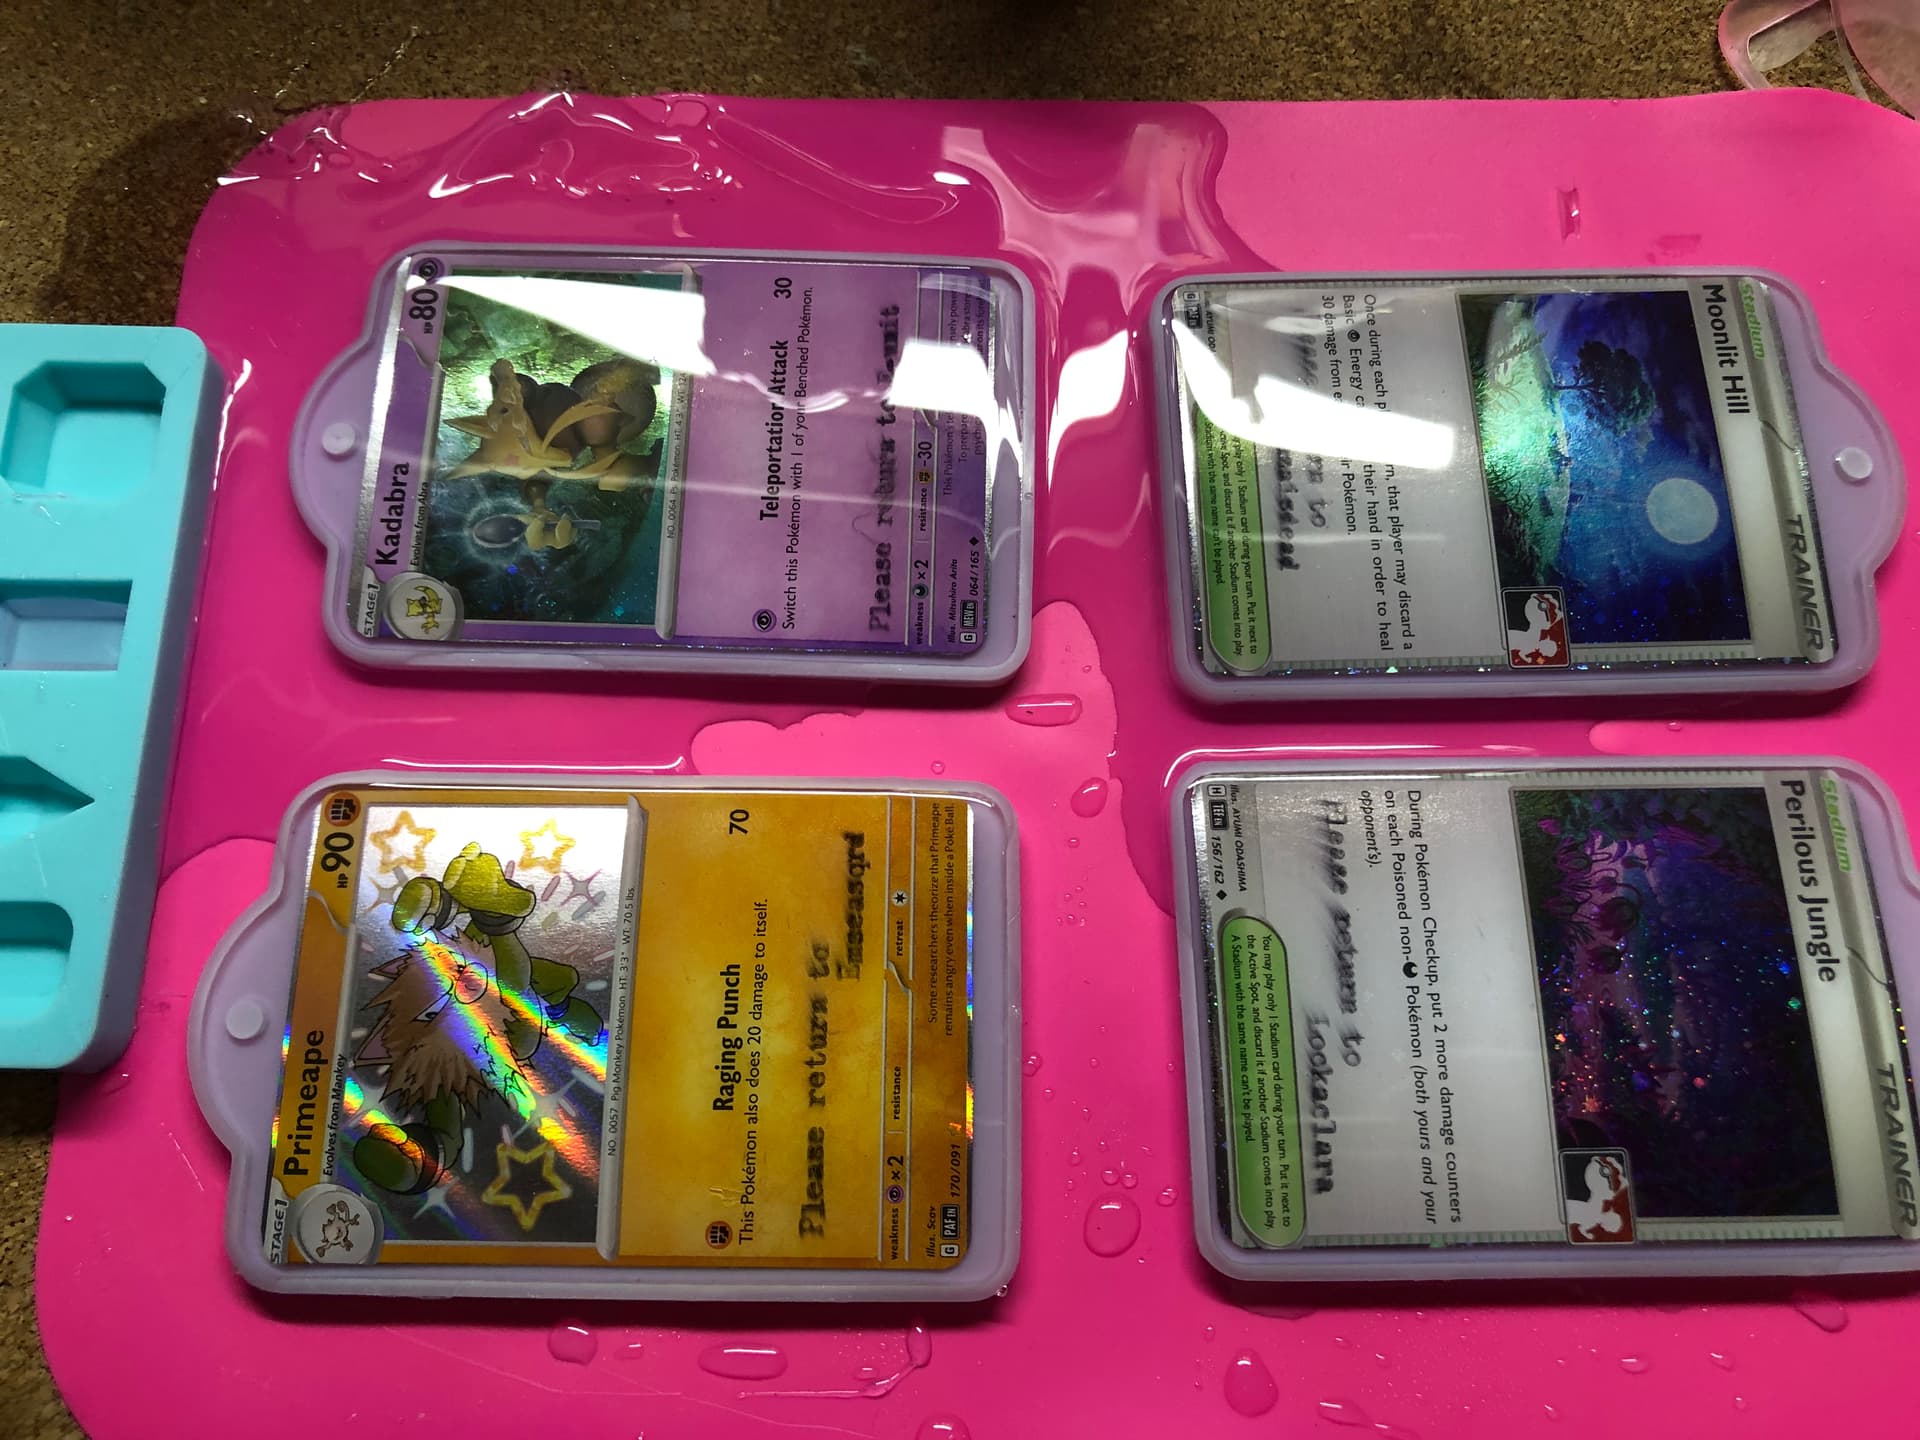
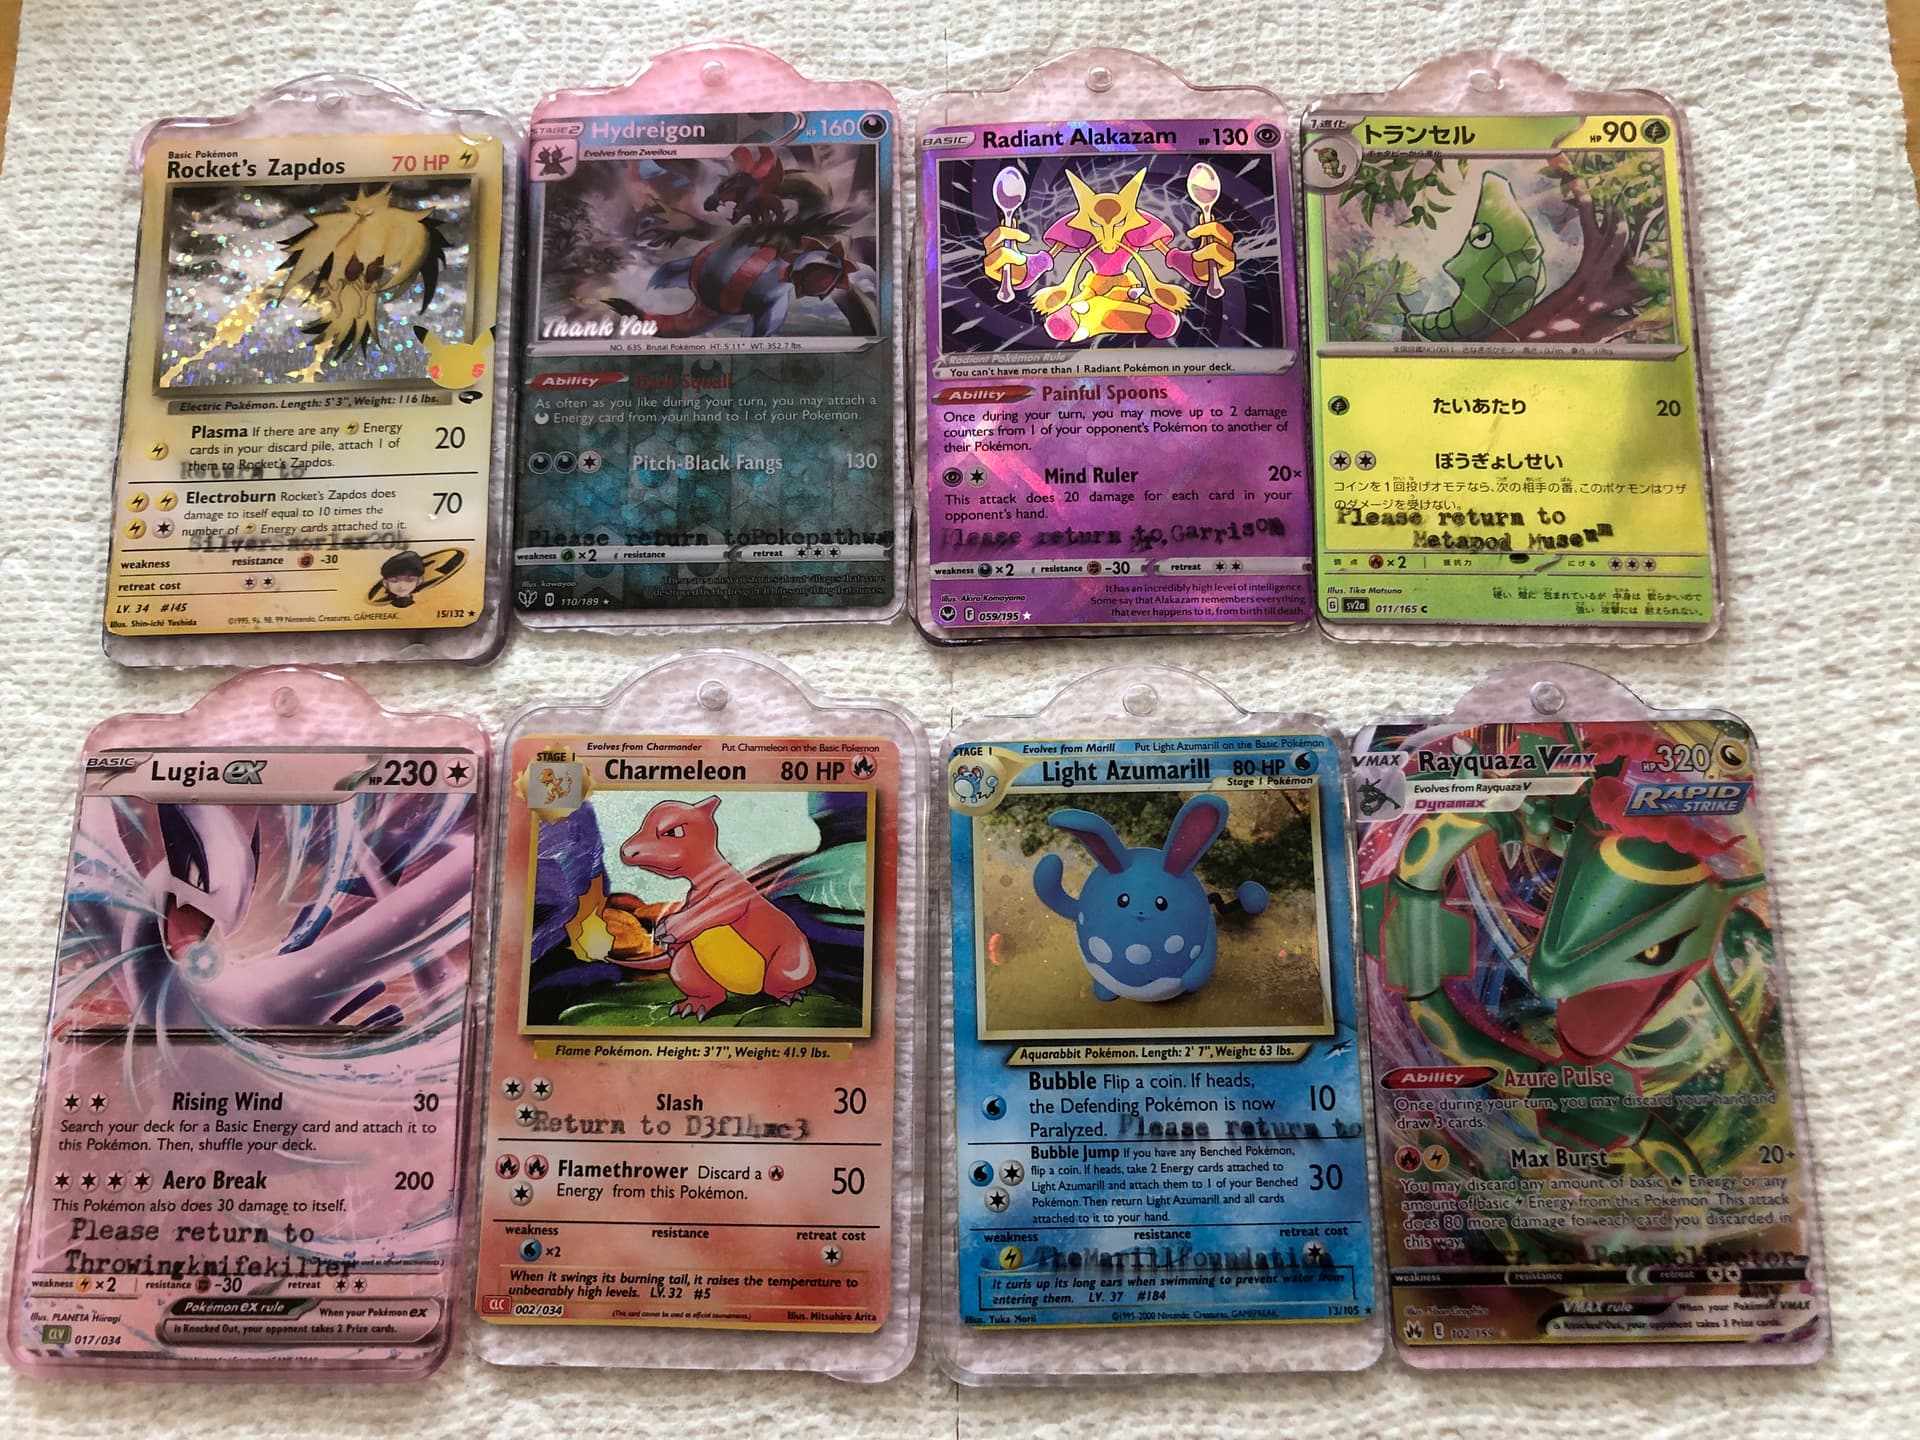
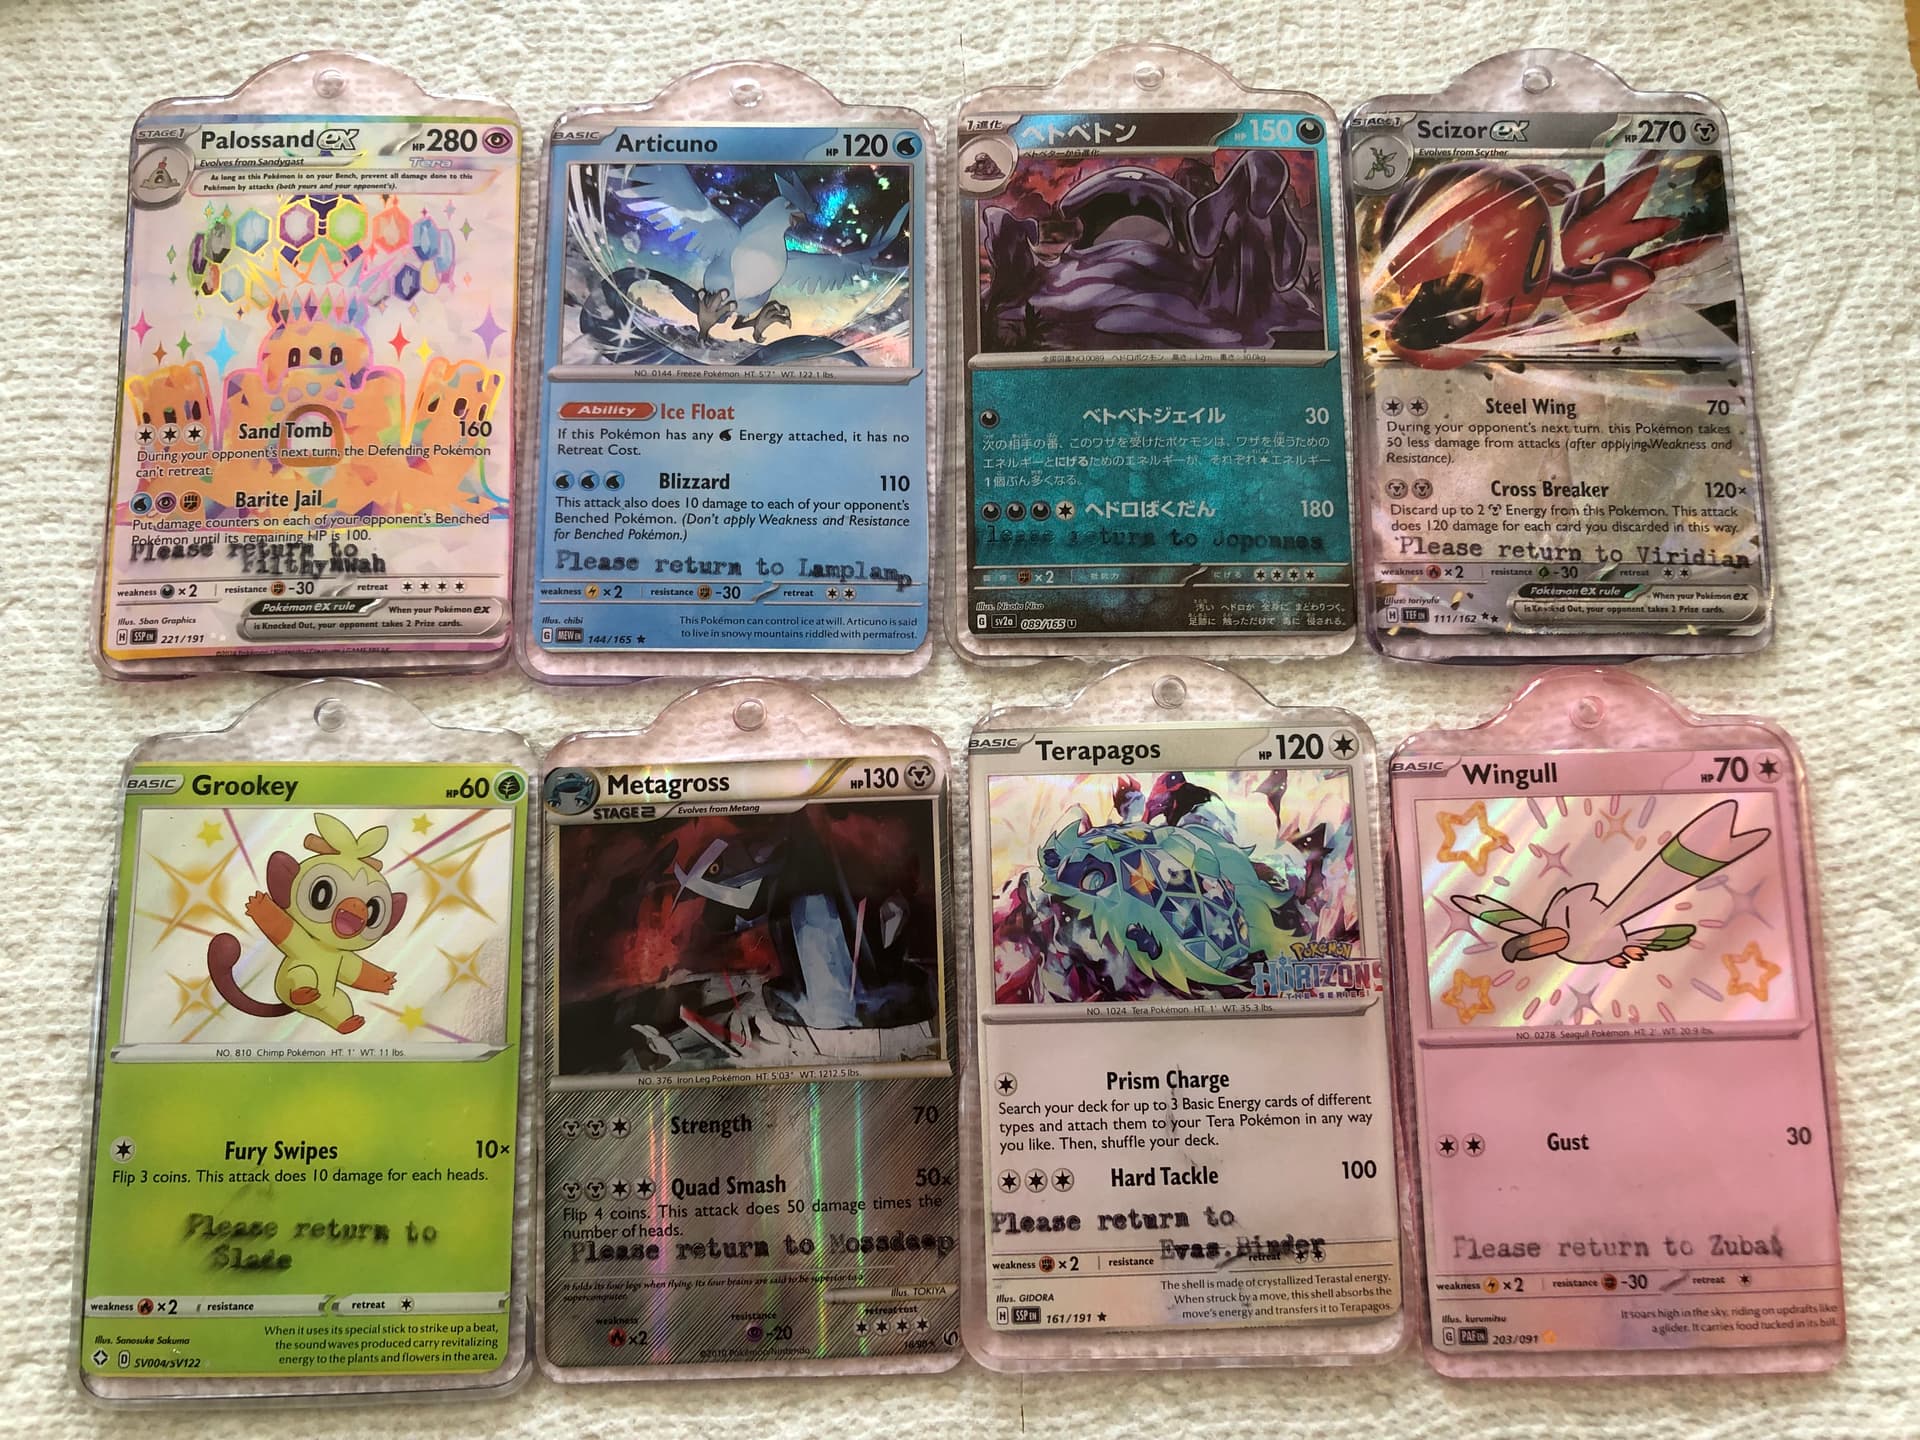
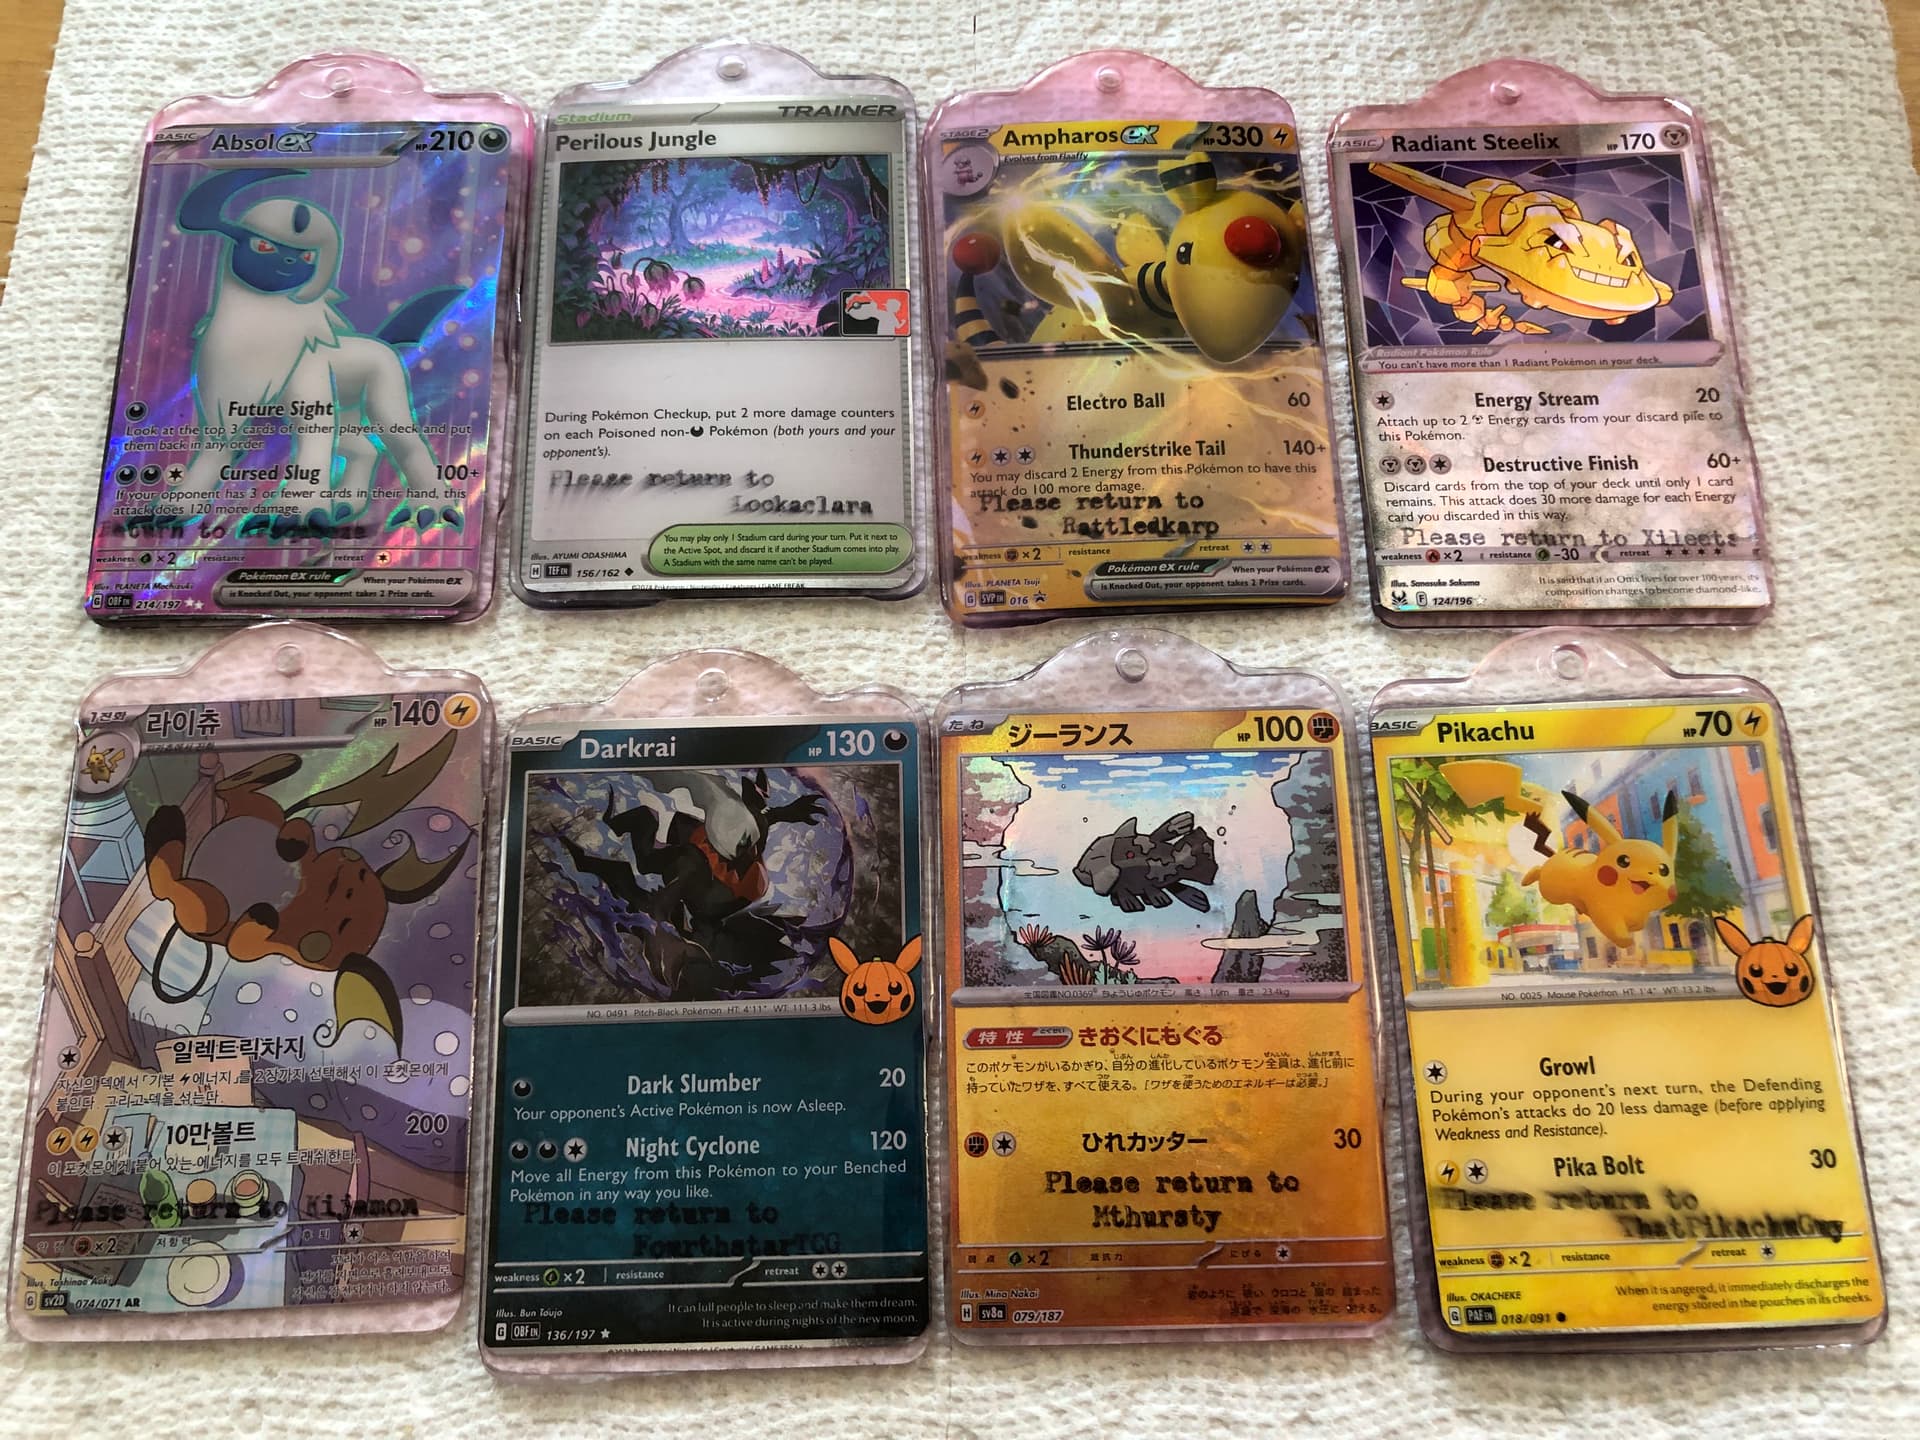
Favorite part of it all and possibly the most expensive part (lets be honest, all crafts are too expensive so I wasnt kidding when I would lament that I spent my card budget on cards to destroy). I tried to find cards that would still sparkle in some way so they had to have holo and preferably some kind of uniqueness to them. Next was that the chosen pokemon shouldnt be too on the nose, just in case they turned out terribly and I didnt want to make someone hate an absolute favorite. I based them off everyones favorite, but not top favorite, pokemon in their signature sprites and their survey answers. If you were late in your survey answer and have no sprites then I guessed something that was still interesting looking. Sometimes cards just popped out at me that would be for someone and if the price was right then I bent that idea. Cheers to @citriina and @Kijamon who had the most expensive cards ![]() but they were the cards that best matched my need to use holos.
but they were the cards that best matched my need to use holos.
Prepping the cards
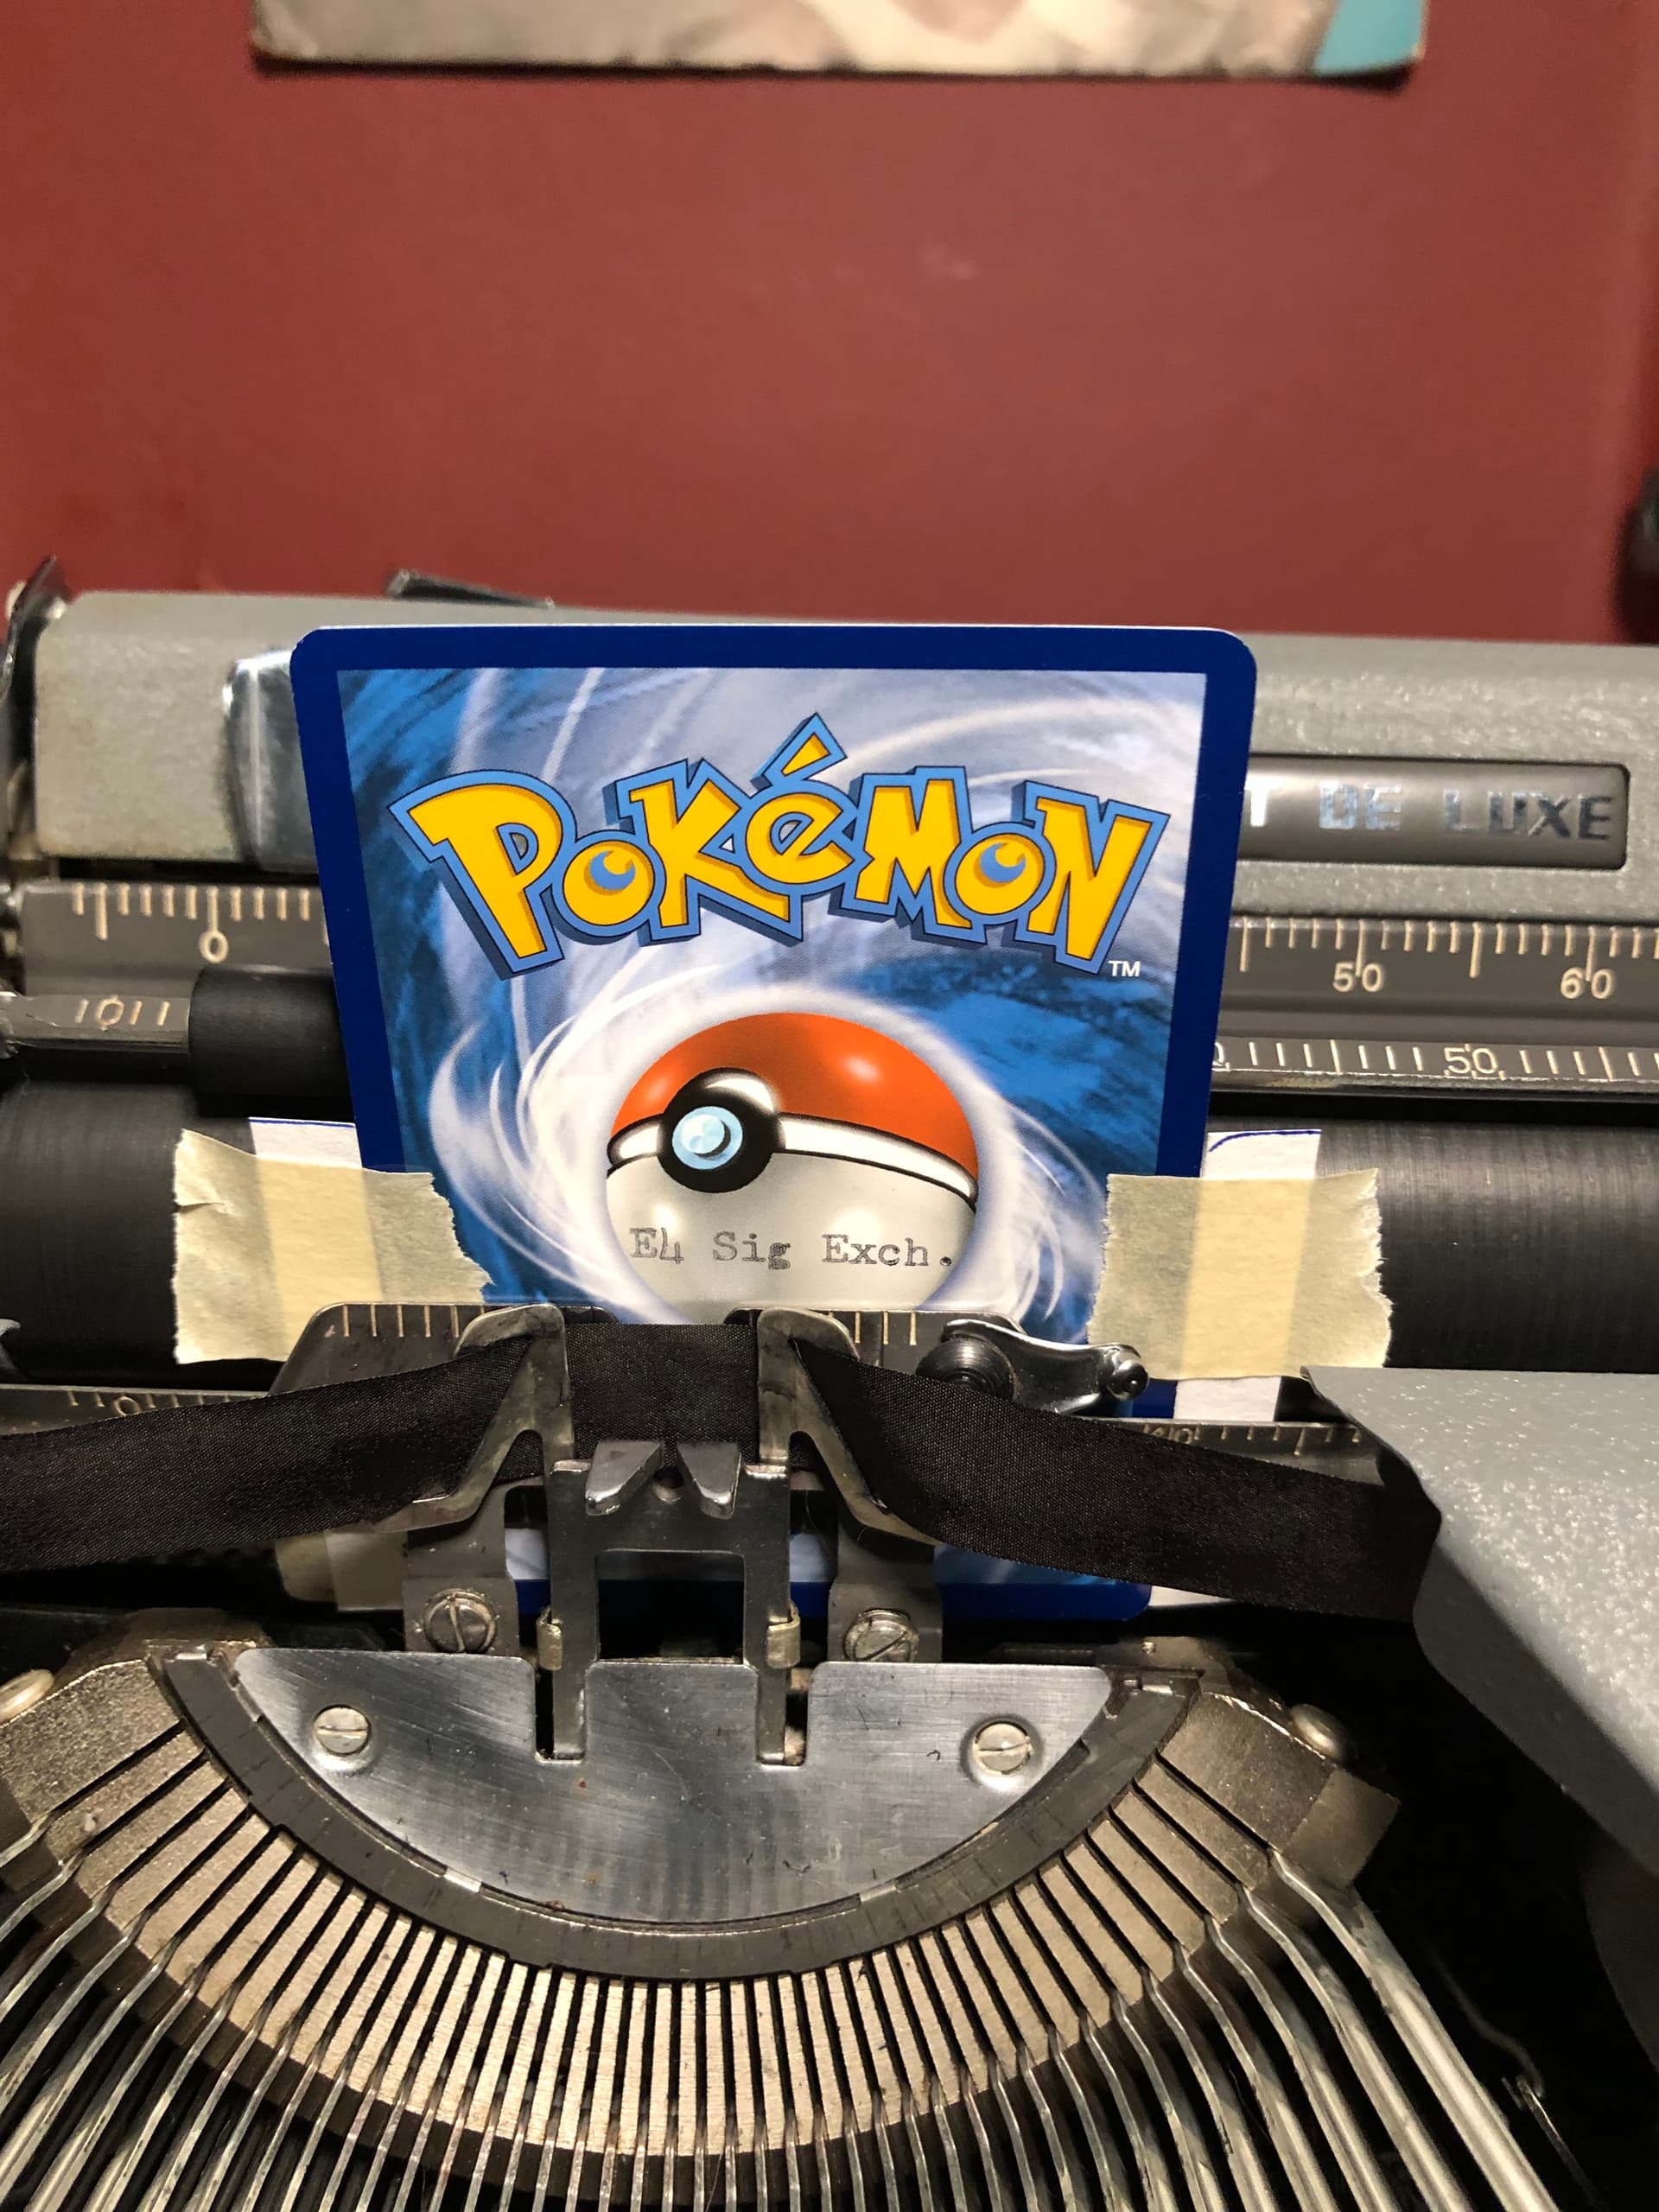
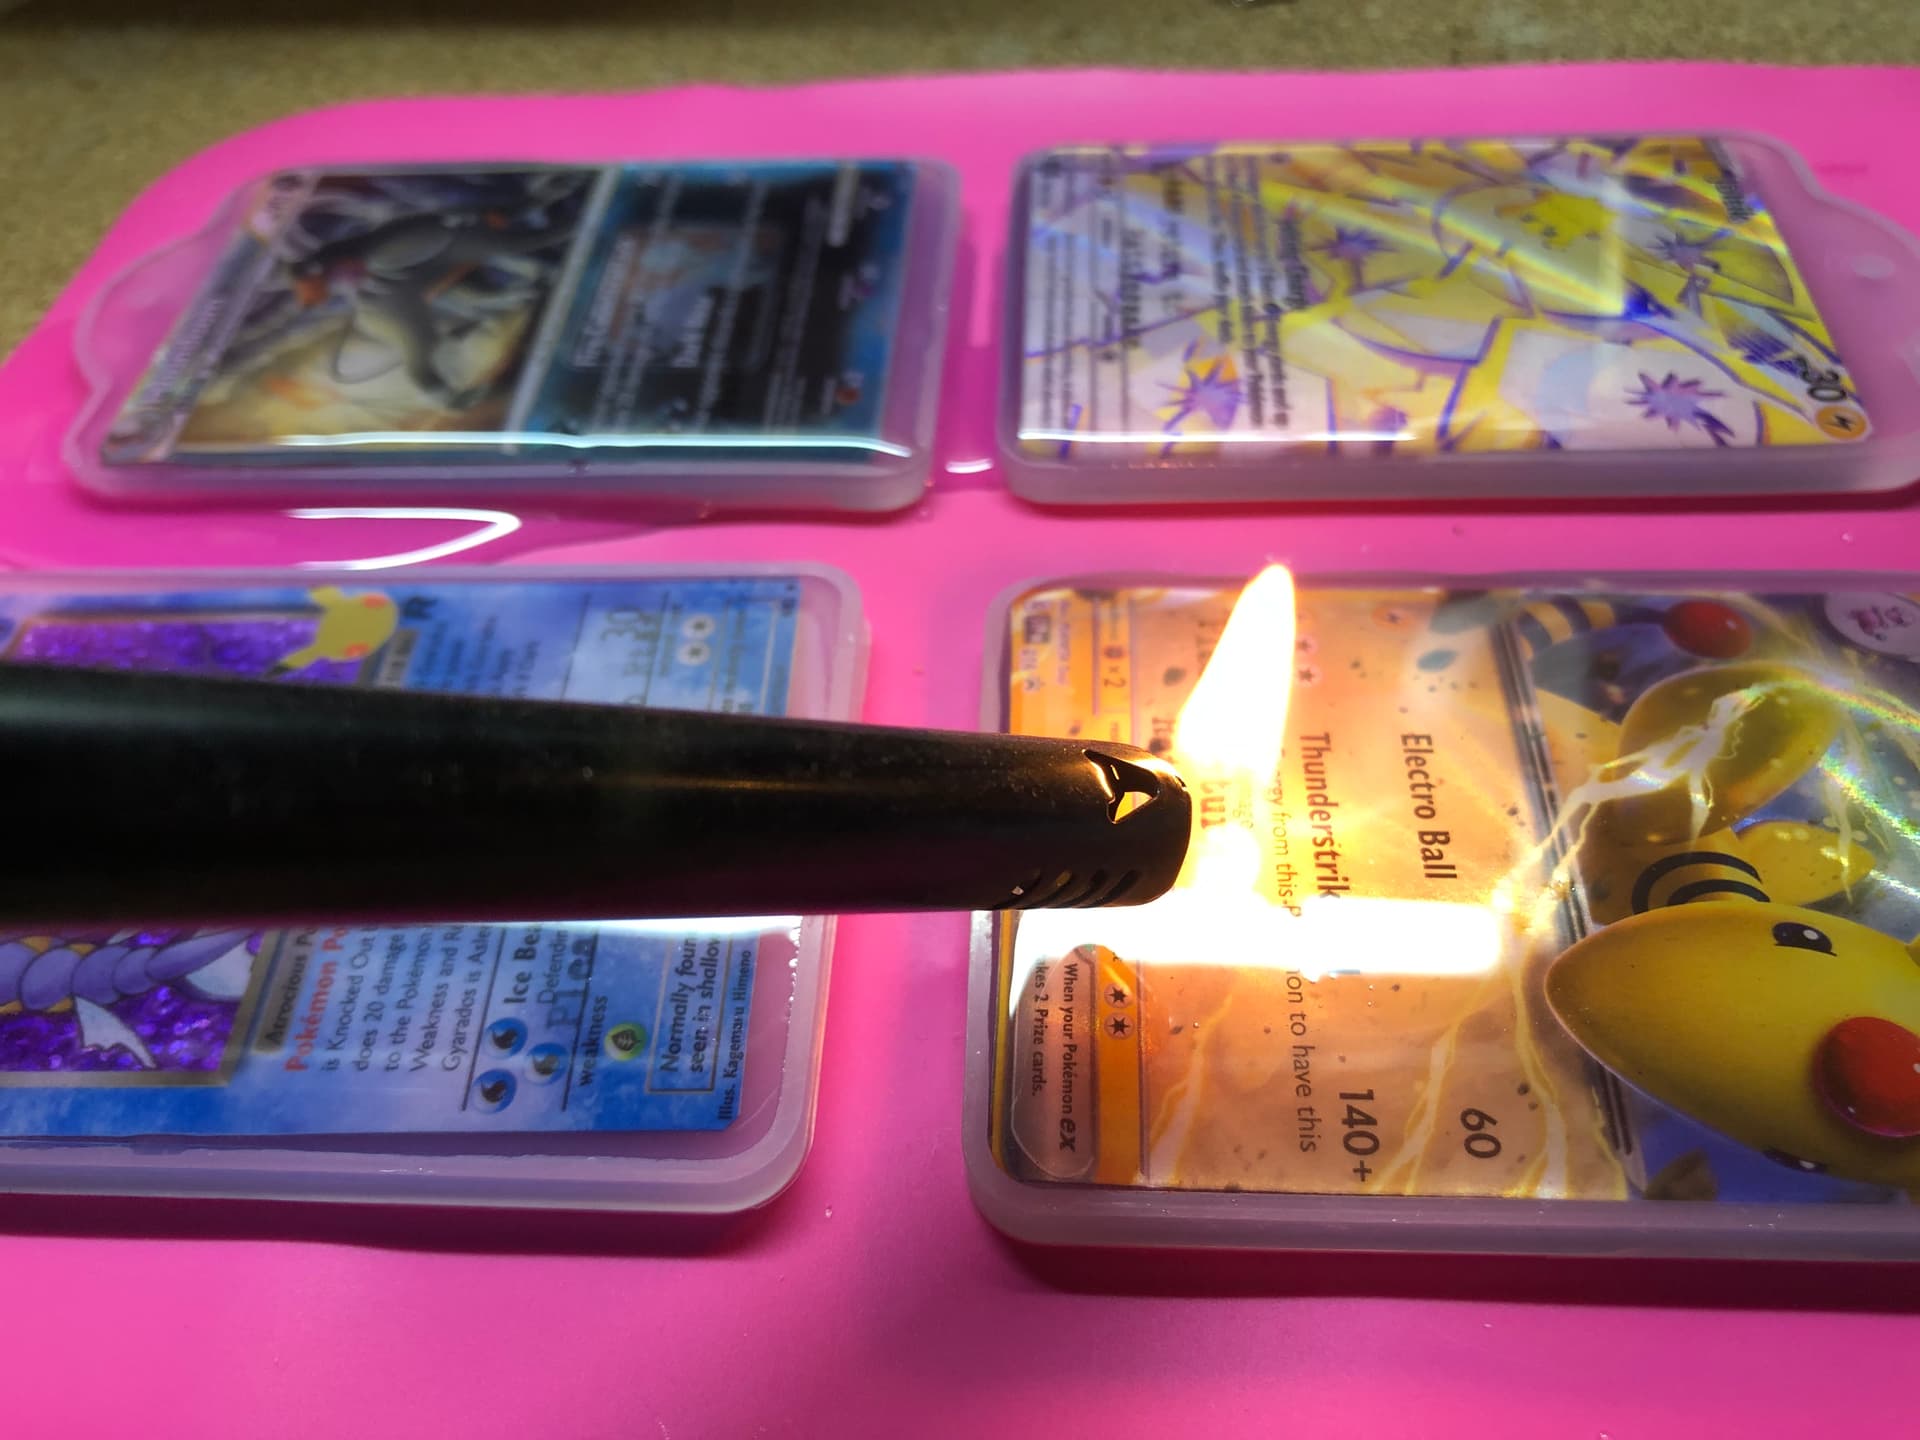
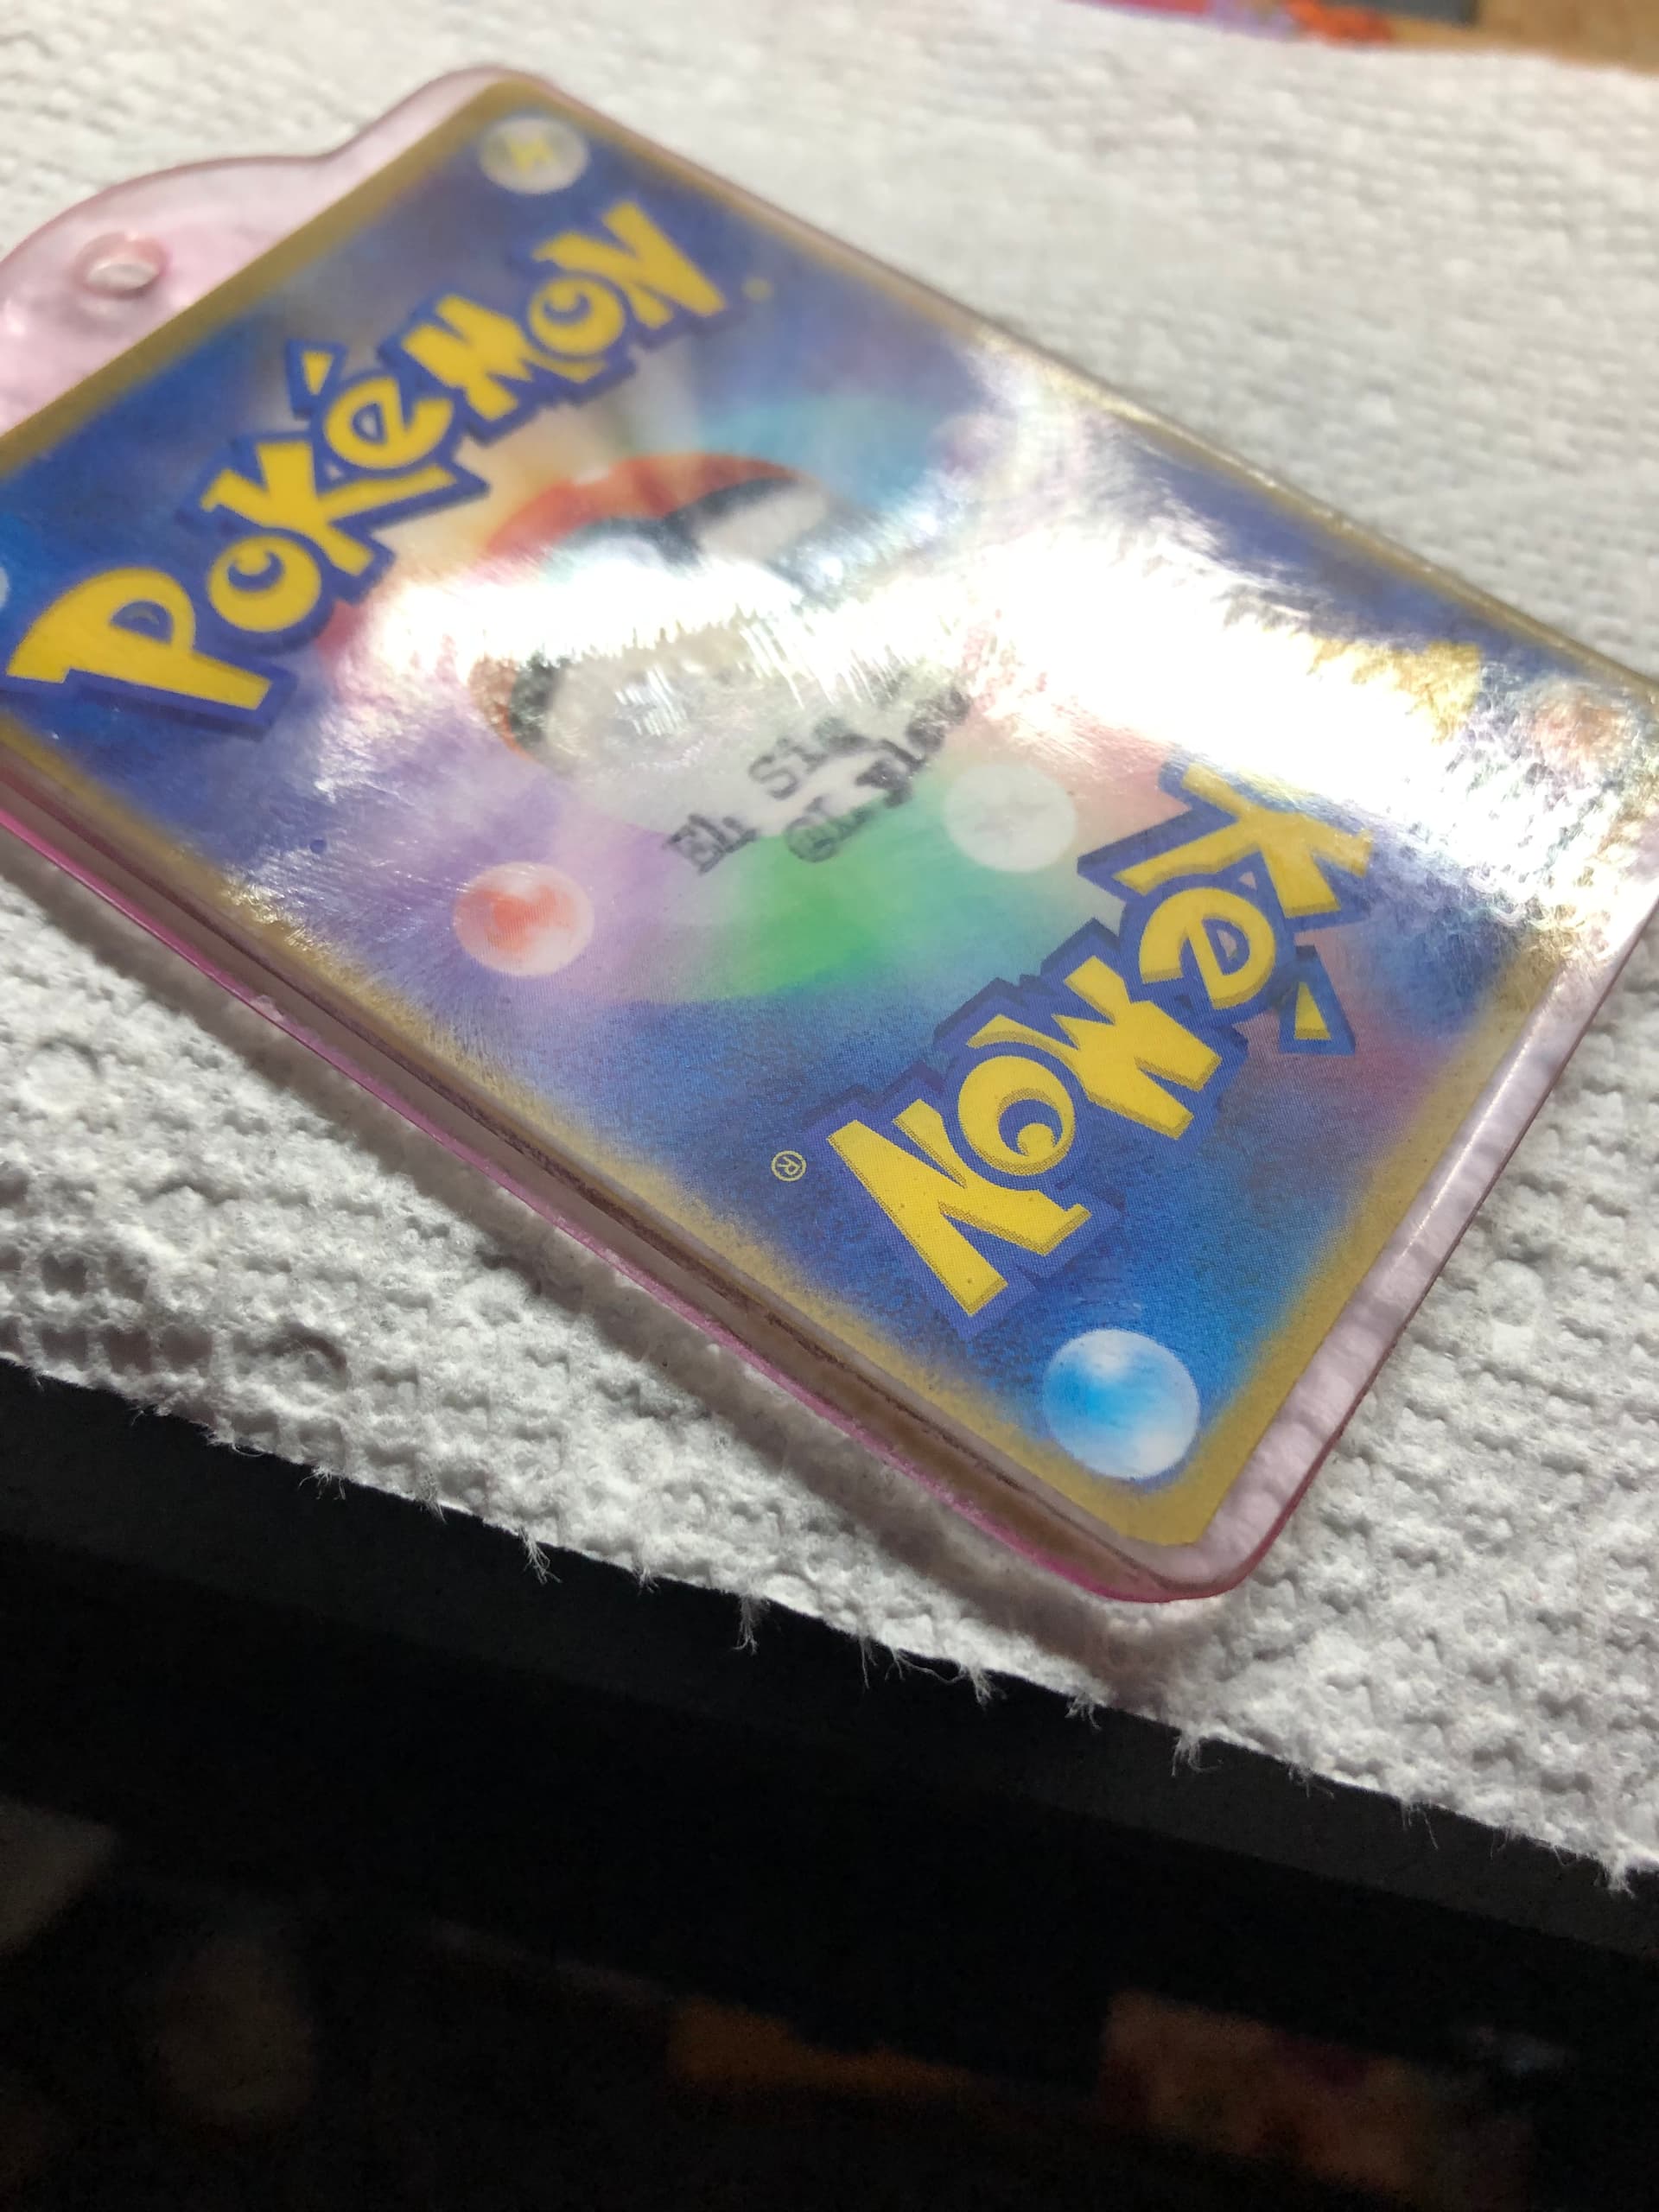
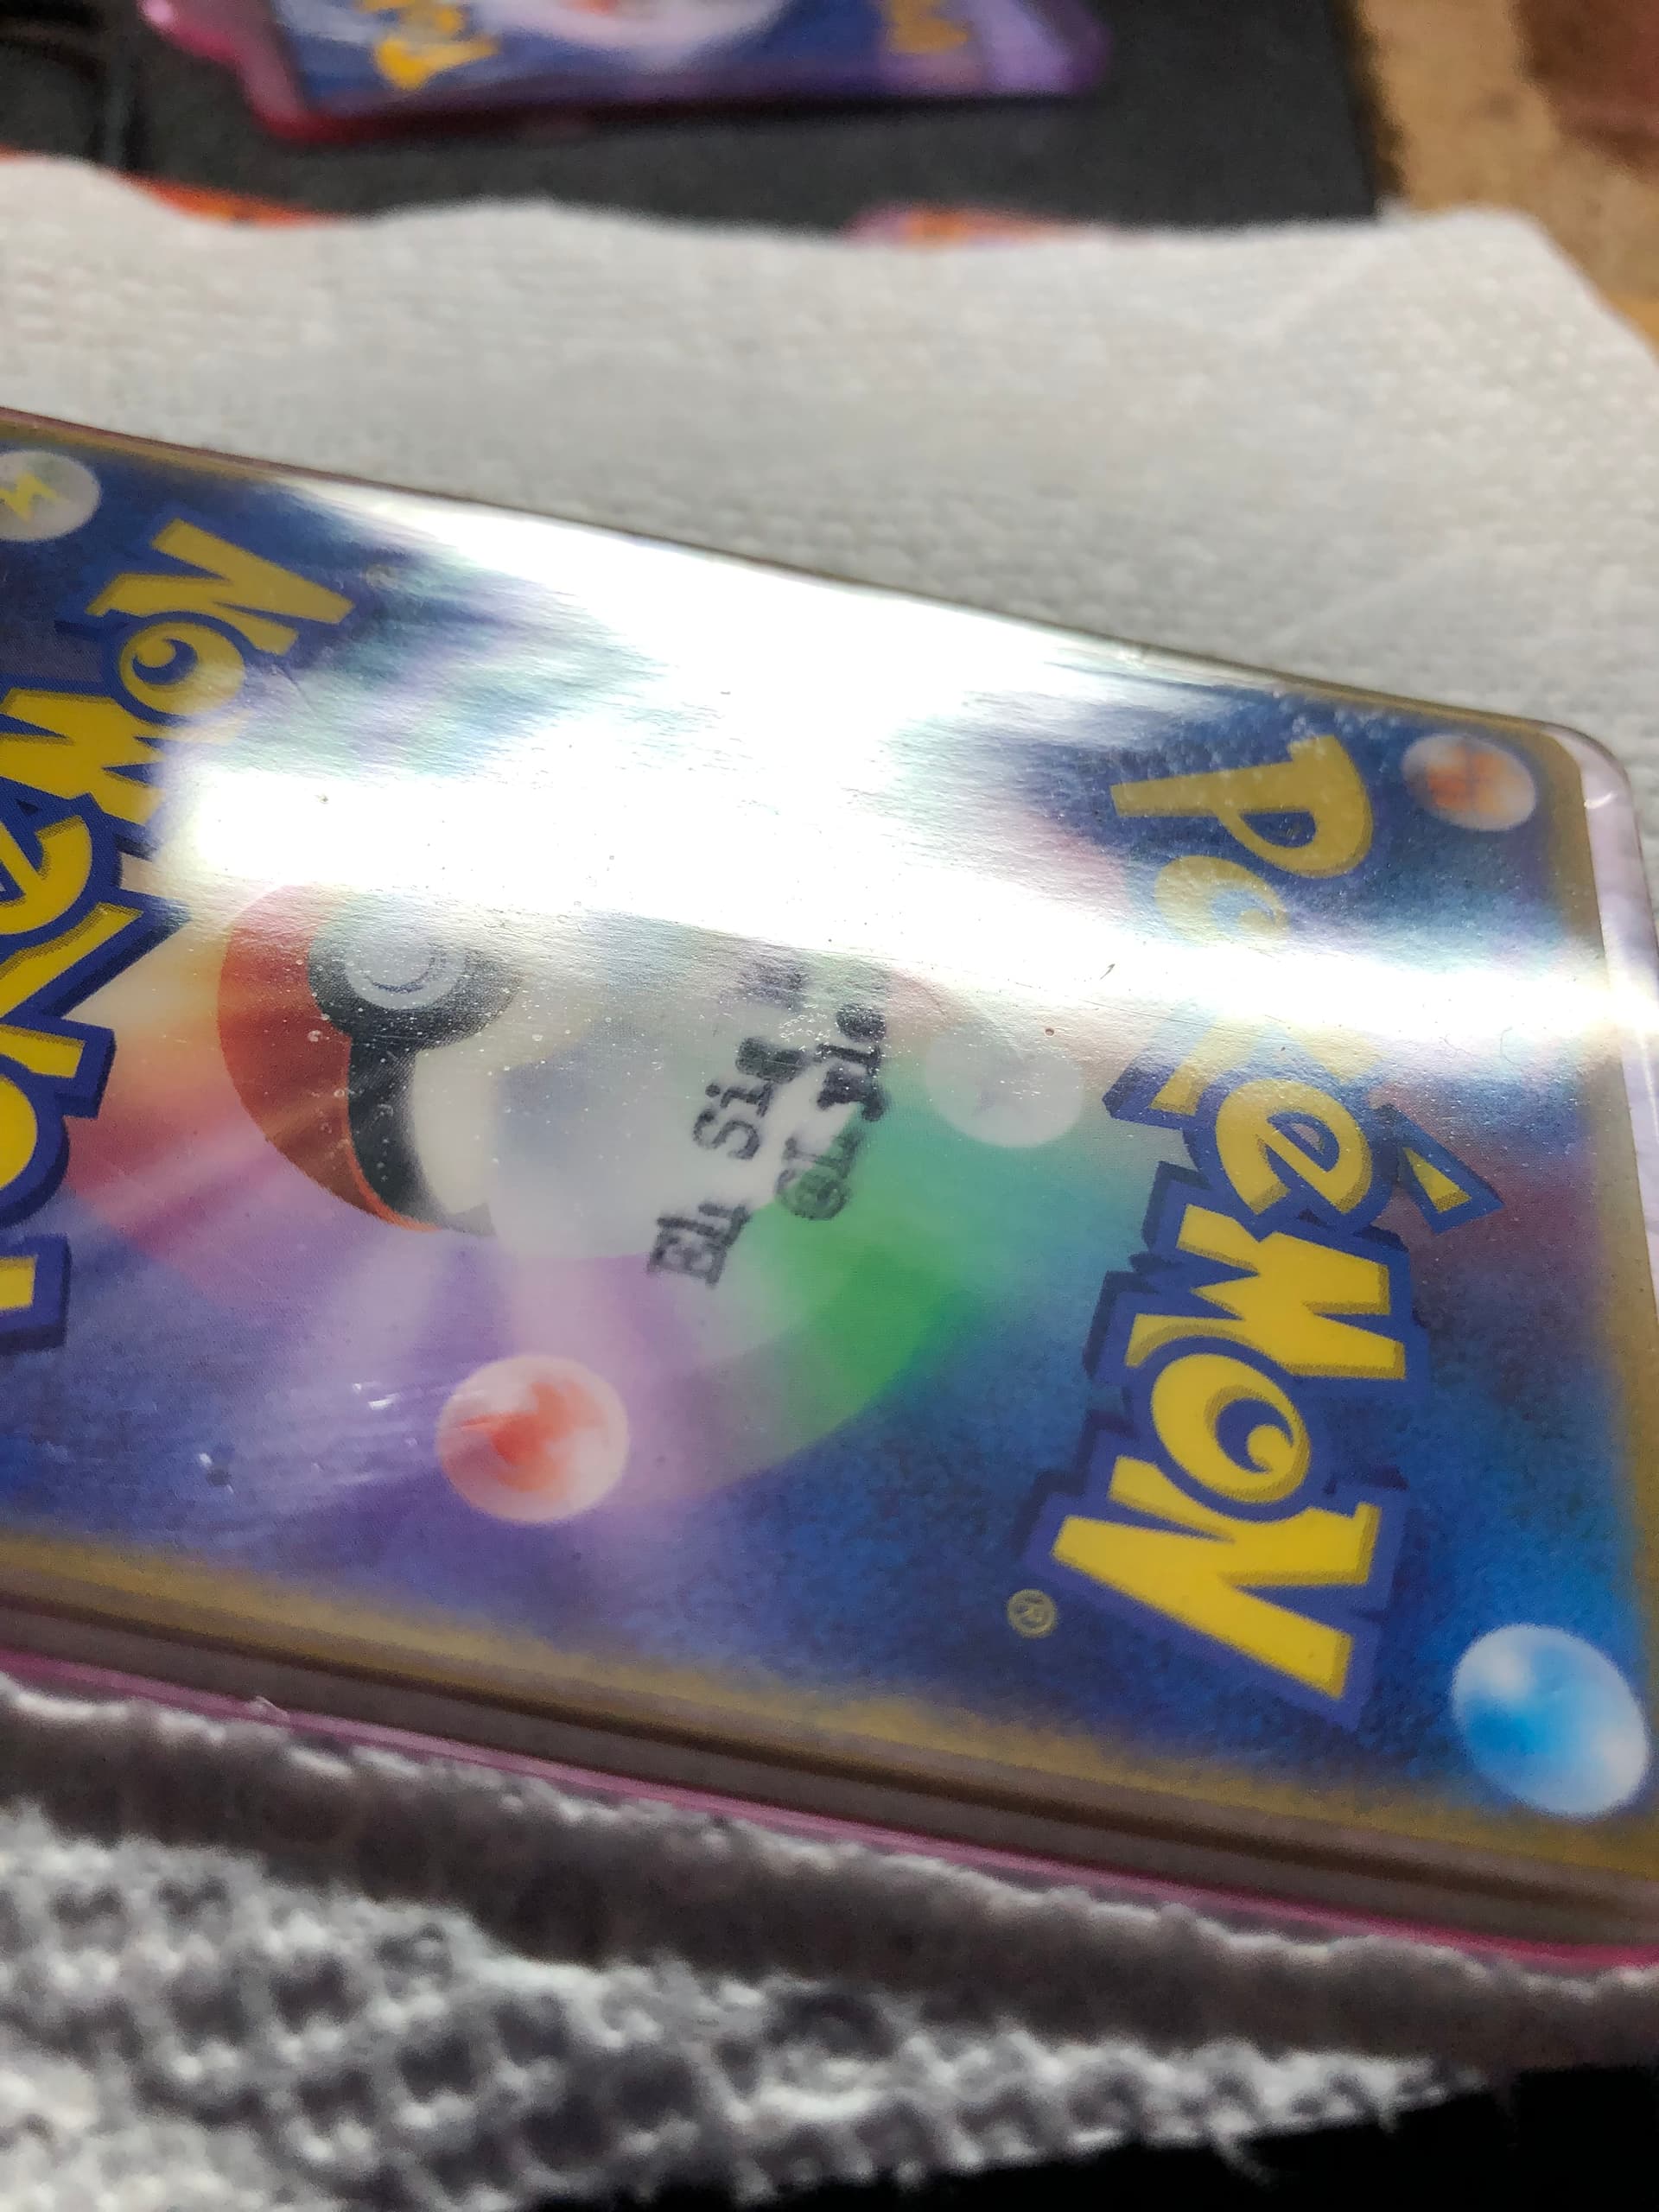
Making the signature:
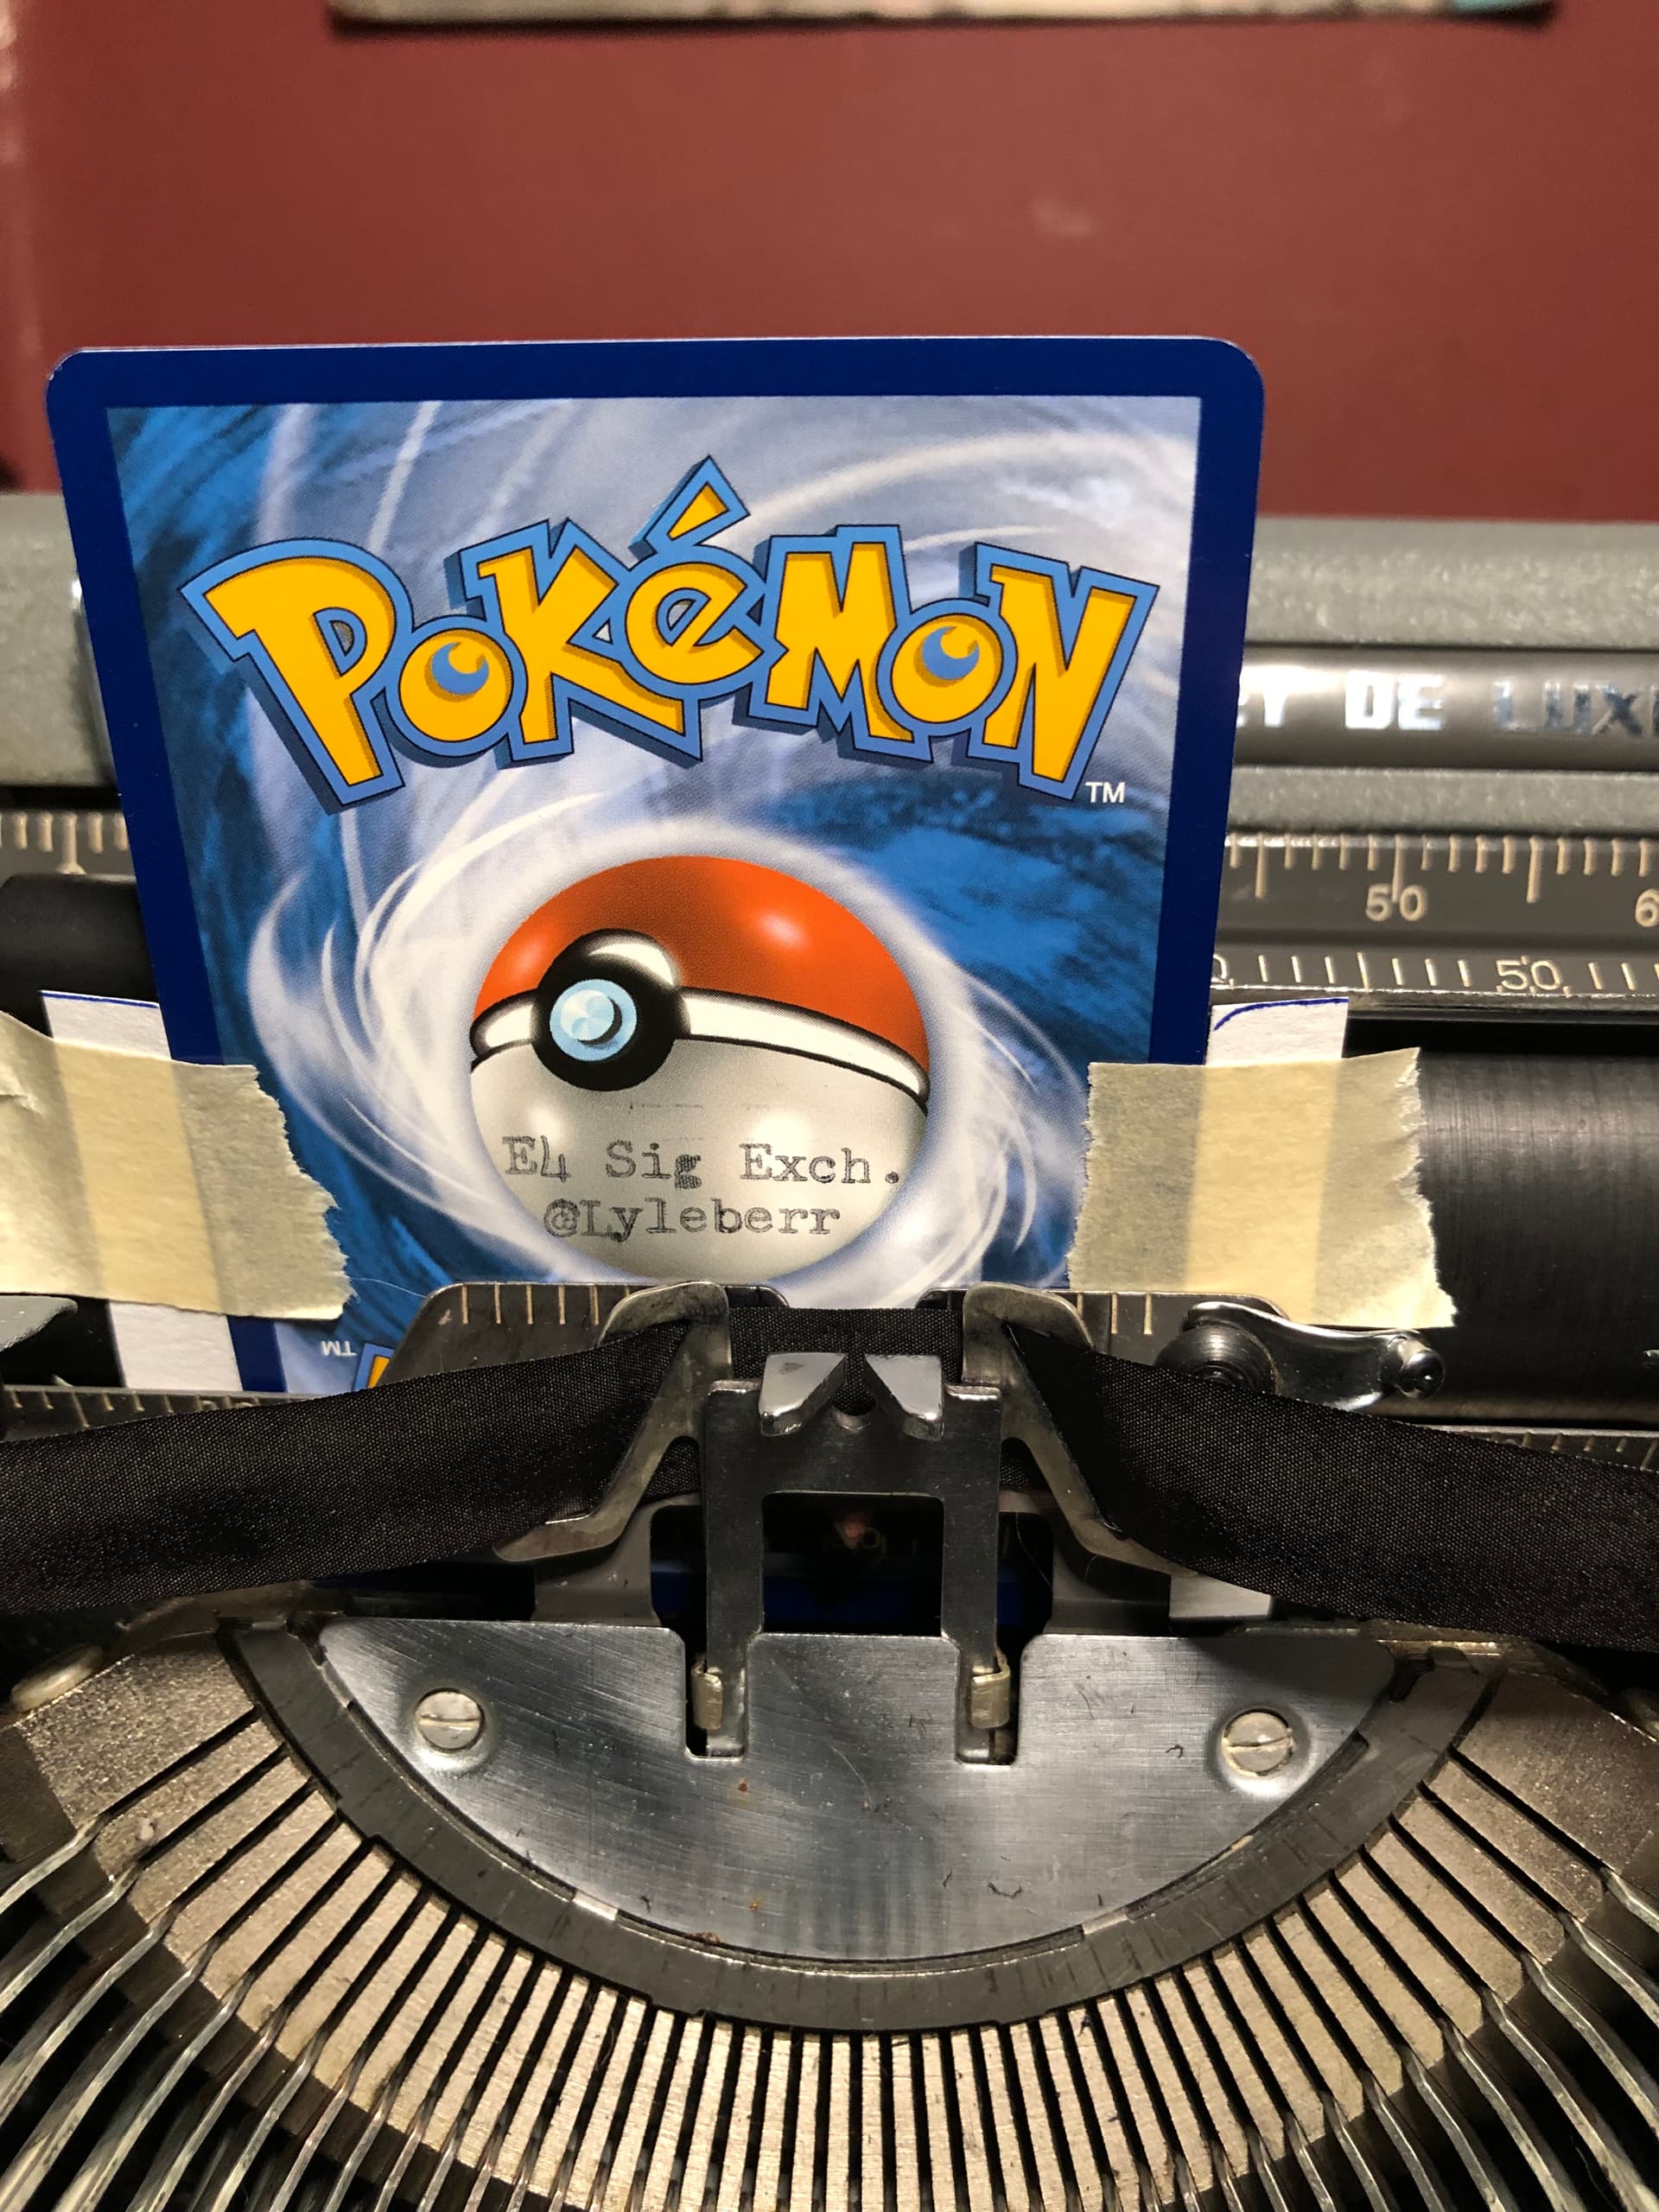
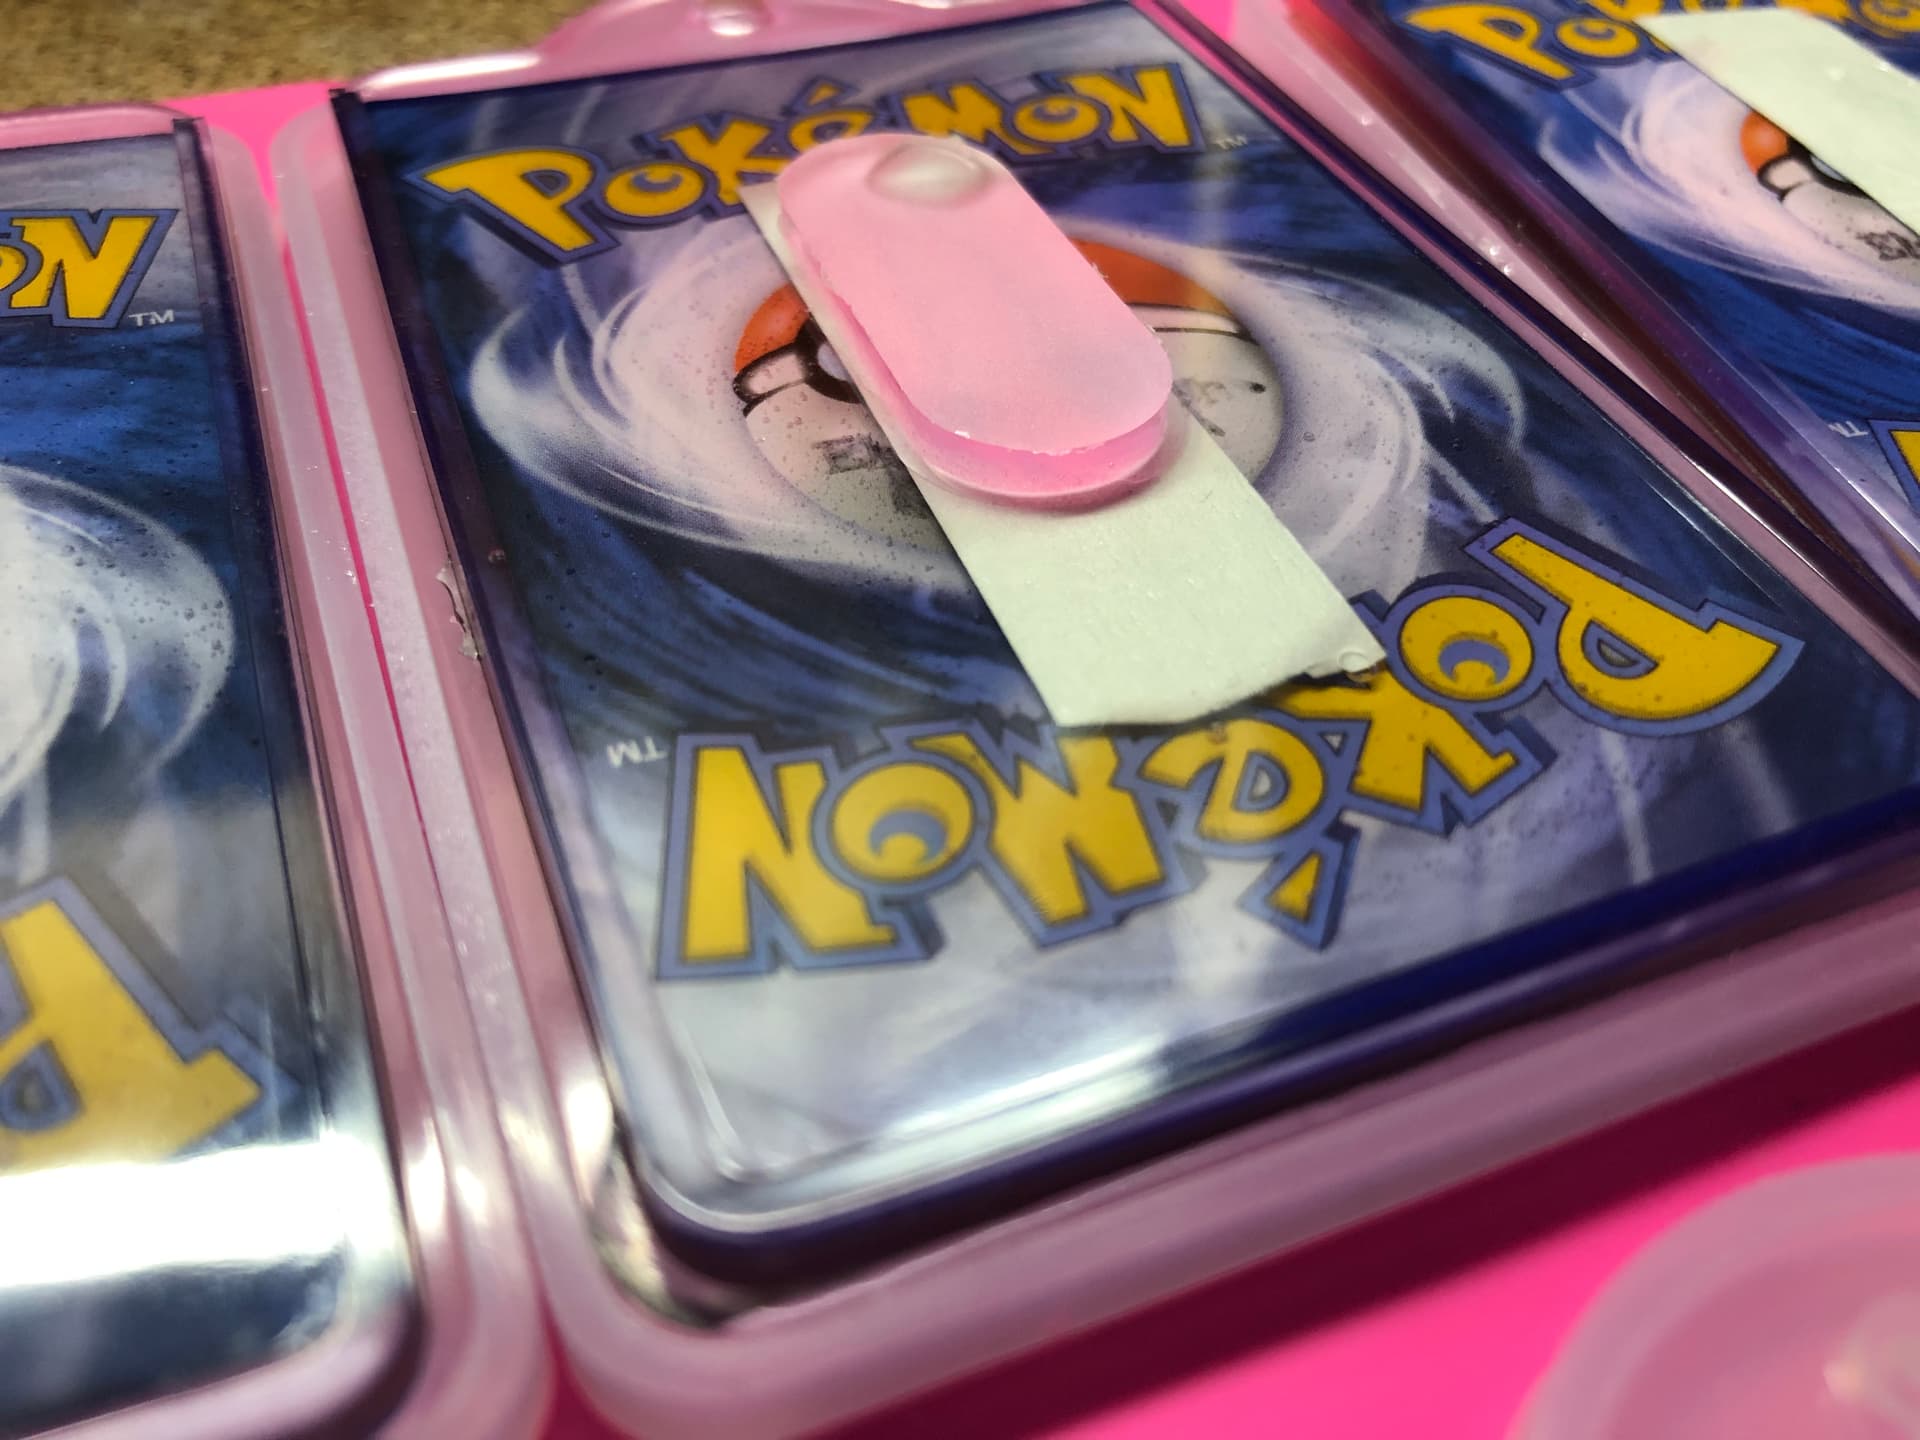
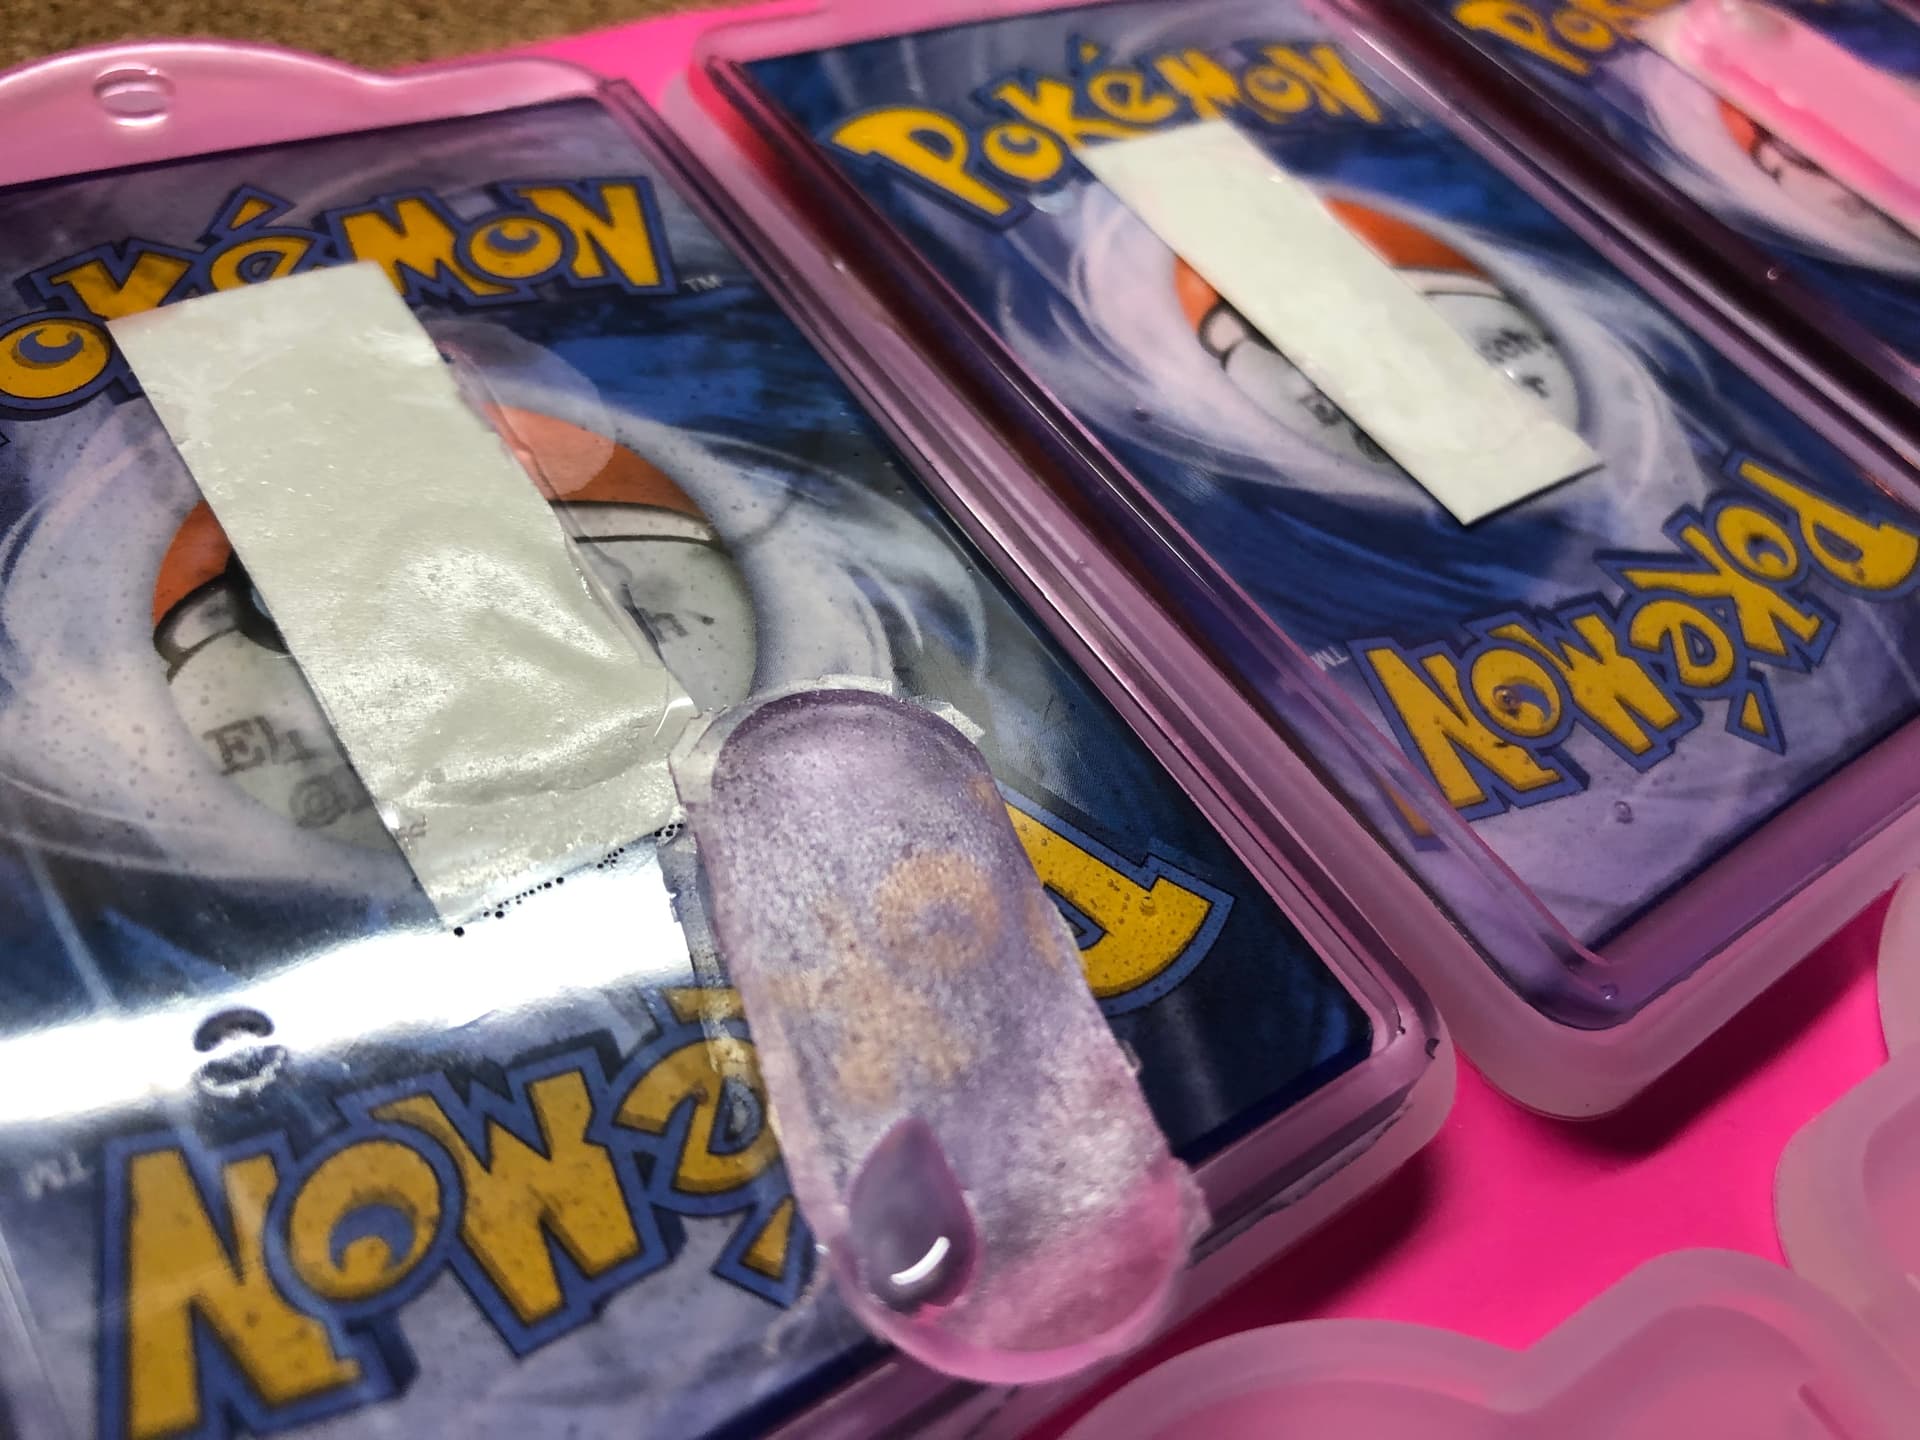
This was a pain. With typewriters, since they are physically mechanical, there are many limitations to what can be done because of the way the paper has to feed into the machine and how the mechanisms move to imprint ink on the paper. I had to space things out correctly, tape the card down to specific points, constantly reset the card as the moving pieces kept pulling the card out of position.
Then I had to flip the card to place the personalization but again was limited on where it could be based on where the typewriter could reach. ![]()
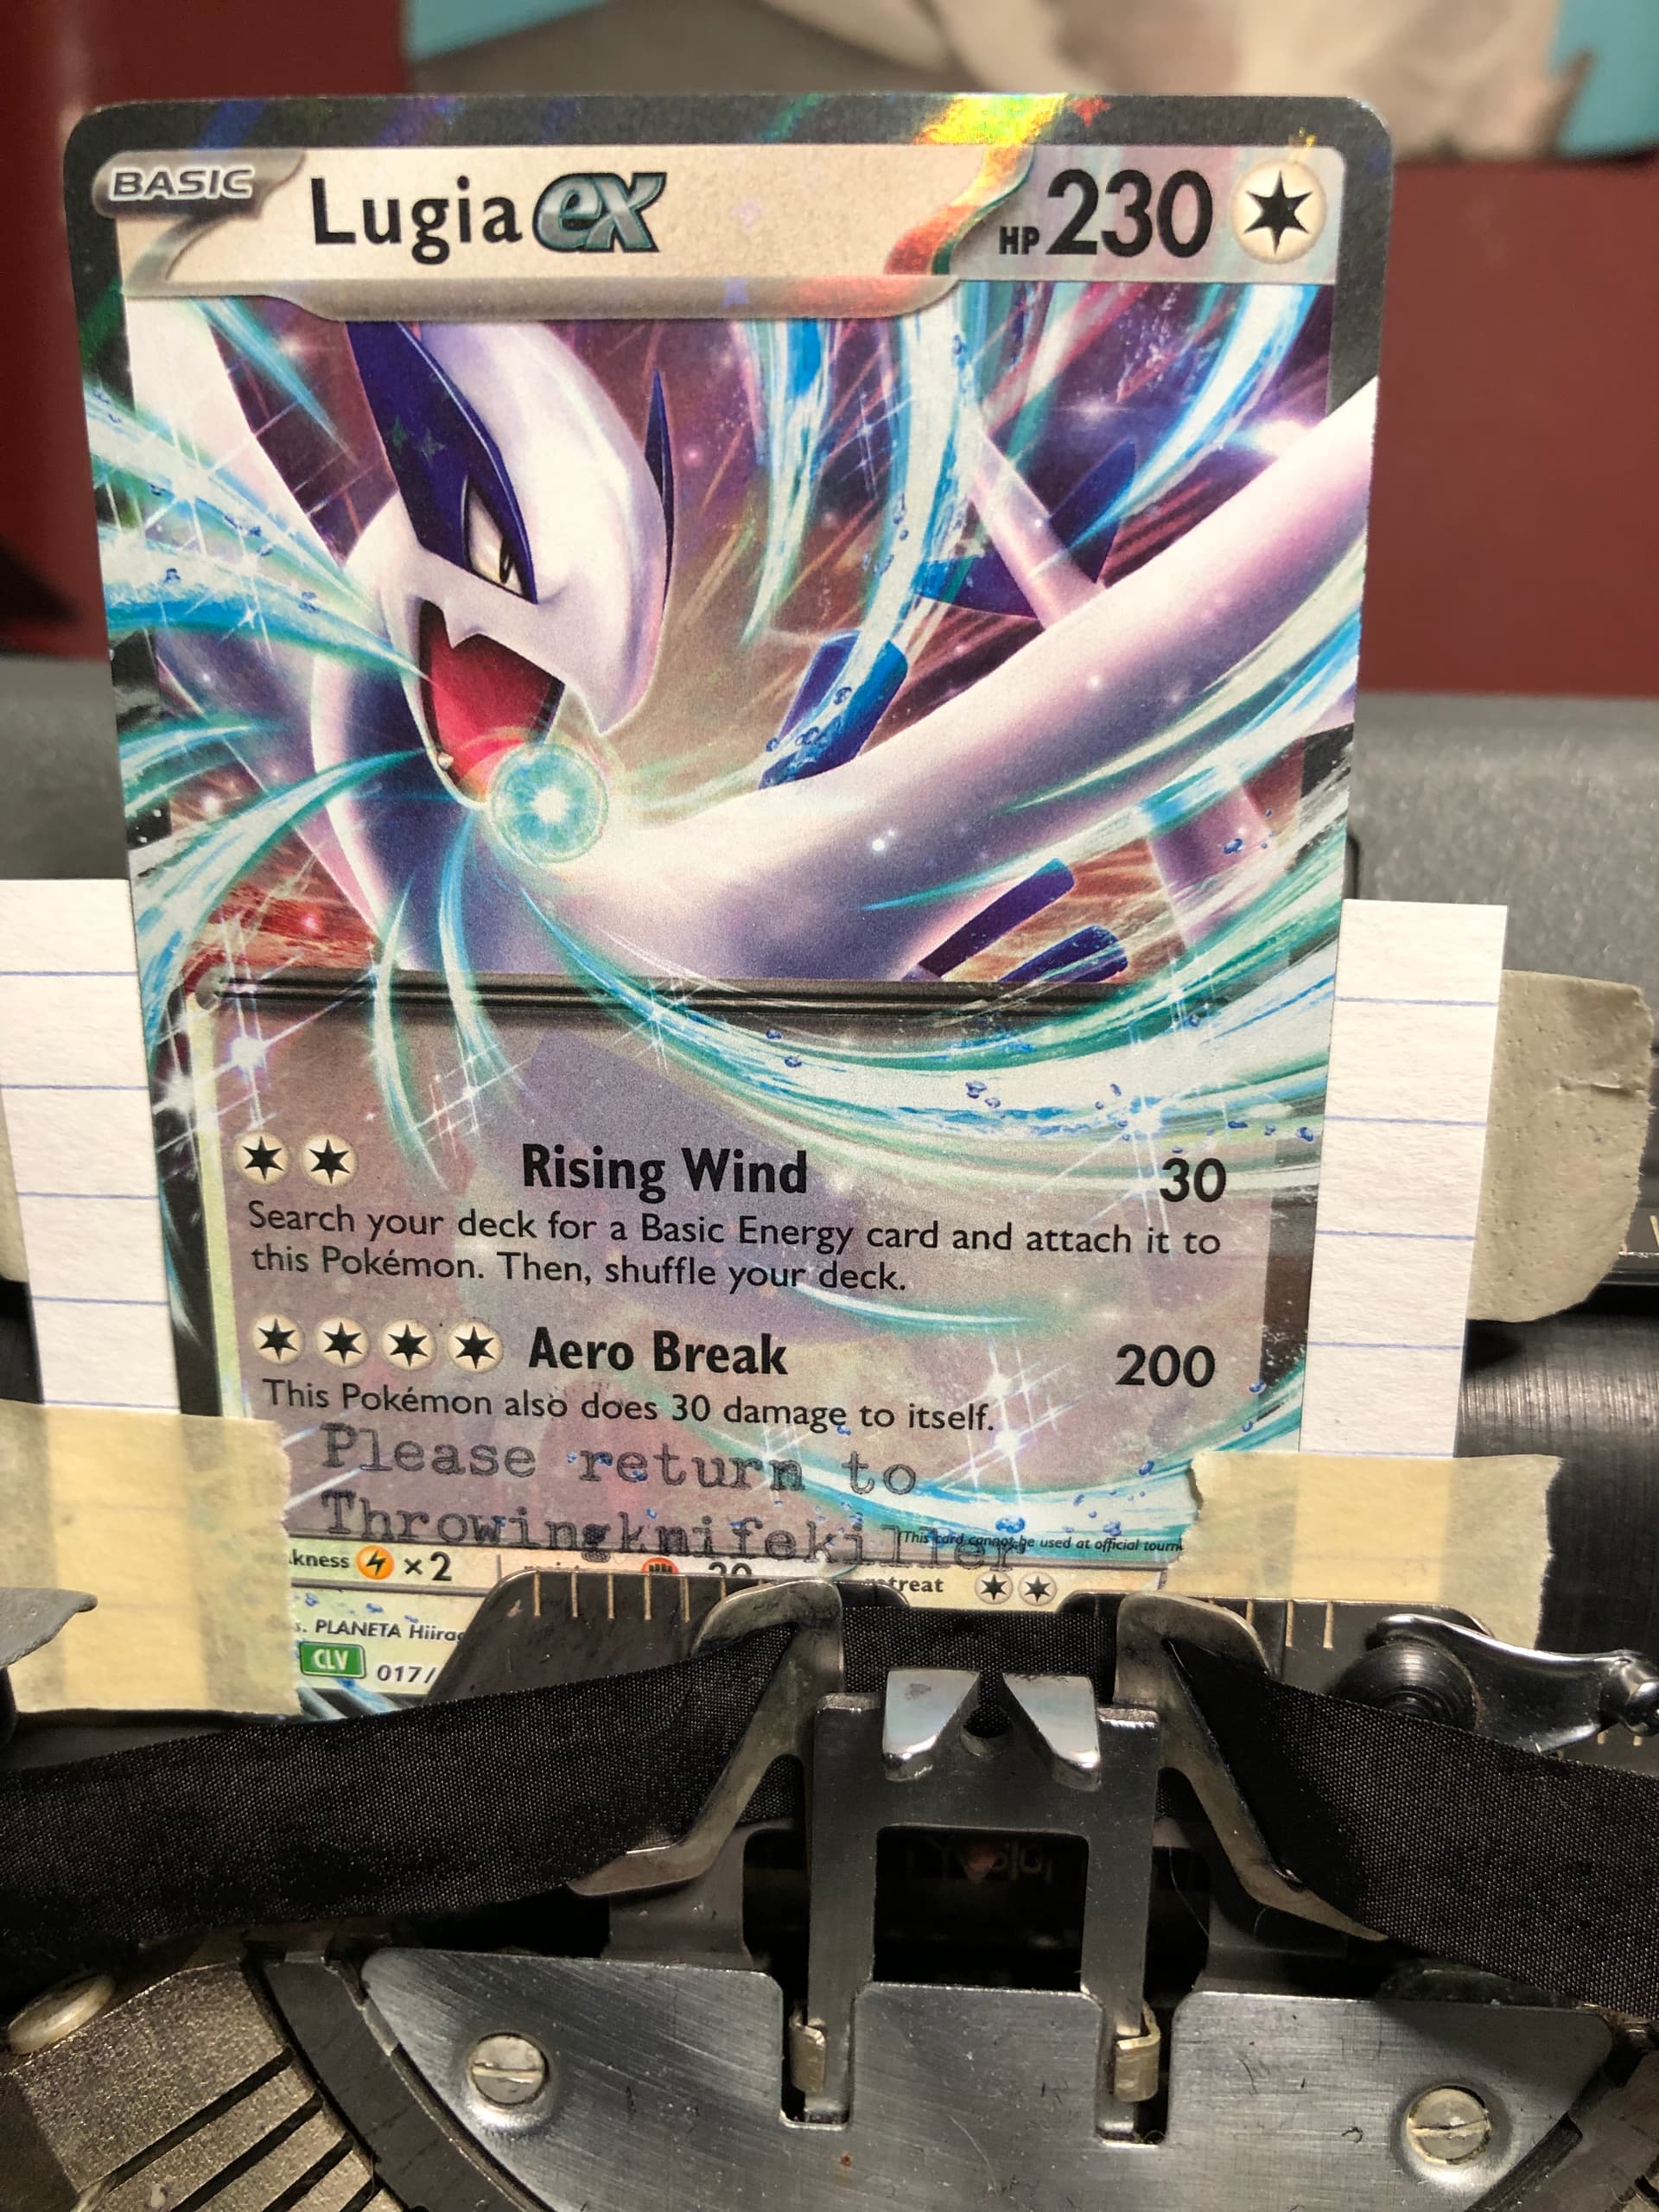
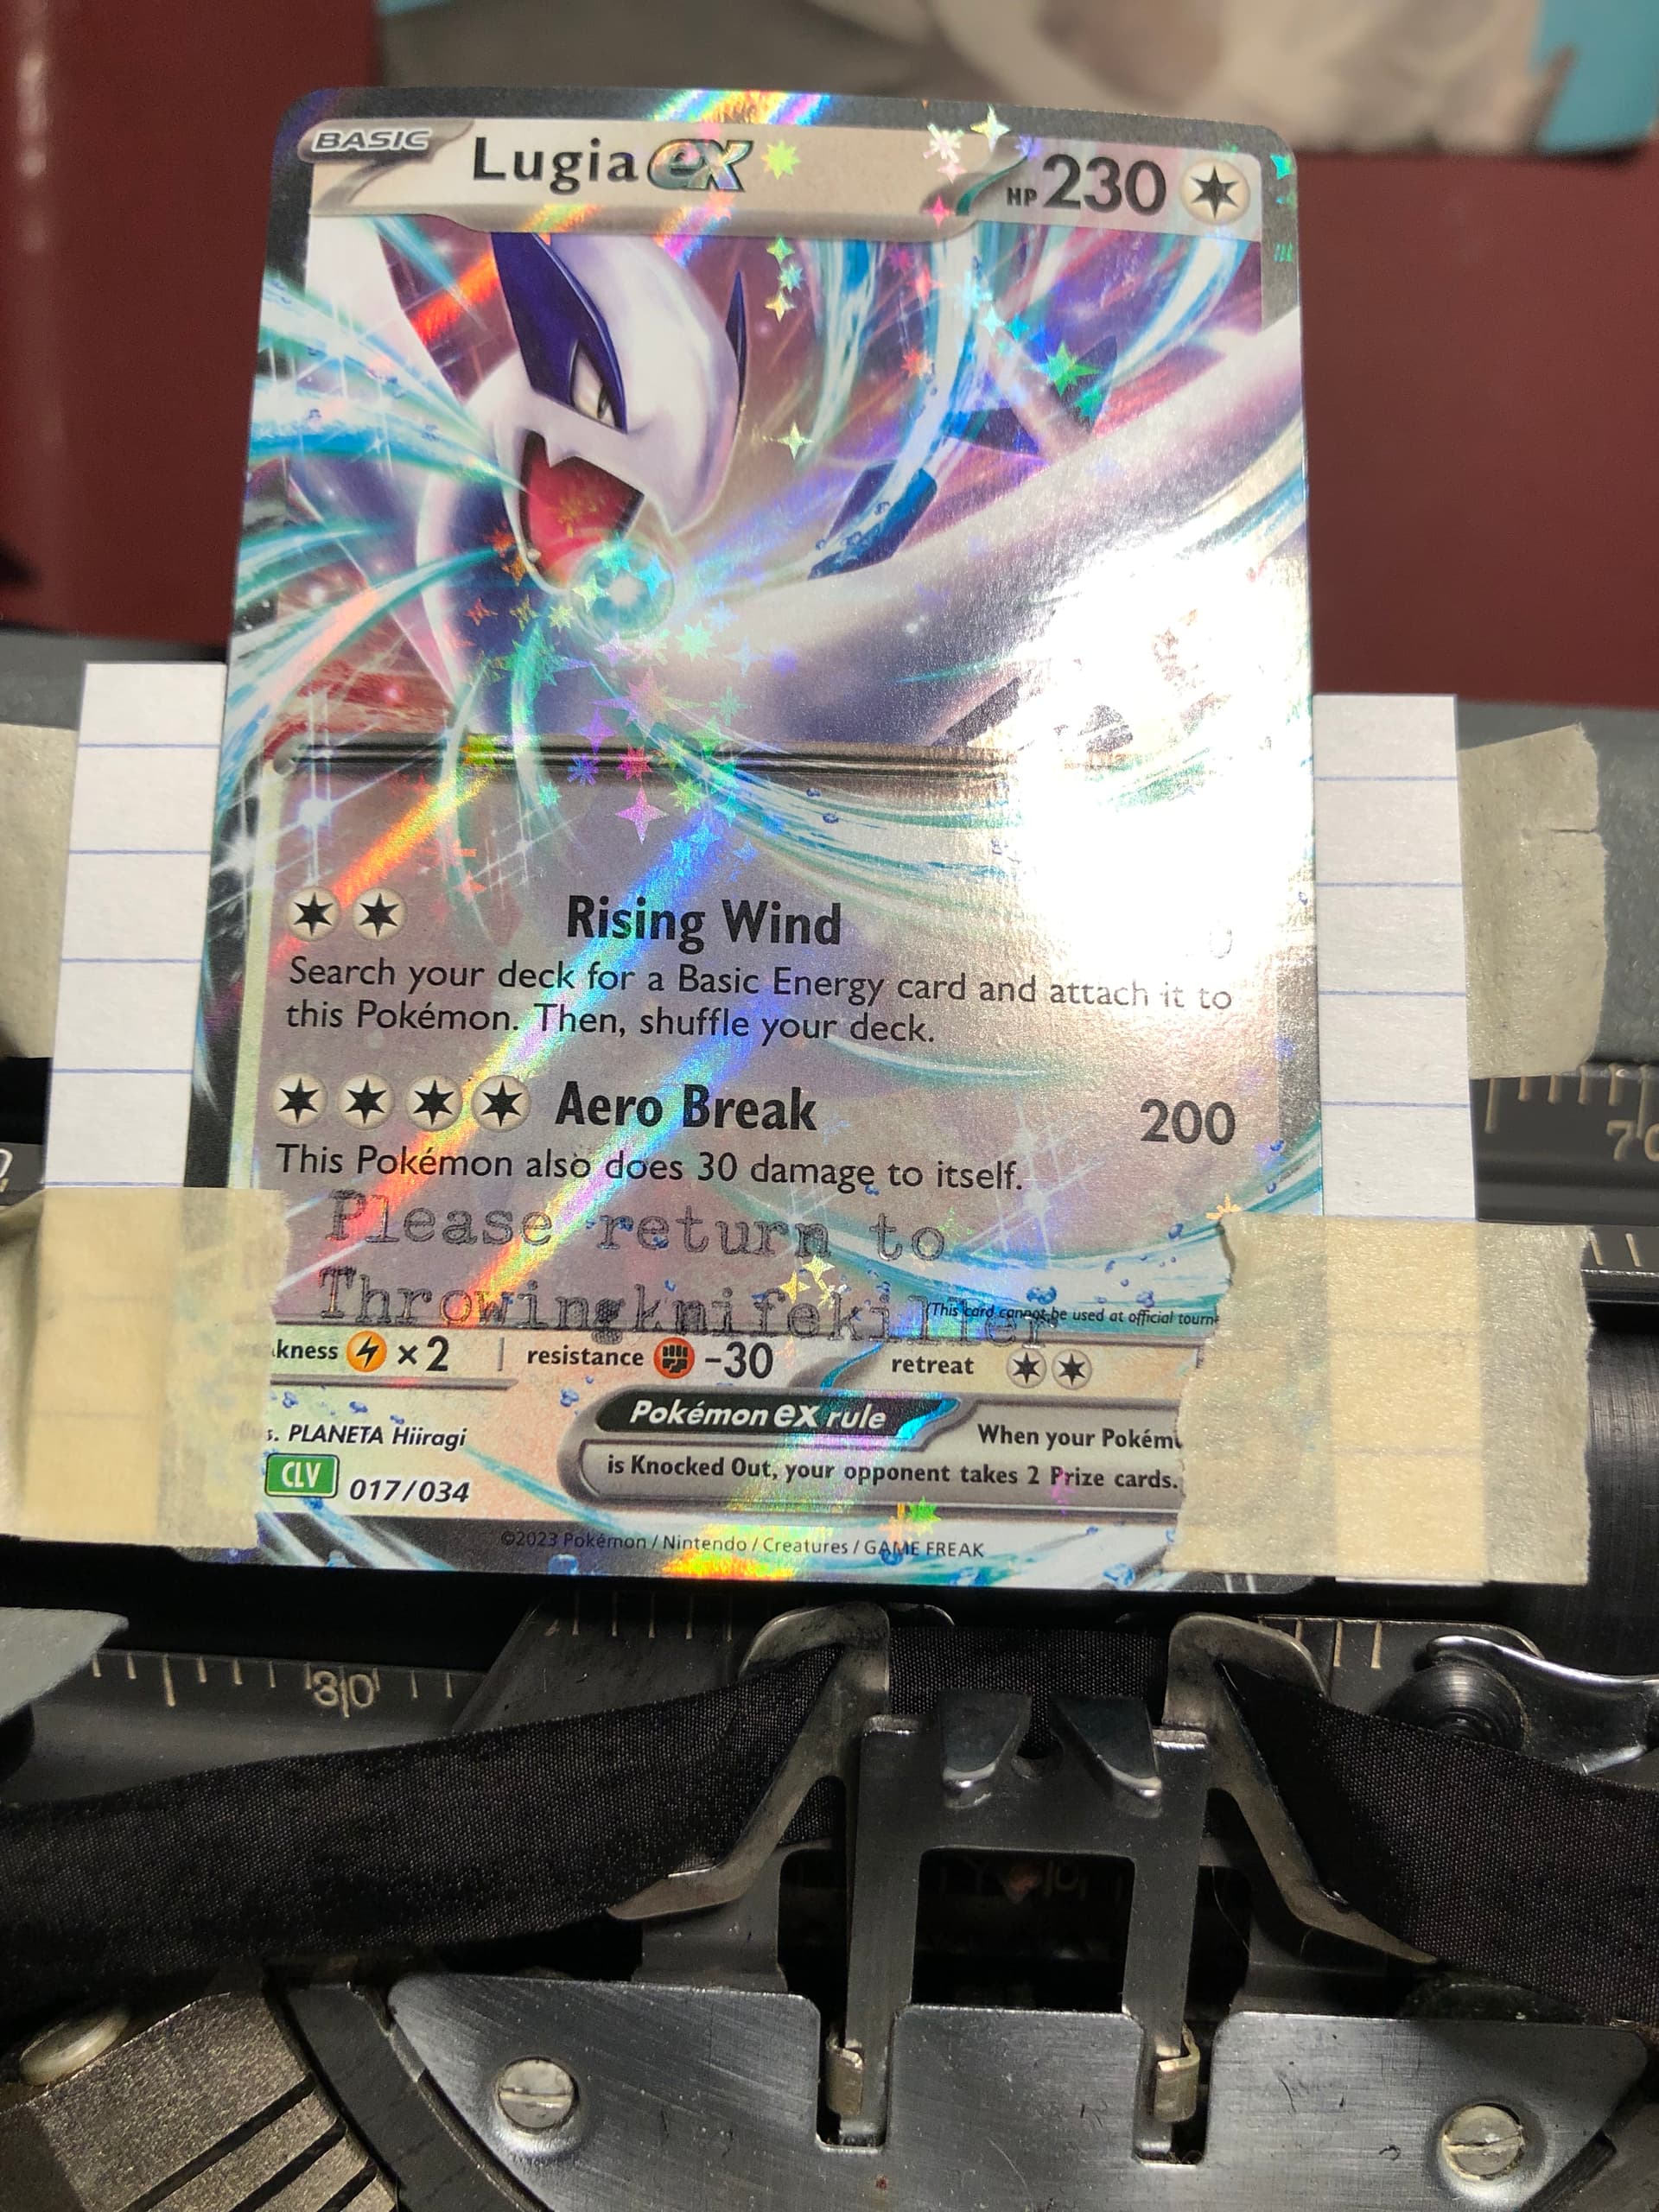
Look at that holo sparkle!
Sizing:
I had purchased many molds since I wasnt sure if I wanted a casted block but each mold was massively oversized and would require a lot of extra resin and sawing/sanding at a later stage. The luggage tag molds would fit the cards with a little bit of border trimming and still keep similar dimensions. The molds I had for luggage tags were technically 2 sided so that you could use UV resin to combine each side and leave a void to place identifying information between them (you know, like an actual helpful luggage tag). That was complex and extra time consuming so I opted for taking one side, cutting down the pokemon card, and letting it just be more of an identifier tag than an actual informational tag.
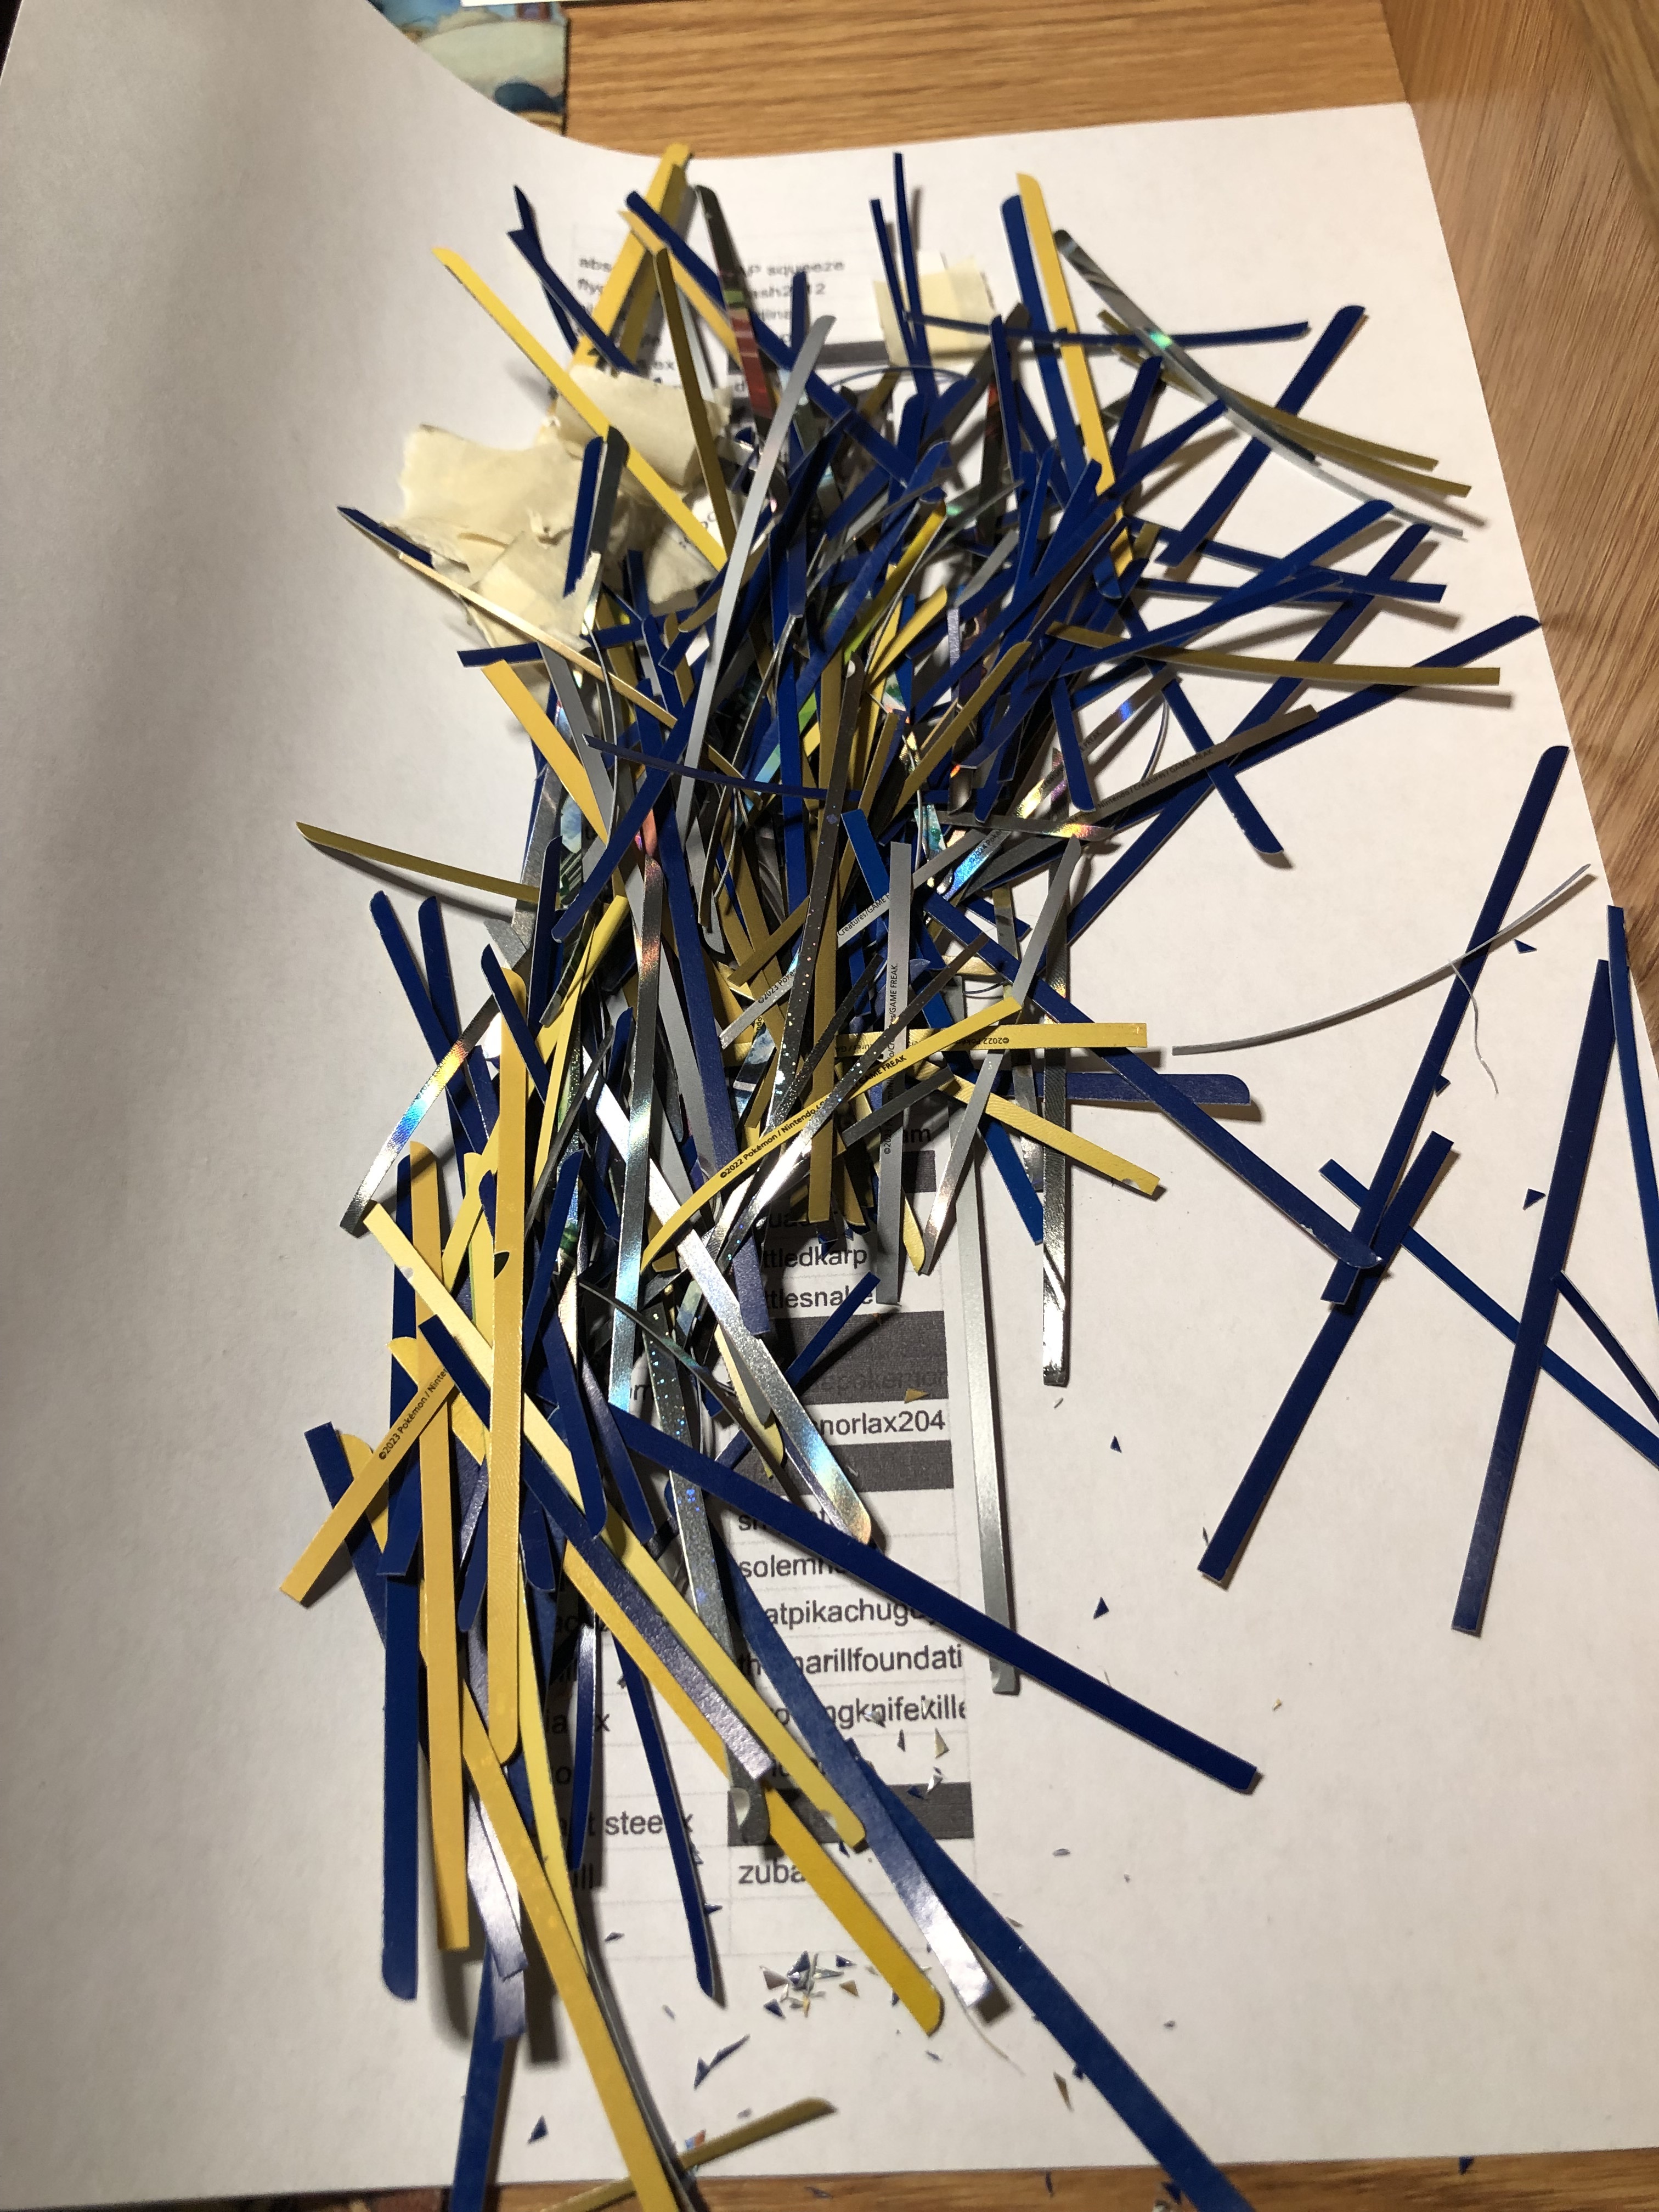
All the removed edges and trimmed corners.
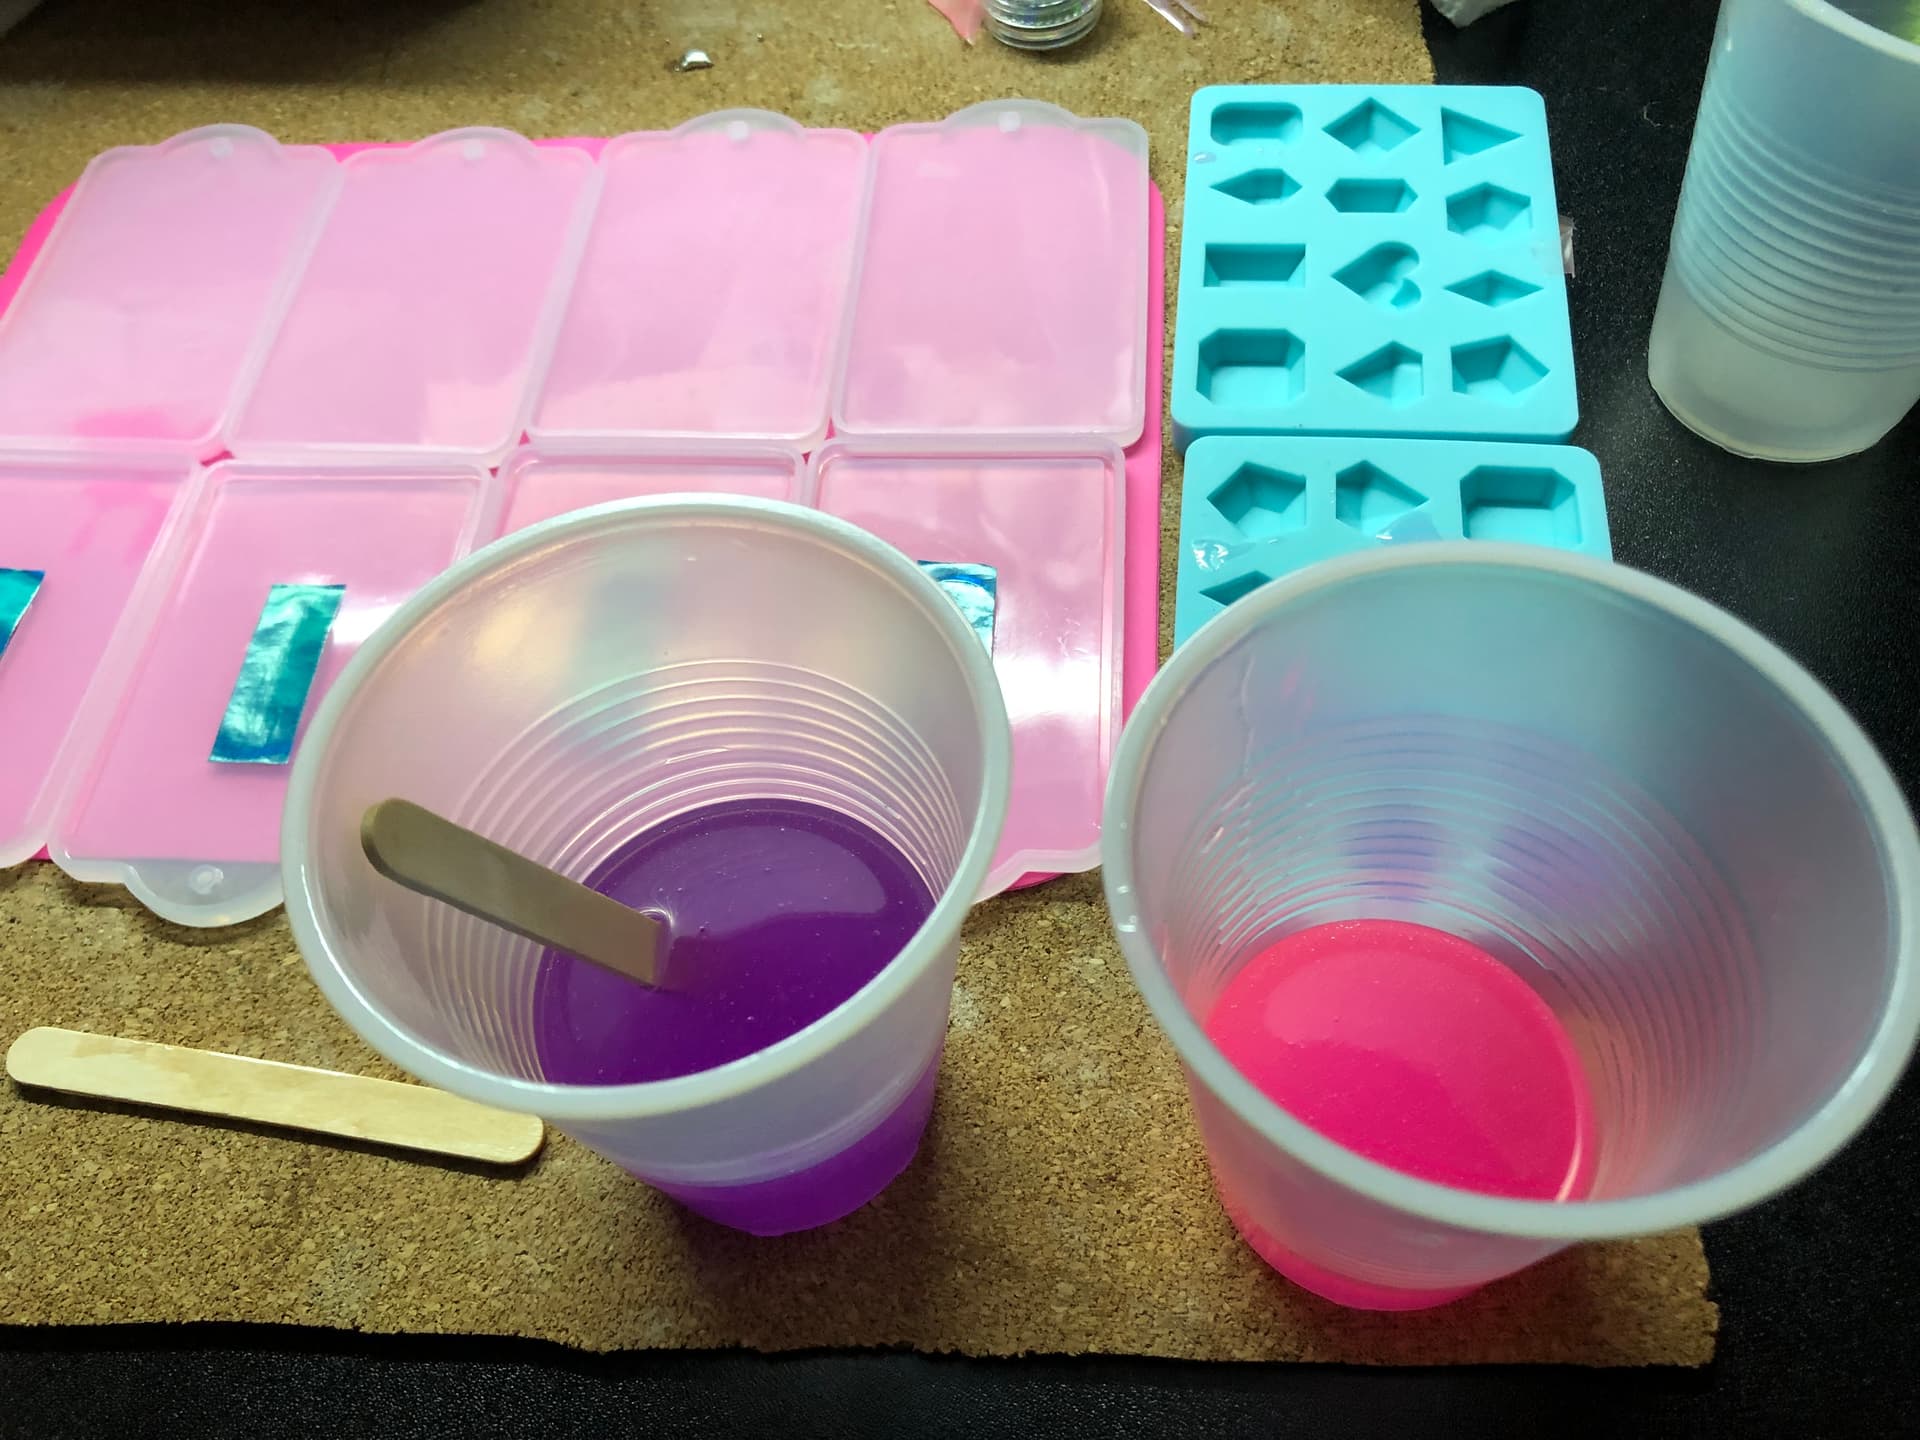
Pouring resin:
I started with some test cards to see if this would work, it more or less did enough that I could move on to doing it for real. Resin has a working time of 10-15min suggested so I had to move quick. Mixing the 2 parts together must be done quickly and thoroughly or else the resulting outcome will not have the qualities of fully cured resin. Instructions for the type of resin being used should be followed and in this case a 1:1 ratio confirmed by weight was used. This mixing process adds a lot of air to the process and the proper solution is to use a vacuum chamber to remove the air before pouring or even after… I dont have that so the low tech is to pour back and forth slowly to help let the air settle out and then pop and bubbles that remained either using heat or physically popping them.
I added glow-in-the-dark powders to each resin mix to create a wonderful effect when the lights go out while still trying to keep the powders tint not overpowering the card art, this was a work in progress and started heavy while smoothing out as pours went on, I also had to make sure to only use e4 colors for the glow powder used to keep tints consistent.
Before Pouring
Results of two-tone pour, you can sorta see the difference but it was such a thin pour that the effect wasnt overly pronounced.
Once the resin was mixed, I had to try suspending the card in the resin by partially coating the mold, placing the card in a way to not trap air beneath it, and then pouring over the card. I did this because my test cards ended up with large voids of resin where air bubbles remained beneath the cards and this kept the resin from covering the back of the card completely. Luckily the mold was small enough and the card is light enough that this was minimally an issue and I just had to make sure any extra bubbles that clung to the cardstock were brought to the surface to be popped.
Letting it cure:
Once poured, covering the mold to prevent any stray dust from landing on the resin while it cured was a must. Also the cure time was recommended to be 8hrs but it varied depending on the amount of resin and depth of the pour. Because of the shallowness of this pour and because resin uses its own reaction heat to help it cure, the cure time was 12hrs minimum to be removed from the mold but preferably 24-36hrs. Things that arent said in the instructional videos is that even if it is removed from the mold, it is not fully cured and will still take on an imprint of anything it is resting on for the next 24ish hours. You can imagine that since I had to make about 13 batches and each one took minimum of 24hrs, and real life getting in the way, that I was in quite the time crunch. Sadly, some of the cards picked up other textures from outside influences before I found this out and by that time it was too late to smooth the results, oh well, I guess these are Artisan Tags.
Presentation steps:
You really think thats all I did? That I took them from the mold and put them into a sleeve and shipped it to Slade? Heck no, I want to try everything in this so now its time for polishing.
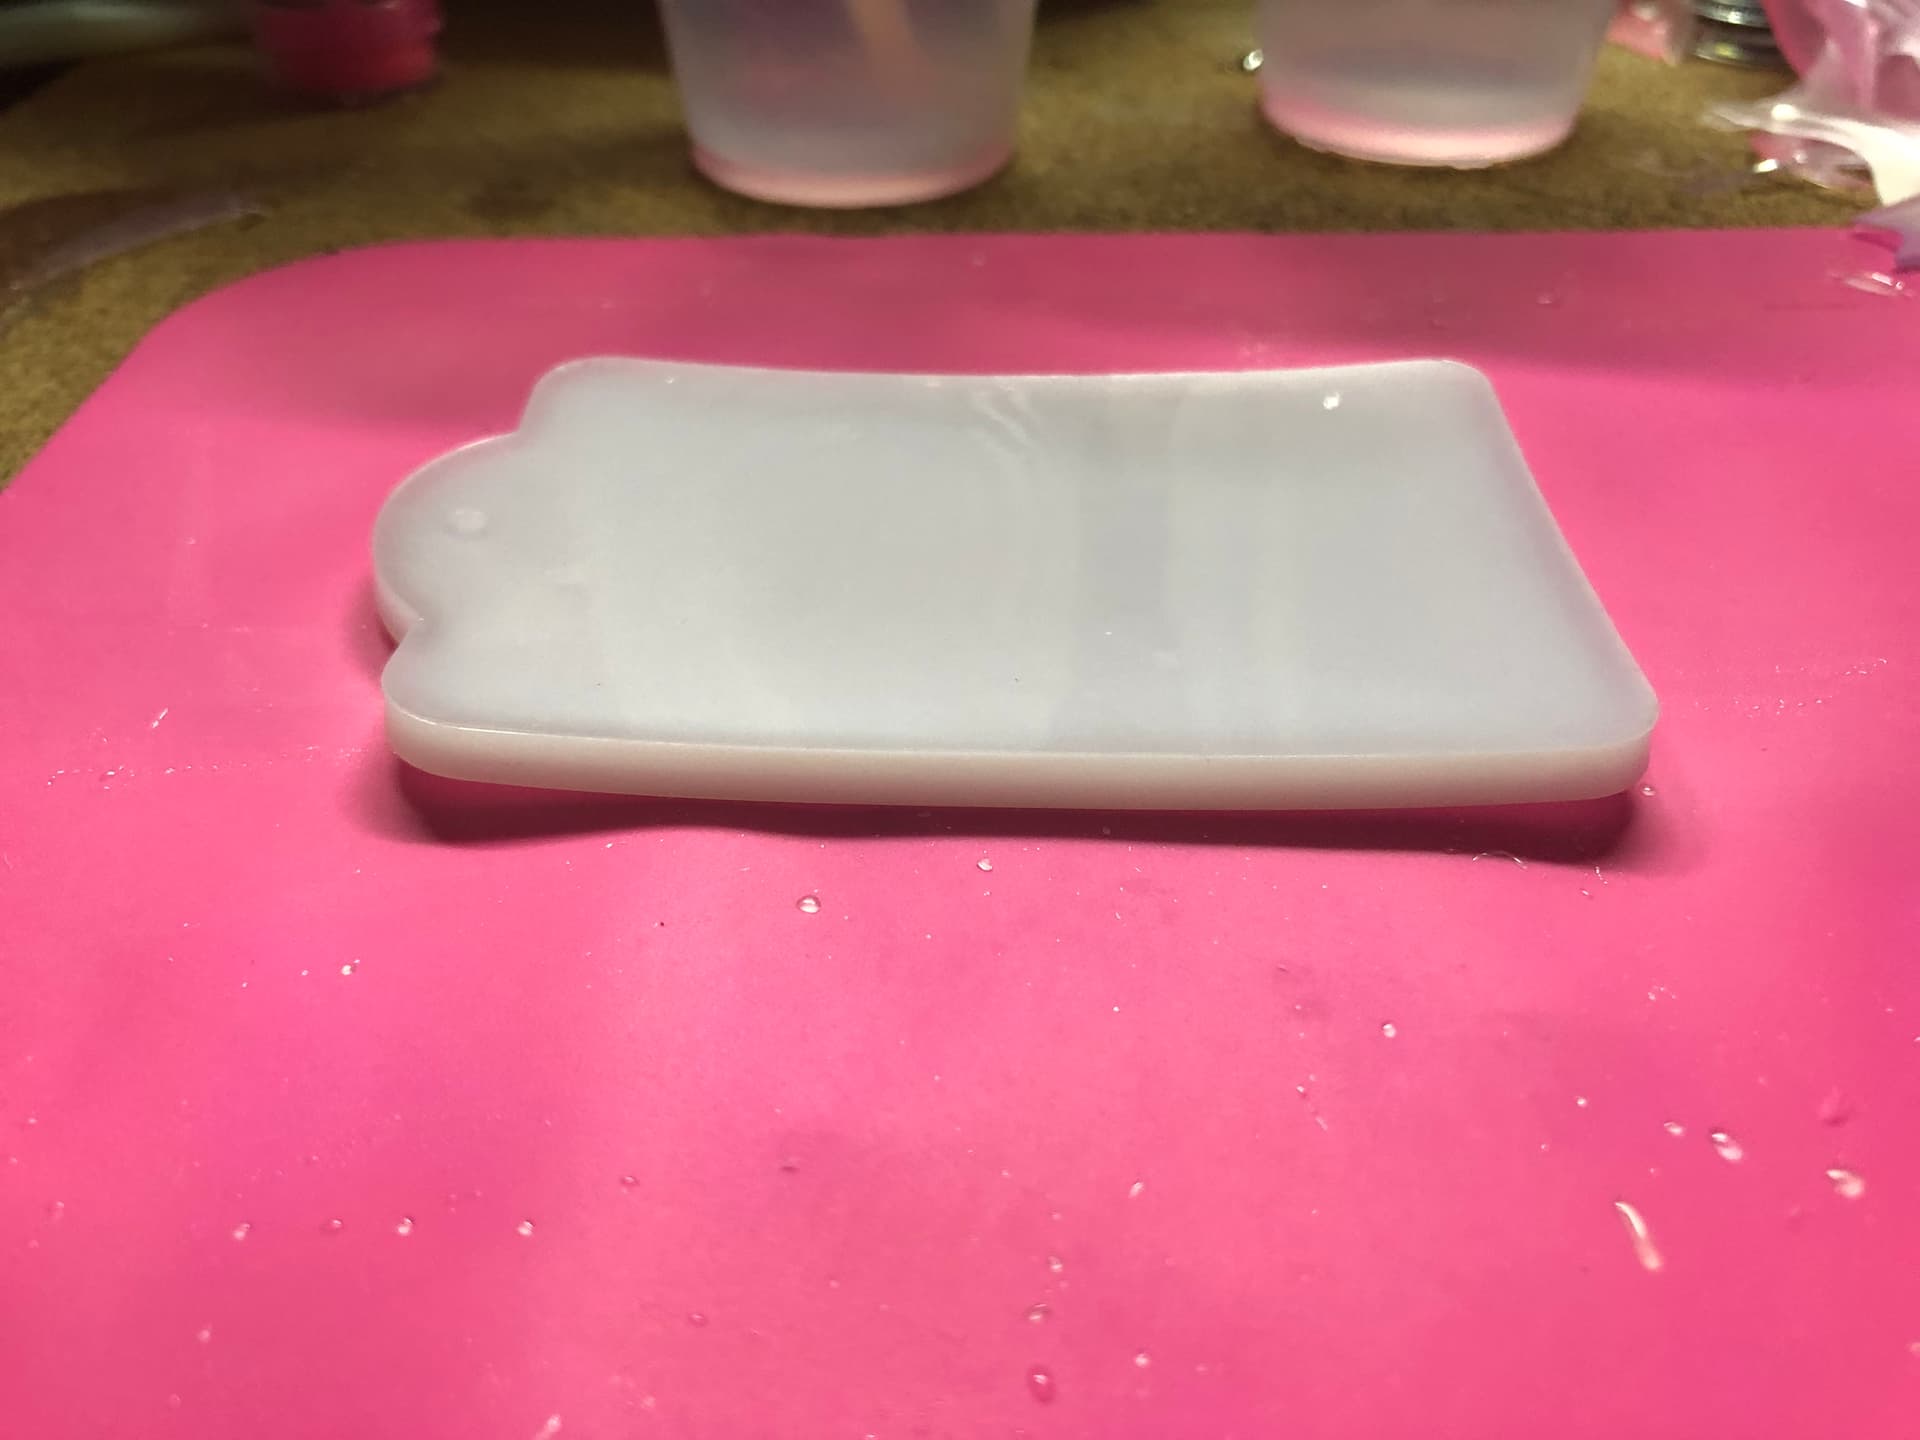
I had to sand down some edges where the resin leaked to remove any sharp points. I also tried sanding with an orbital sander all the way up to about 1500 grit to make a mirror like shine but the resin remained cloudy for the amount of work (and continued time) I was willing to put into it, remember there are almost 50 of these things! So instead, I decided to wash and use a wax to polish the newly created tag to remove some of the film from its casting. I also had to redrill the hanging holes as some of the pours were a “little” overfilled.
This turned out great and aside from the new car smell, they seemed mostly good to go.
Kinda a film still on it…
Nice a polished
The problems:
Besides the timeline being a problem, I was trying to solve the limited amount of molds I had. I decided to try using the other half of the luggage tag mold, modified with tape to allow easy release, to speed things up. This turned out to be disastrous. The tape did not hold to the mold and allowed the resin to flow beneath it which then made it encased in resin. Unless I was willing to sand away layers for subpar signature cards, I had to find more cards and repour. I really liked those too ![]()
They look great!

Tape embedded and resin leaked beneath.
Even after removing extra resin, couldnt get the tape out without destroying portions of it.
Next was the more serious problem that I didnt expect, the molds began to malfunction.
After the first few pours, I began to notice that during the cure process the molds would begin to spill over. I first thought that it was normal as the resin cured that perhaps it would release some of the air and settle, which would shift it over the already domed pour and overfilled mold edge. Around 10 pours in, with only a few more to go, I realized that the molds had become so warped from use that they would no longer work for this without some intervention. The mold was now cupped in a way that pulled away from the card so it was highly likely that the resin would flow away from covering it completely. The quick and dirty fix, since I was already out of time and didnt want to wait 4 weeks for more molds, was to boil them in hopes the heat could reshape them. Unfortunately this only helped minimally since the quality is low, fortunately it helped enough that I could take all the resin castoffs and create a ring around the base with enough pressure that it would sort of counteract the warping. It worked, sort of, and I quickly finished the project.
Complete resin blowout because the molds are bowed.
You can see how cupped it is here with the mold face down. Kinda difficult to pour flat when it wants the resin to pour out the sides.
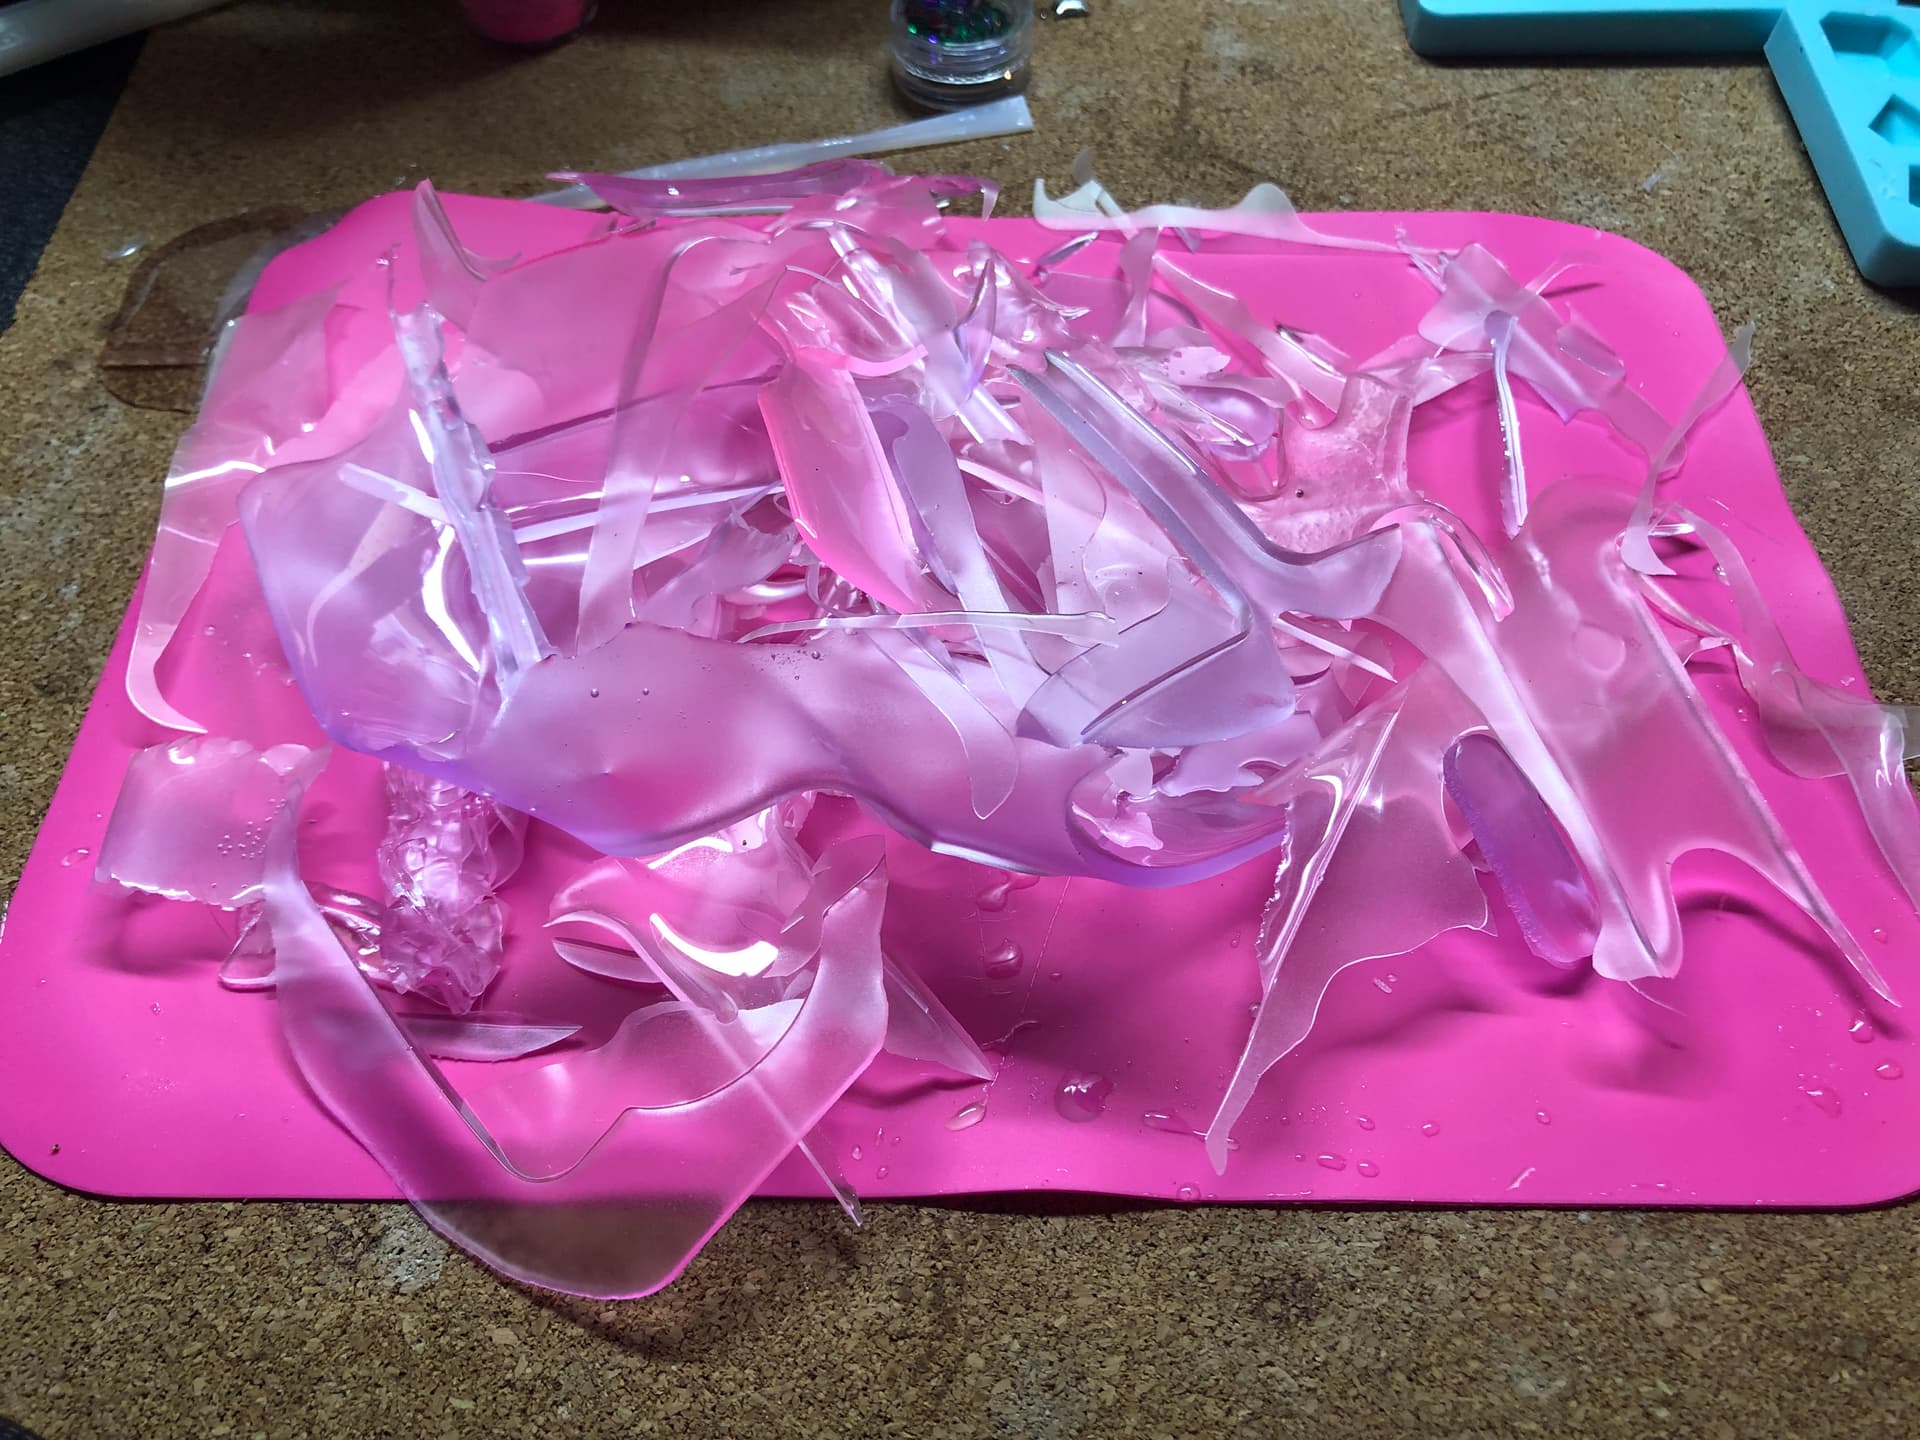
All the overpour and leaked scraps that I had made. After this I positioned them to help bend the molds flattish enough to finish the project.
Things learned:
Resin is fun but make sure you have gloves. Resin itself is expensive and more care should be taken to not to drip all over or track pour lines since those will harden and a lot of post processing is needed to clean things up. Mixing is vital, some of the cards no doubt were mixed poorly and may never reach full hardness. Typewriter ink is not bound to paper (or glossy cardstock) by anything more than percussive force and will both smear or run if bothered.
And finally, maybe not do it on a timeline where people are waiting on the completion ![]()
Results:
Here are all the tags I made for the 2025 Signature Exchange
If I made an error somewhere then Im sorry, I was rushing most of the time ![]()
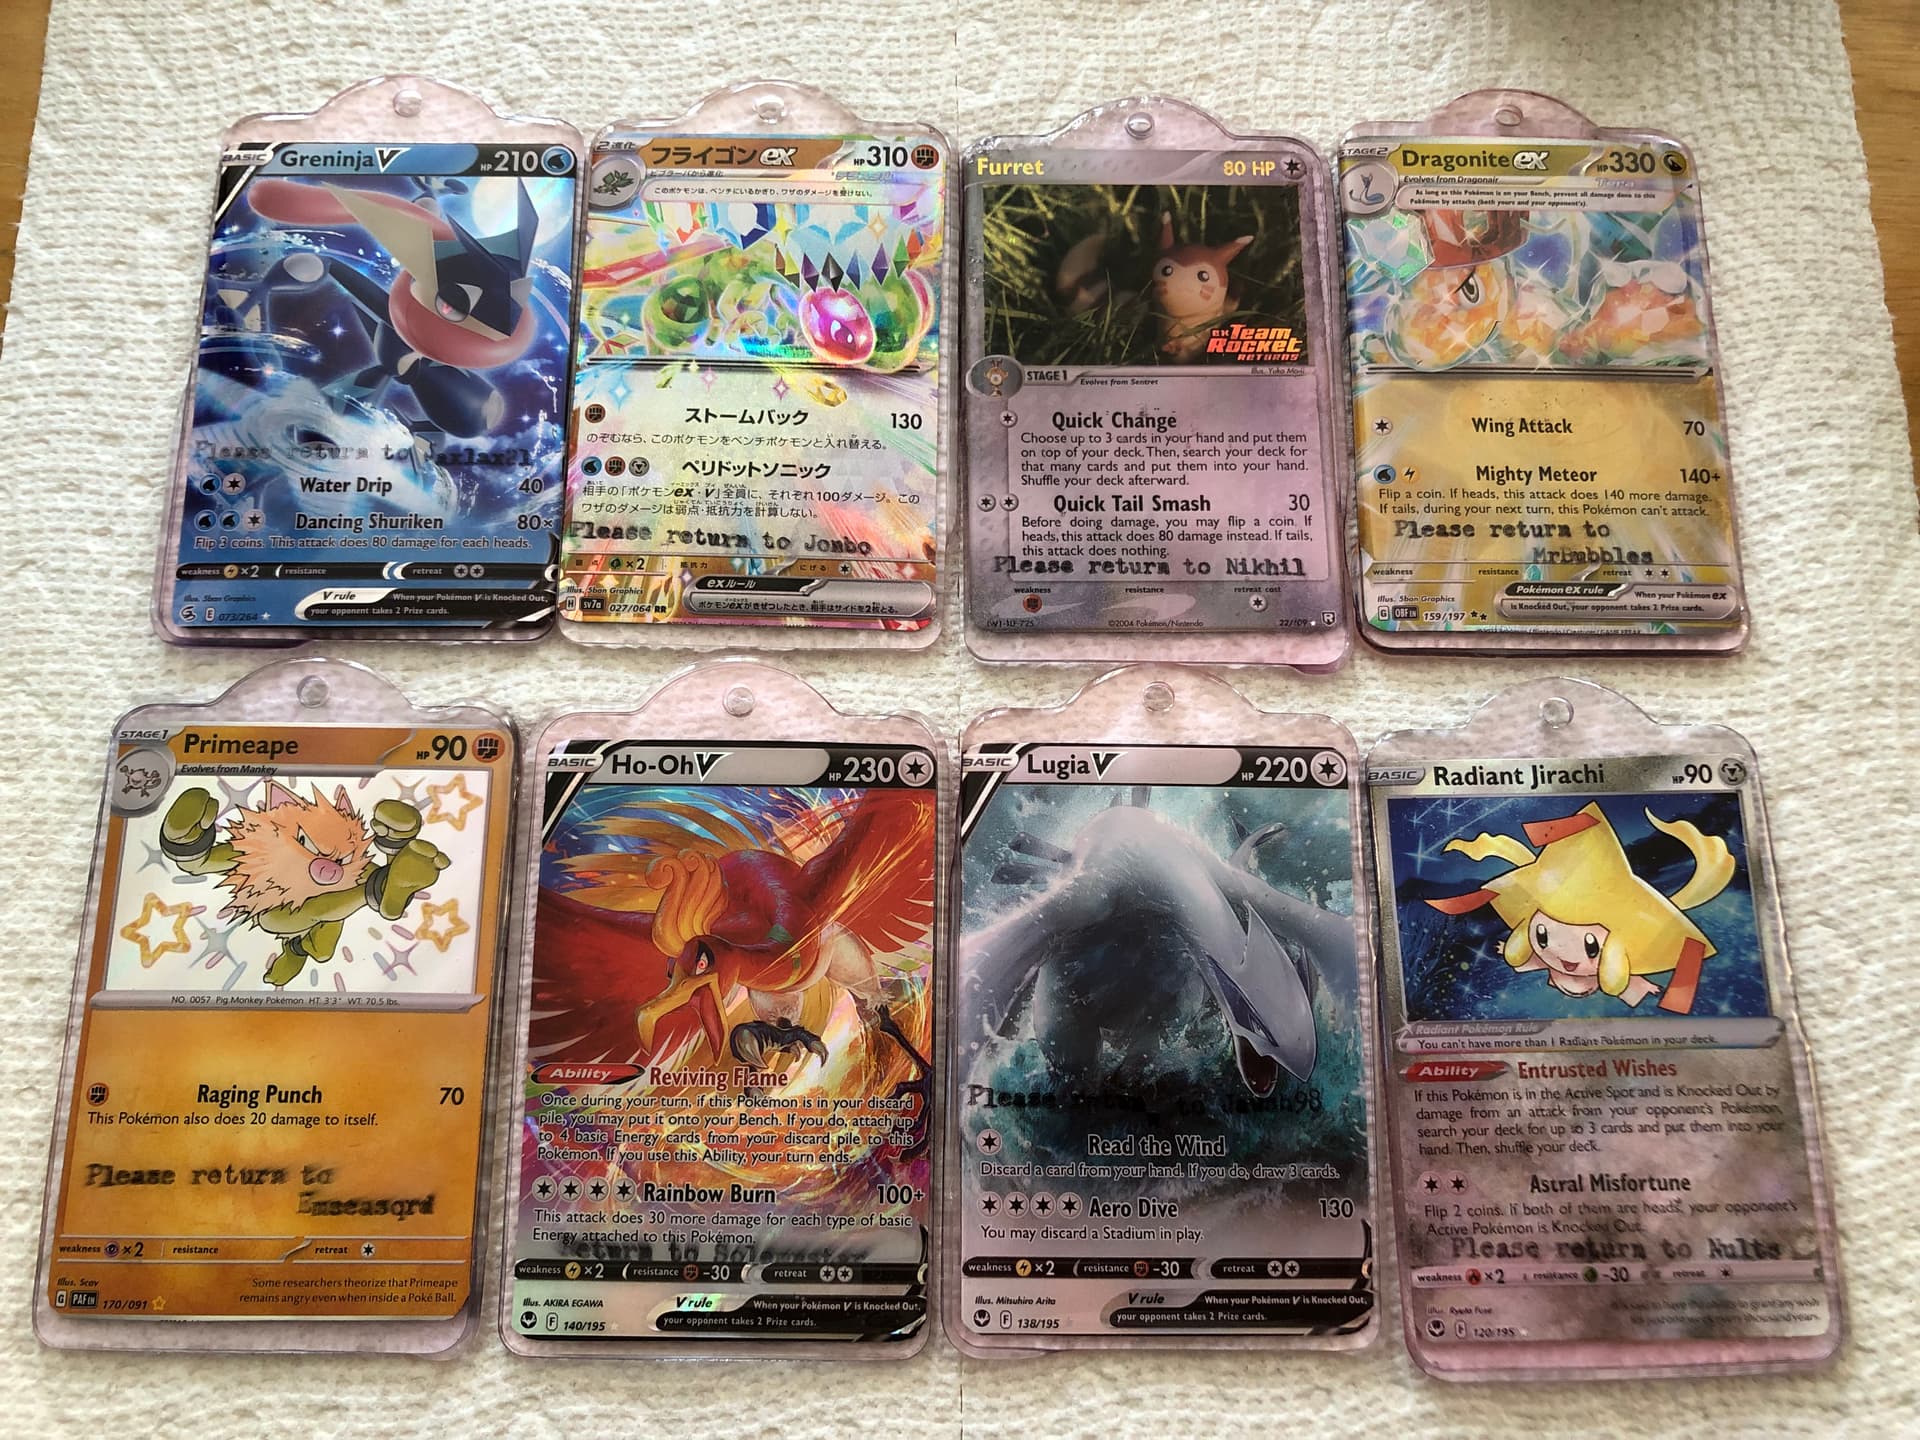


Oh, I did forget to do one for @Bash2112 because the other flygon ex card threw off my list. I had it, just forgot to make it in all the other batches and kept counting and recounting but couldnt figure out where I was missing a card. I realized it was missing the day after I sent out my box and it was made and sent to slade immediately.