Automatic Straighten And Crop Card Images Tool - SAC v1.0.1 11/19/2023 Release

Introduction & Background

I’m proud to share my first release of a tool that I’ve been working on for a bit now. Born from my own necessity, this tool aims to speed up the workflow for sharing images of collectible cards.

One of the steps for sharing basic, but high quality images of your card/slab is to ensure it is straight and the whitespace around isn’t too big. Whether you’re using a camera or a scanner, the direct output from these devices requires some processing effort.

With this new tool you no longer have to bother with scanner-bed-guides or photoshop, simply load the images into the tool and watch the magic happen (well there’s a bit more to it, but more on that later).


Examples


Above is pictured the input image (left) and the resulting image (right) of a raw card. The same can be done with slabs:


How does it work?

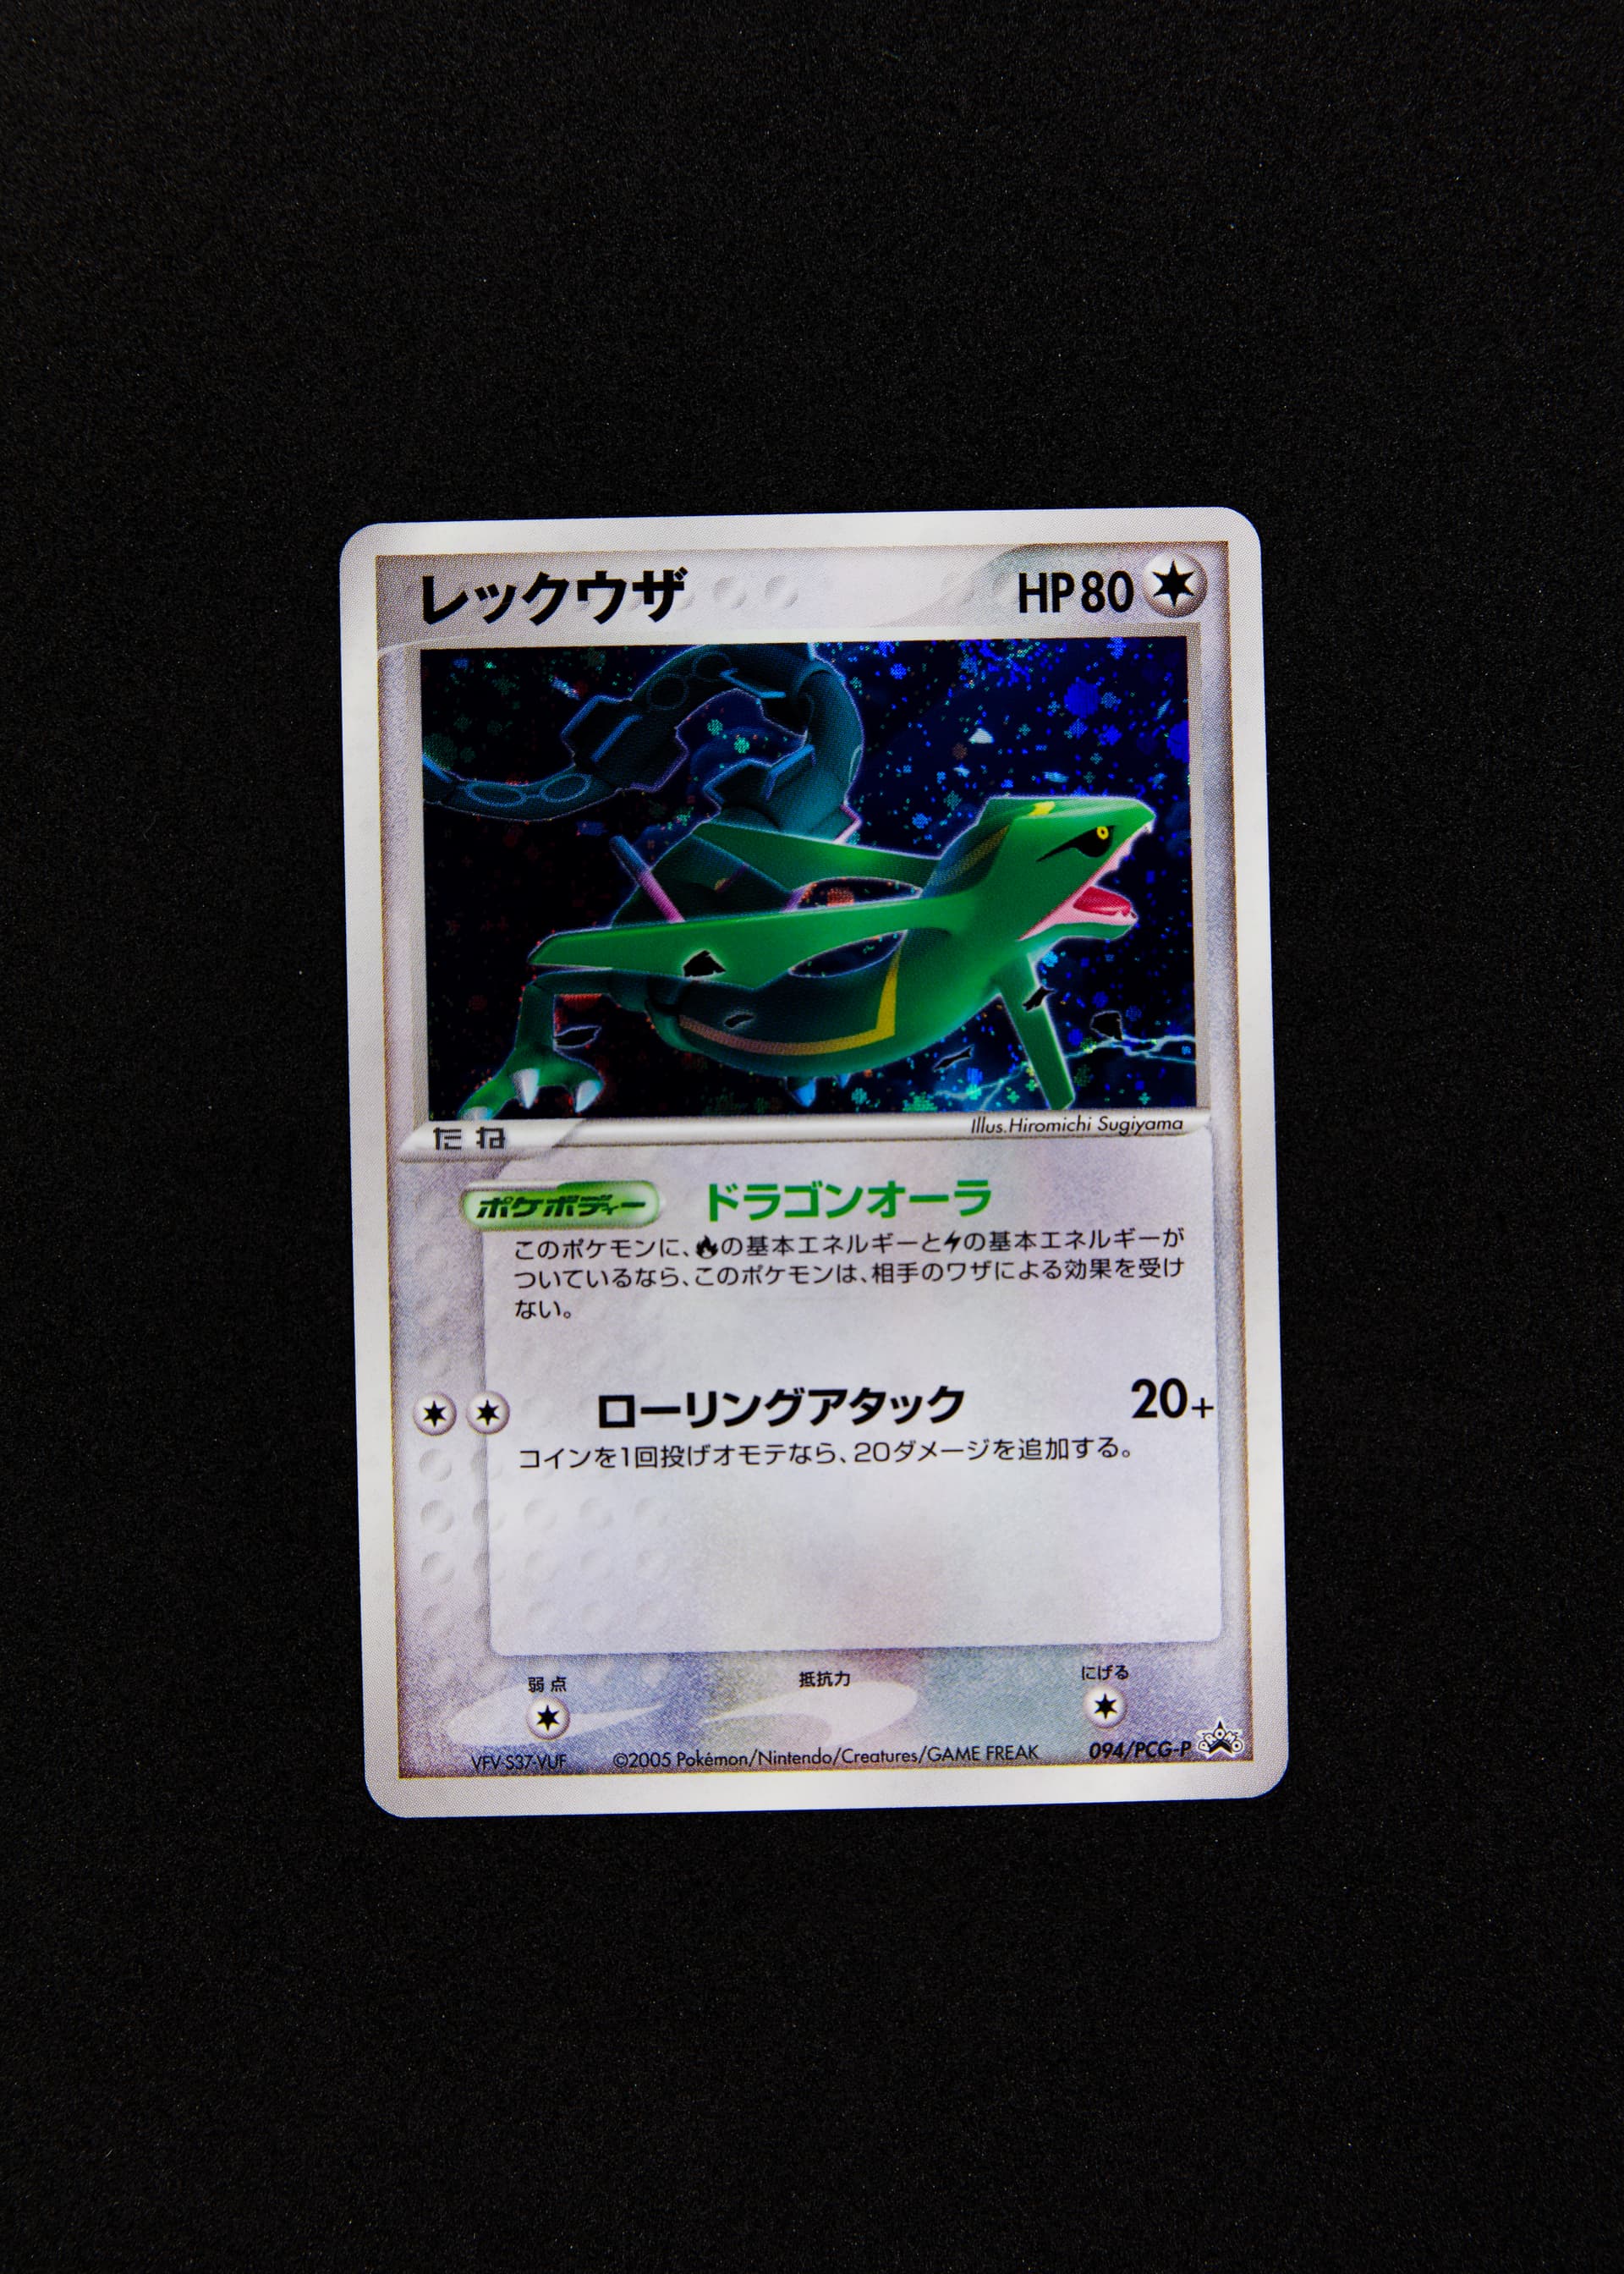
The python script I wrote uses canny edge detection between parts of the image that are bright (i.e. the card) and dark (i.e. the background). I could go into the nitty gritty, but I won’t bore you with it. The only thing you should keep in mind is that the background should be darker than the card or slab.

Below I’ve supplied a link to my Github repository, there can find a download link for the programm as well as the code. Once started you will be presented with the user interface:

Untitled-1

  1. required; click to select the input file.

  2. optional but recommended; click to see a binary preview of the image [1].

example binary preview

  1. optional; click to select an output folder, if no output folder is specified, the result will be saved to the input folder.

  2. required; this is the threshold for the binary image [2], the slider allows you to find the sweet spot. [2] is required if you wish to see the effect on the preview. Ideally the card is entirely white, and the background entirely black. For me the range 30-50 has given the best results.

4. example threshold slider

8f2e3fd374f74e66b266af94fcd7125a

  1. optional but recommended; this value determines the amount of pixels around your card which will be preserved. When left blank, a value of 0 is assumed (no buffer around the card).

  2. required; Run the script. Note there is no indication that the script is finished. Start at [1] afterwards if you wish to process more images.


Getting the script

You can obtain an installer (setup.exe, no python required), or the source code here, under Assets. The executable should immediately function on any windows pc, the source code contains a few scripts. Aside from the direct source code for the executable (Straighten_And_Crop.py), it also contains the two scripts which together allow you to run this code for multiple images at once (Straight_Crop_Cardpics.py and houghlines.py).


Known flaws

By no means is this code flawless, it requires good input to produce the best results, so generally speaking: rubbish in, rubbish out. Aside from this general principle a few things I’ve encountered in testing:

  • Raw cards with dark borders give the hardest time. This includes: V-cards, English backs, Japanese old backs.
  • The script is set up to detect a single card, having multiple cards in the frame will probably not work.
  • Trying actively to break the script will definitely work, smuggling characters where they’re not supposed to be can crash the script. It is currently not idiot-proof.

Q&A

Q: The script is giving me an error, what am I doing wrong?

A: If you’re trying to run the python script, but it doesn’t work, make sure you have installed all the required packages and have the scripts in the same directory. If that wasn’t the issue please contact me.

Q: How will I know where to find the output file?

A: The output file is saved to the directory you specified, if you didn’t specify an output directory, it will be in the same as where the input file is located. Output files are written as “X_[original filename]”.

Q: I’m getting a sliver of an image as output, why is that?

A: The binary image is probably not good enough, and the script is only detecting 2 or 3 “strong” edges. Try playing around with the threshold value. Alternatively, if the output image would be larger than the original image, this can also happen. If that is the case, try decreasing the buffer-value.

Q: I have found a bug with the script, what do I do?

A: Please contact me so I can try to patch it.

Q: Will you work on improving the current version?

A: There are a lot of improvements possible (e.g. processing multiple images simultaneously with the .exe), but the current version works well enough for me. Before I commit a lot of time I wish to know people actually are using this. So it depends…


Closing words

Thanks for reading, and good luck with your images! This is a beta release of sorts, so expect things to go awry from time to time (I am a mere hobbyist in this space). If you have suggestions or wish to support me, don’t hesitate to get in touch.

I want to give a special shoutout to @pfm, who’s been producing a near identical product parallel to me (and had been doing so well before I started). If my software isn’t to your liking, maybe you could try theirs!

-Expedition

31 Likes

So you’re telling me the effort I’ve been putting into this little project was wasted!?;

I told @stagecoach I was working on this just an hour ago! :sob:

I’ve been looking for a solution like yours for a while, but never found one. I’m excited to go test it out! Thank you for the amazing work! :sparkling_heart:

10 Likes

I don’t own a scanner so I haven’t had the full capability to test everything, but since it works with my photographs, I’m fairly certain it should work with scanner images too.

At the end of the day it fulfills a similar role, and will be up to personal workflow preference. I simply offer an alternative way to do it! :sweat_smile:

Let me know what your results are!

2 Likes

First of all awesome and thank you will def use this, I’m having trouble getting the images straightened on cam photos, It seems like it’s being aligned on the right is there any way to align the card from bottom to top due to cam pics having different perspective with the most variance from left to right?

1 Like

maybe i am the only one not fully understanding… but… is it a app? a online tool? i am not known with Python and/or coding etc, so maybe thats why i don’t really get it just yet. I have a Macbook, can i use this easily? Looks awesome, i hope i can try it out

I feel personally attacked! I have part of a usps box cut out as my scan guide. :older_man:

3 Likes

This is one of the things I came across, most pictures require some warping to be completely straight on all sides due to perspective. Phone pictures tend to be less than ideal in that regard.

I decided this would fall under the “rubbish in, rubbish out” umbrella, and ended up going with the quick and dirty approach which is why it will align to one edge. It’s definitely something I can look into fixing.

1 Like

It is a programm, I considered making it an online tool, but honestly that’s just too much fuss for the early stages.

On this website you can download the programm “SAC.exe”, located in the dropdown Assets at the bottom of the page. This .exe file doesn’t require python.

I honestly have no idea if it works on operating systems other than windows. Your computer may give a warning about the executable, but it’s completely safe (which is why I included the source code for people to check).

1 Like

ok! thanks for the explanation! Ah sorry, i just thought i read “python” somewhere. Imma try it out :)!
edit: oh :")
Screenshot 2023-11-12 at 18.12.14

No rush, just having anything is awesome, will def use this for flat images, appreciate your time/effort!

1 Like

You’d have to use a virtual machine on mac, like parallels.

2 Likes

This is very cool.

I use the top ridge of my scanning window as a centering tool for graded cards and it almost always works well enough for my listings. But I can see how this would be especially great for raw cards.

Thanks for putting in this hard work! The feeling of writing code for it to actually work the way that was intended is sooooo worth the hours of screaming at my screen. I hope that you feel a sense of pride in this project!

1 Like

does this tool works with any type of background?
I see the examples are all dark background.

1 Like

Nice man. I respect it a lot. Fellow photographer here who’s gotten pretty good at editing the images in photo editing software (gimp, darktable).

Love the passion!

1 Like

It has a bit of trouble properly picking up certain types of Pokémon and Holofoil (particularly Darkness and Psychic types and their Reverse Holo printings), but it still saves a ton of work! I’ve updated my collection thread with better scans thanks to this tool!

:sparkling_heart:

2 Likes

This is the wall I hit. Perhaps ironic given I maintain the forum but I don’t enjoy webdev work. I made about 70% of a functional ui and just didn’t put the time into completing it

1 Like

Canny edge detection can detect any contrasting edges. But if you don’t turn it into a “flooded” binary black-and-white image, it may detect edges inside the card which generally messes up the result. With “flooded” I mean any pixel completely surrounded by white pixels will also be white, which is how everything inside the card is white on the preview image.

Pictured below the “flooded” binary image and the subsequently detected edges:


You could use any different dark backgrounds, as long as the edge of the card is a shade lighter in absolute brightness (the threshold value decides what becomes black and what becomes white). Doing the opposite with a white background is absolutely possible (but I think it trips up the code the way I have it right now). It is one of the optional settings I may consider adding (already wrote that in the release notes).

I don’t know if the explanation is clear, it’s a bit hard without posting a wall of text explaining what the code does with example images.

1 Like

Thanks! It definitely feels good to just import a list of photos and have them correctly cropped within a few seconds instead of manually working on them for hours.

ok got it, yes canny edge detection is good. I used it before, thanks for the explanation.

same here, hitting the same wall as I work on tcgfish…