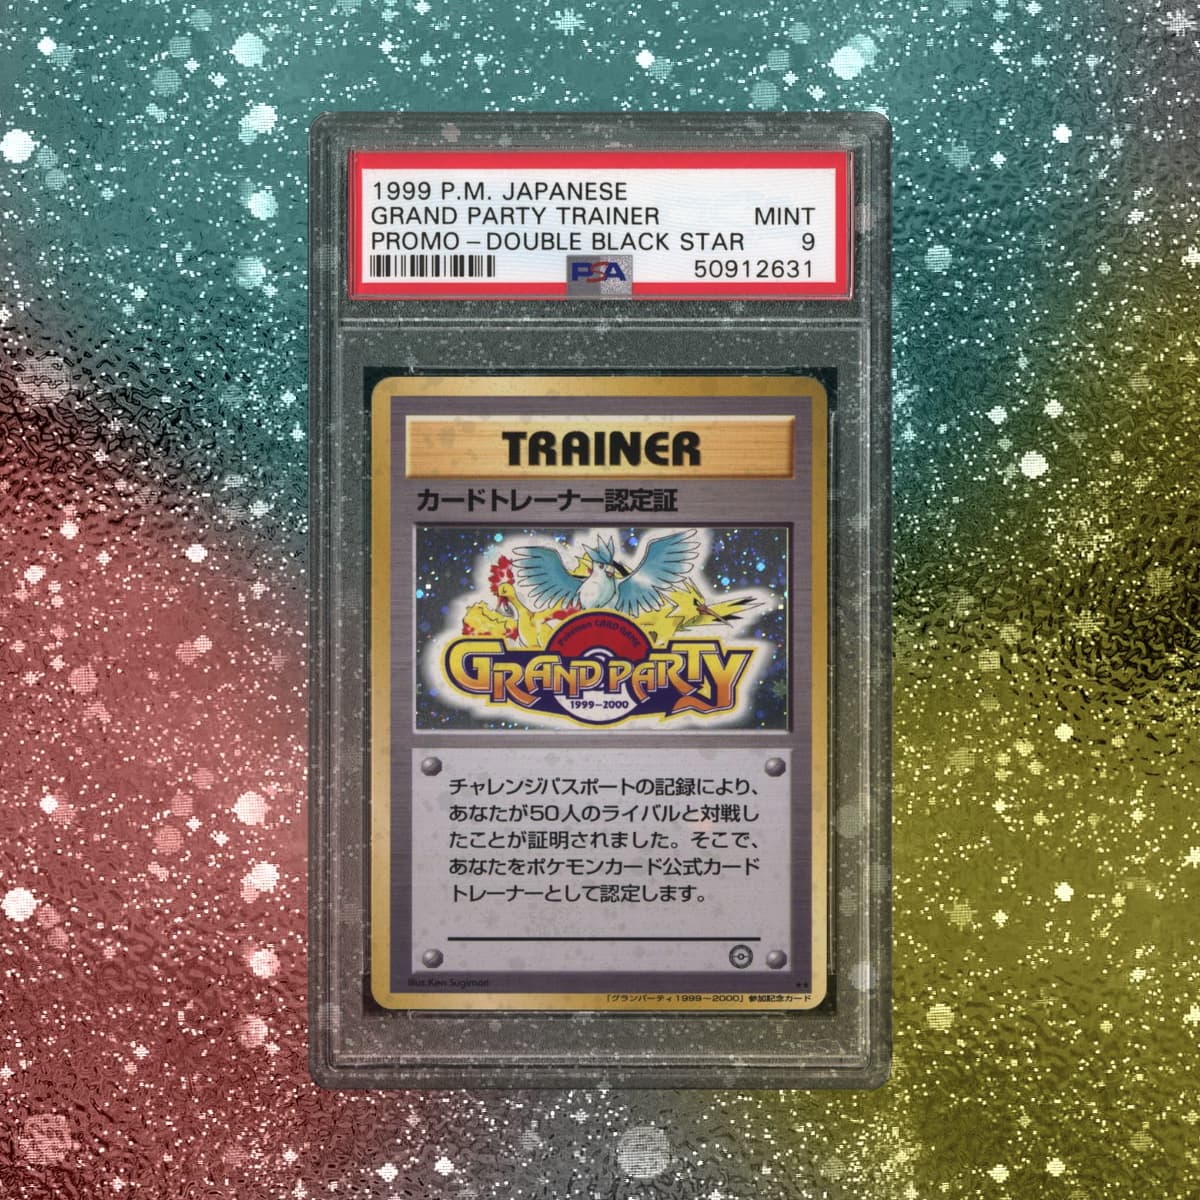
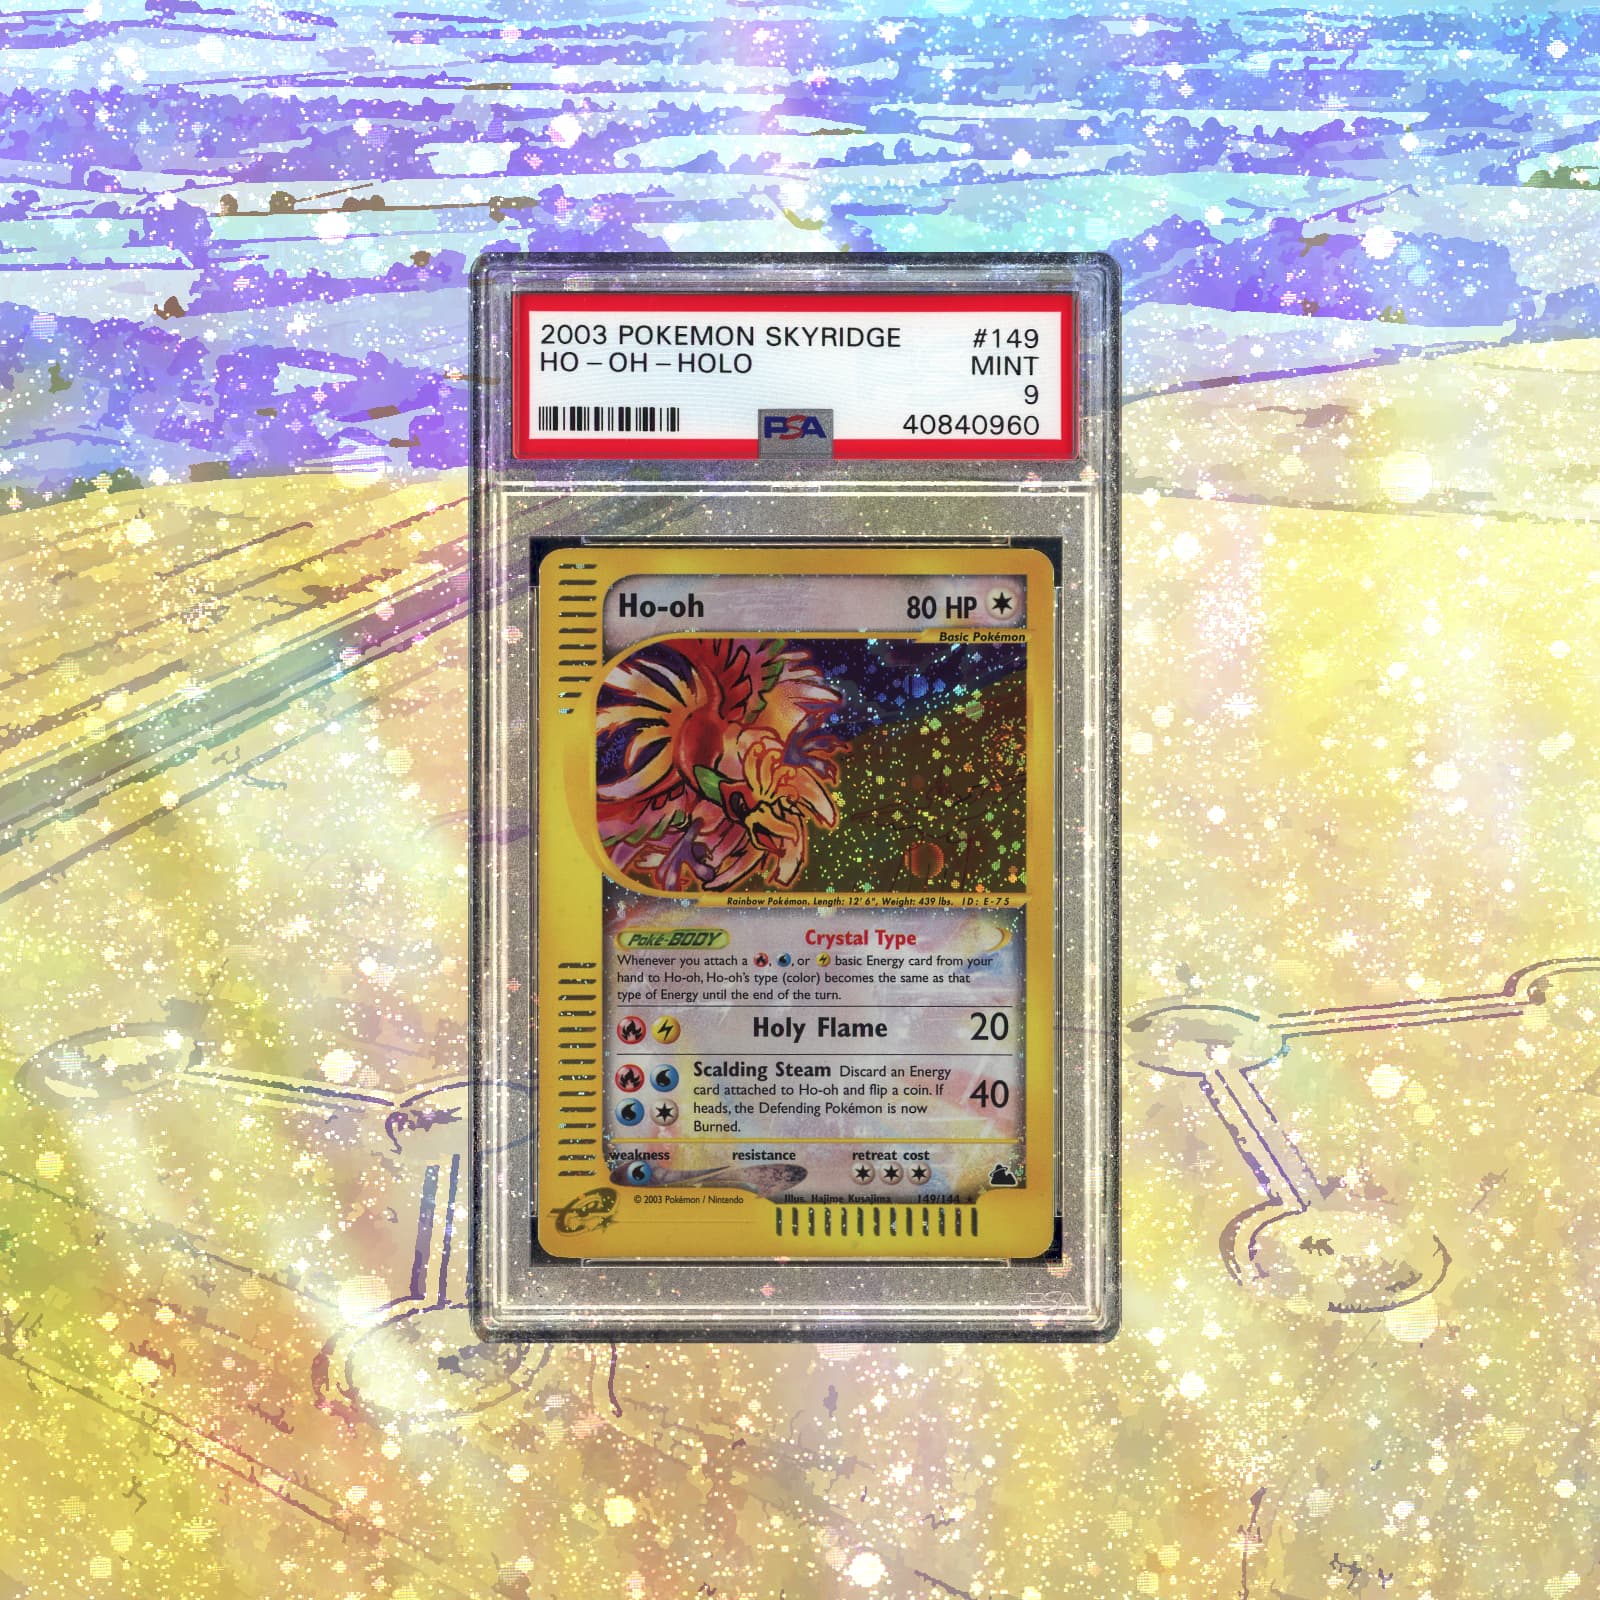
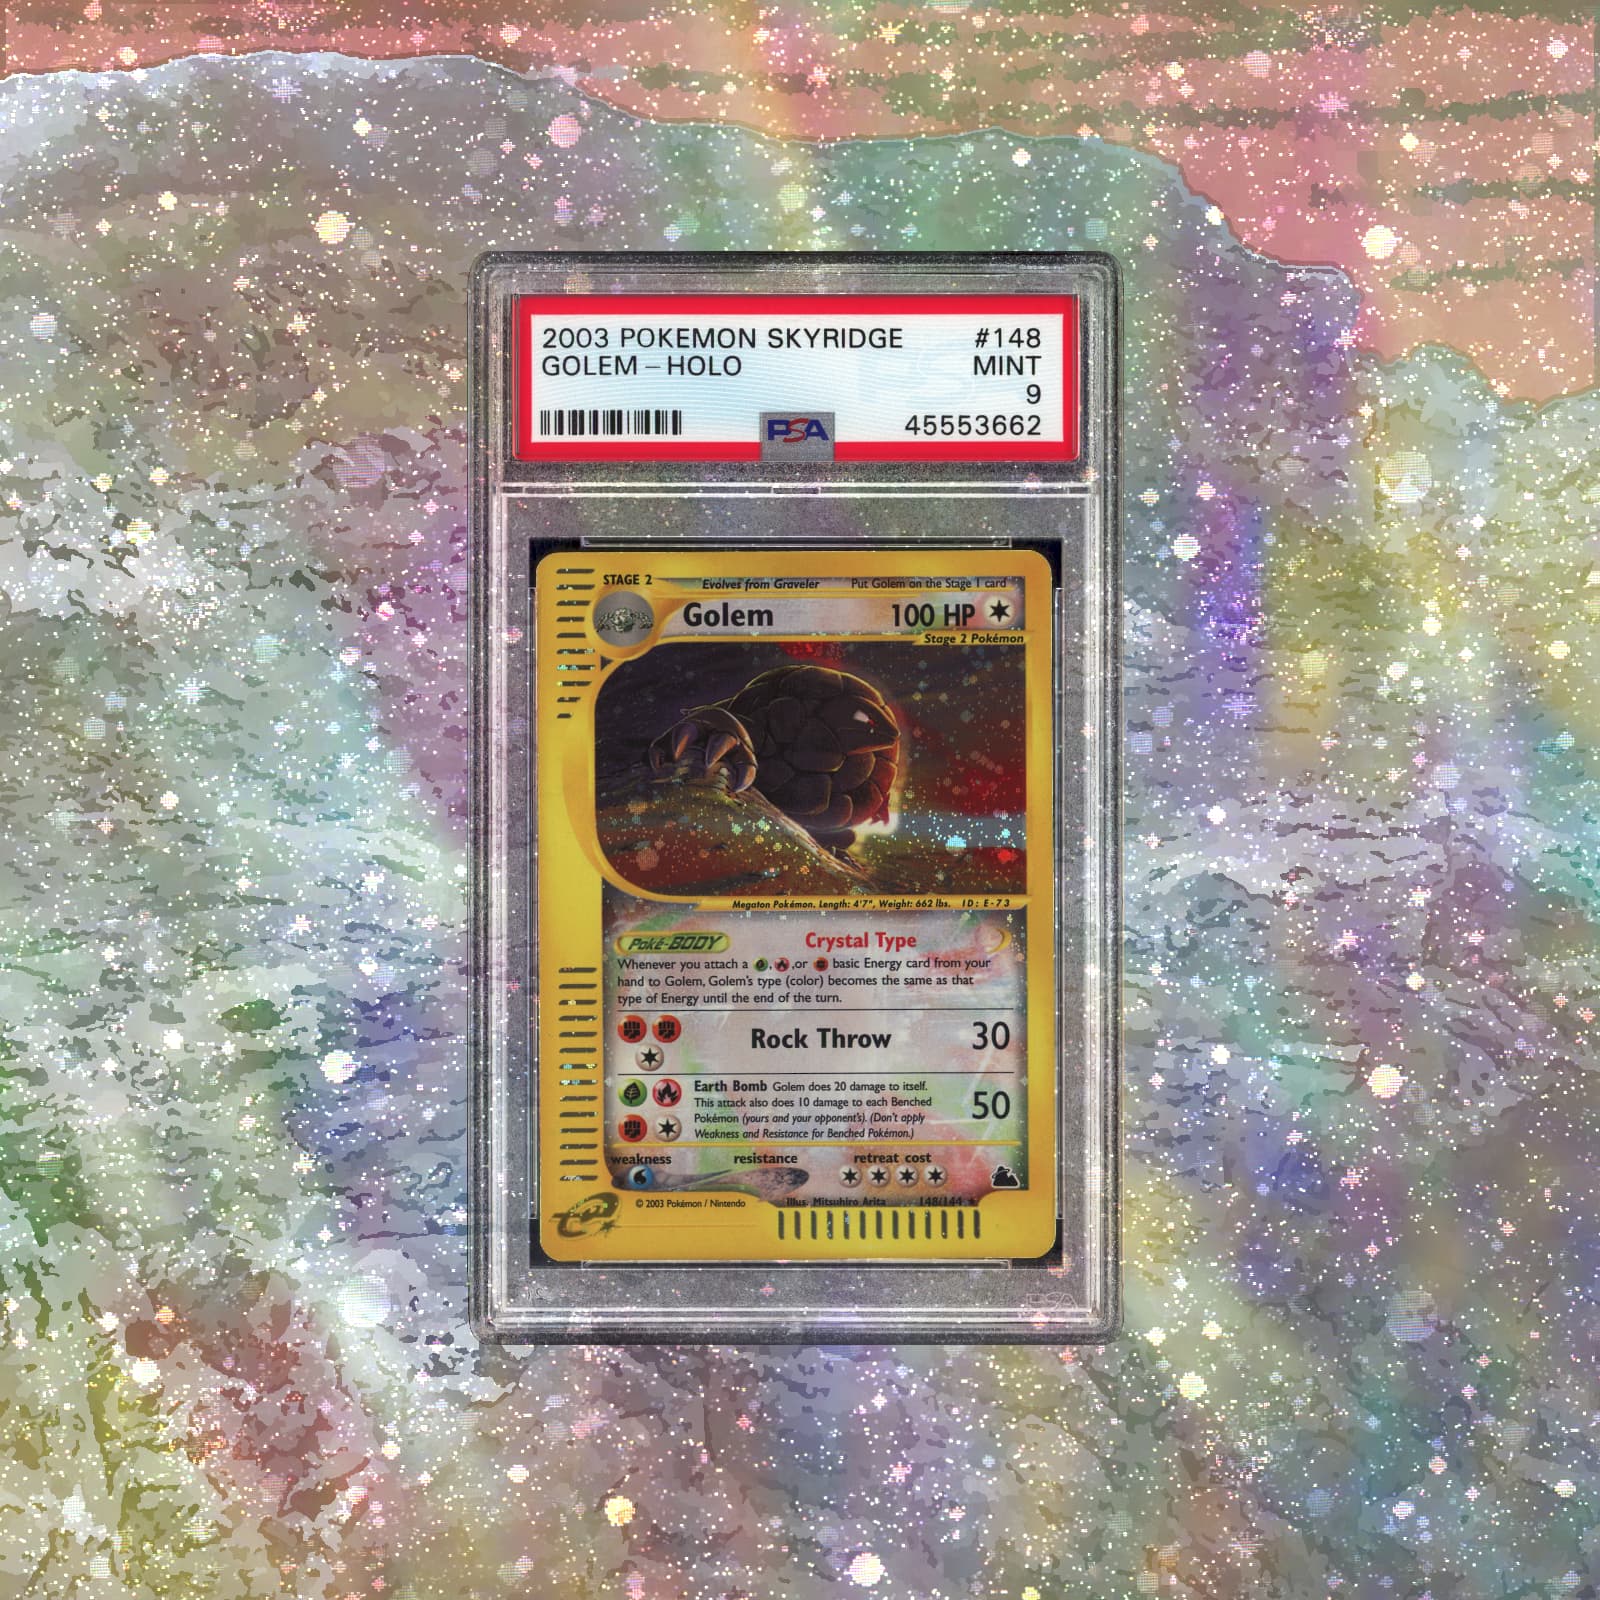
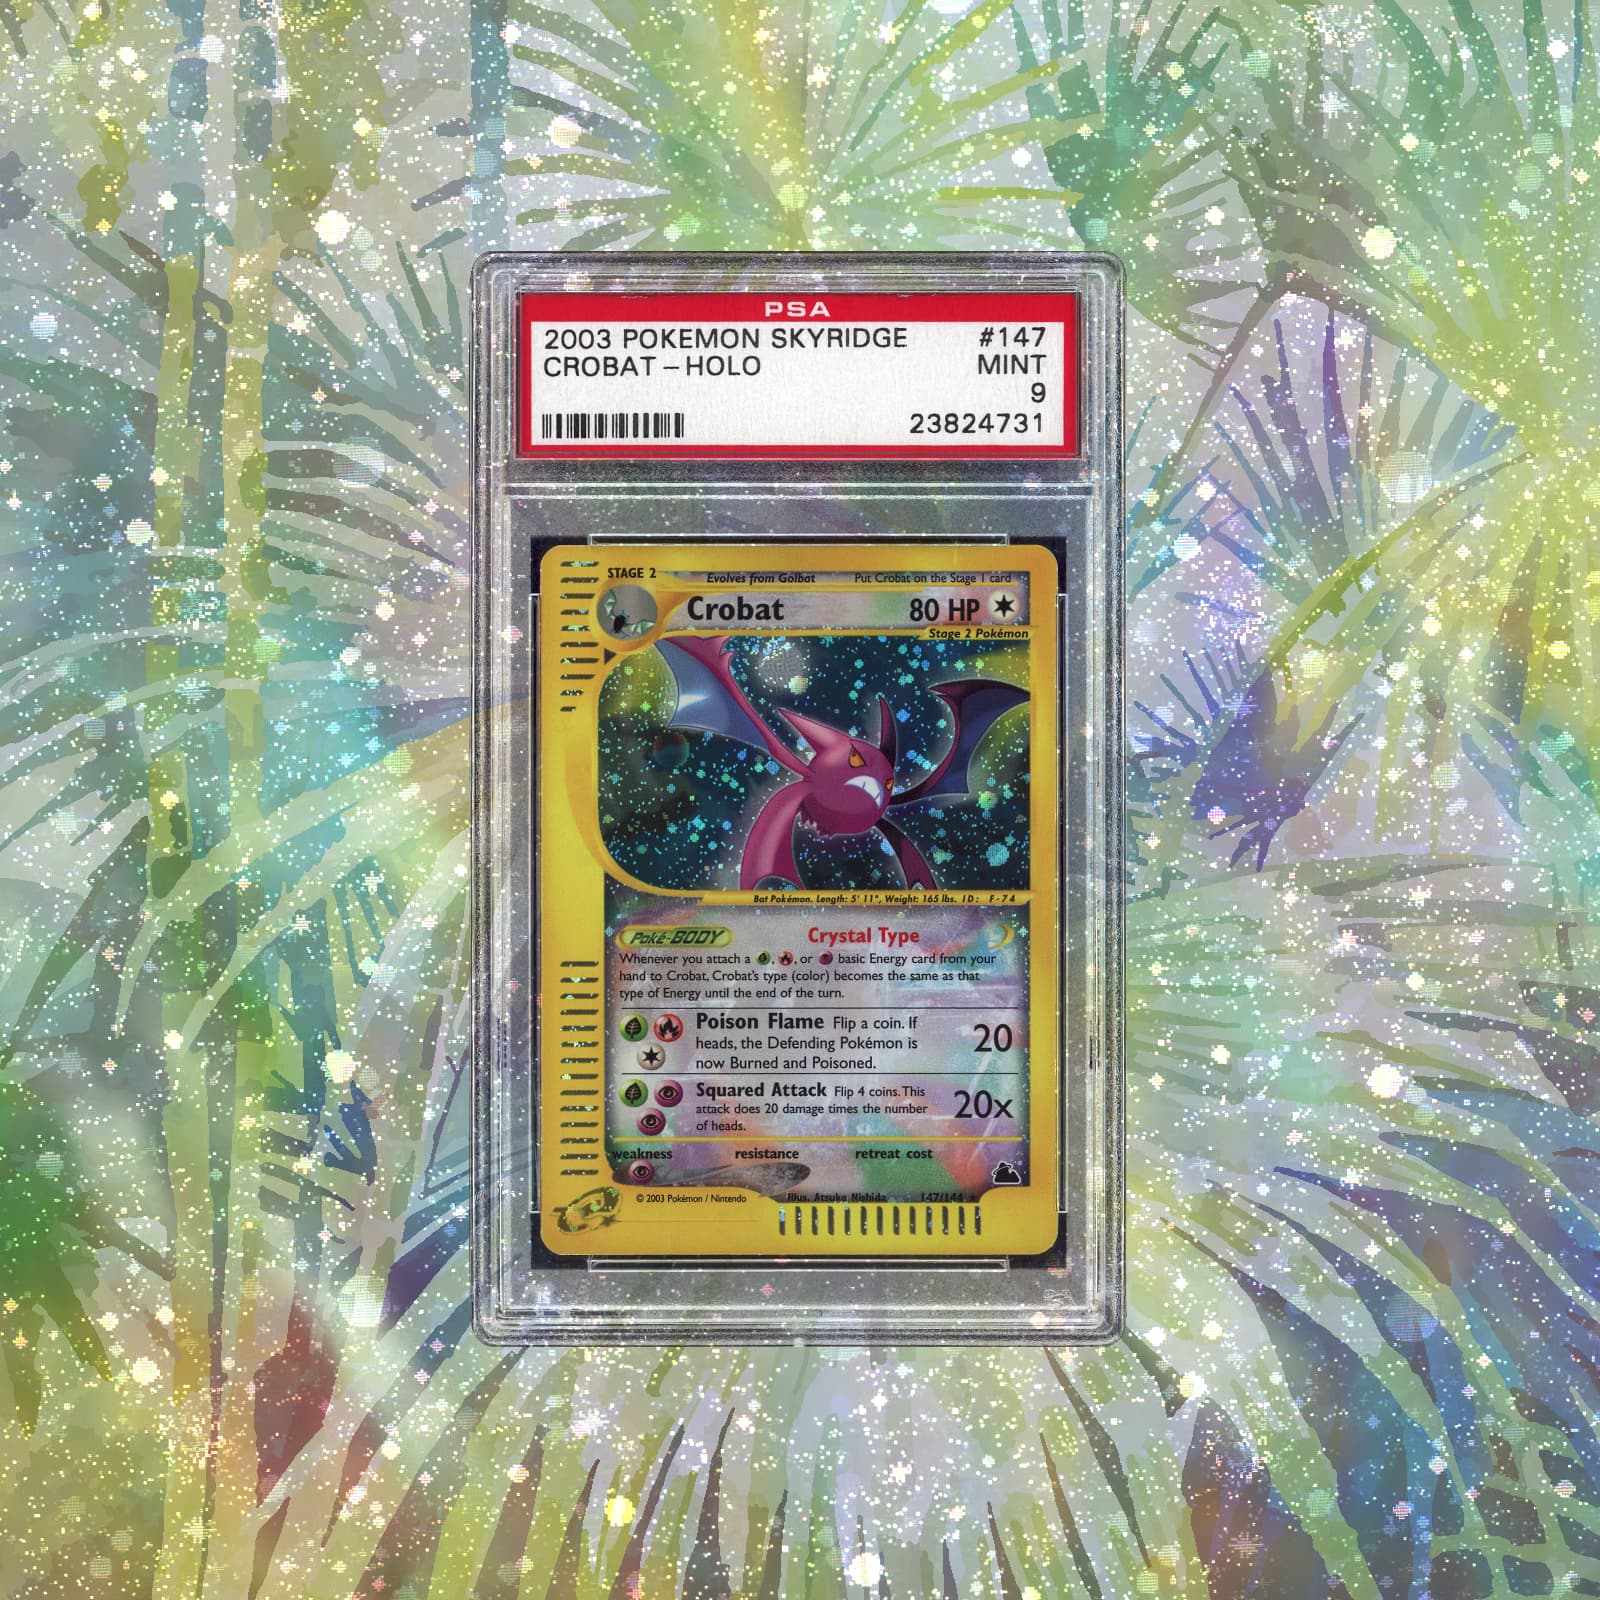
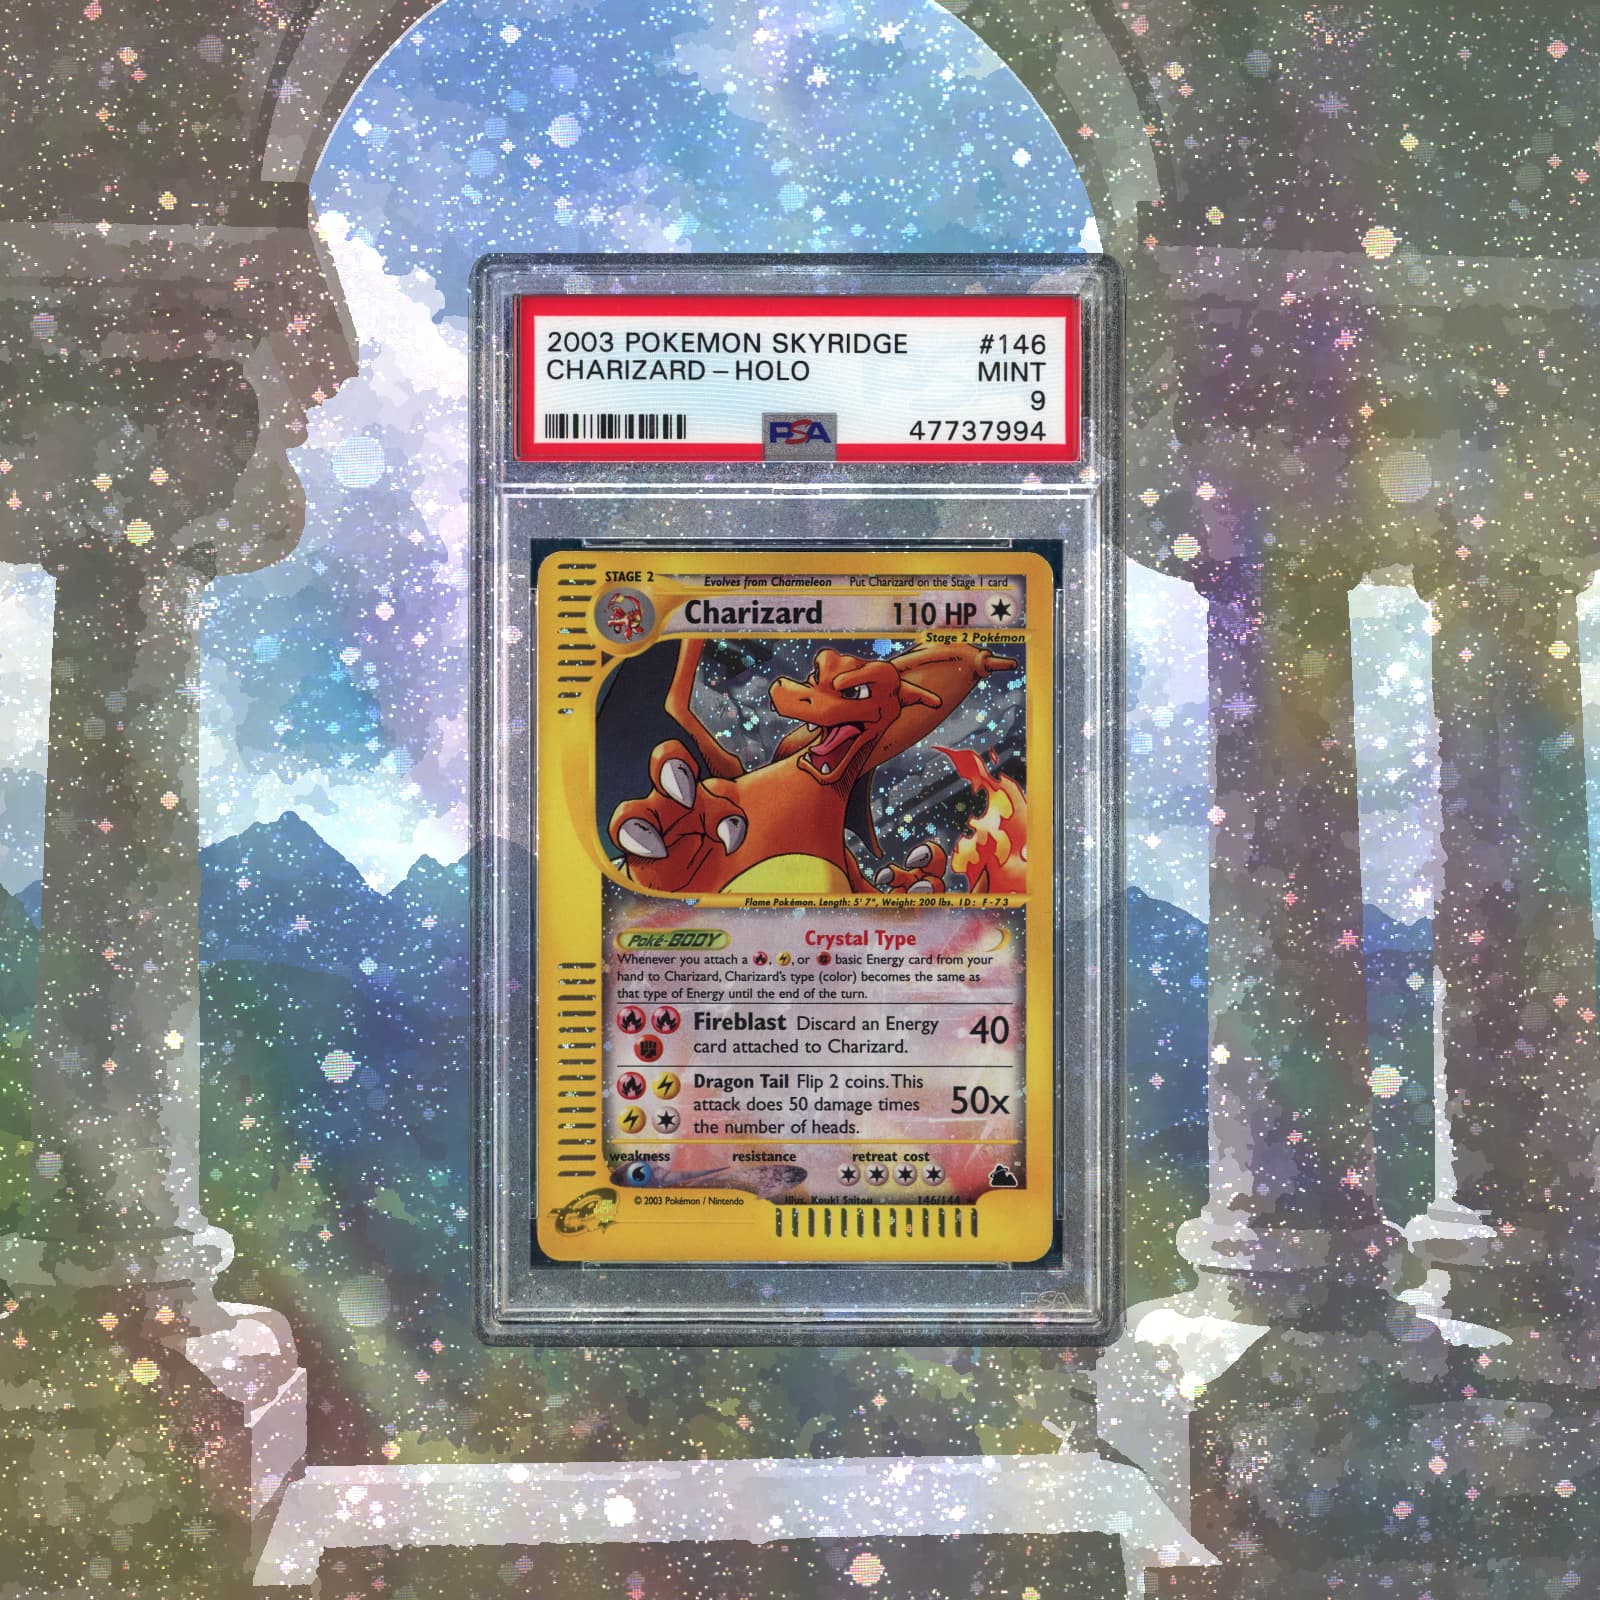
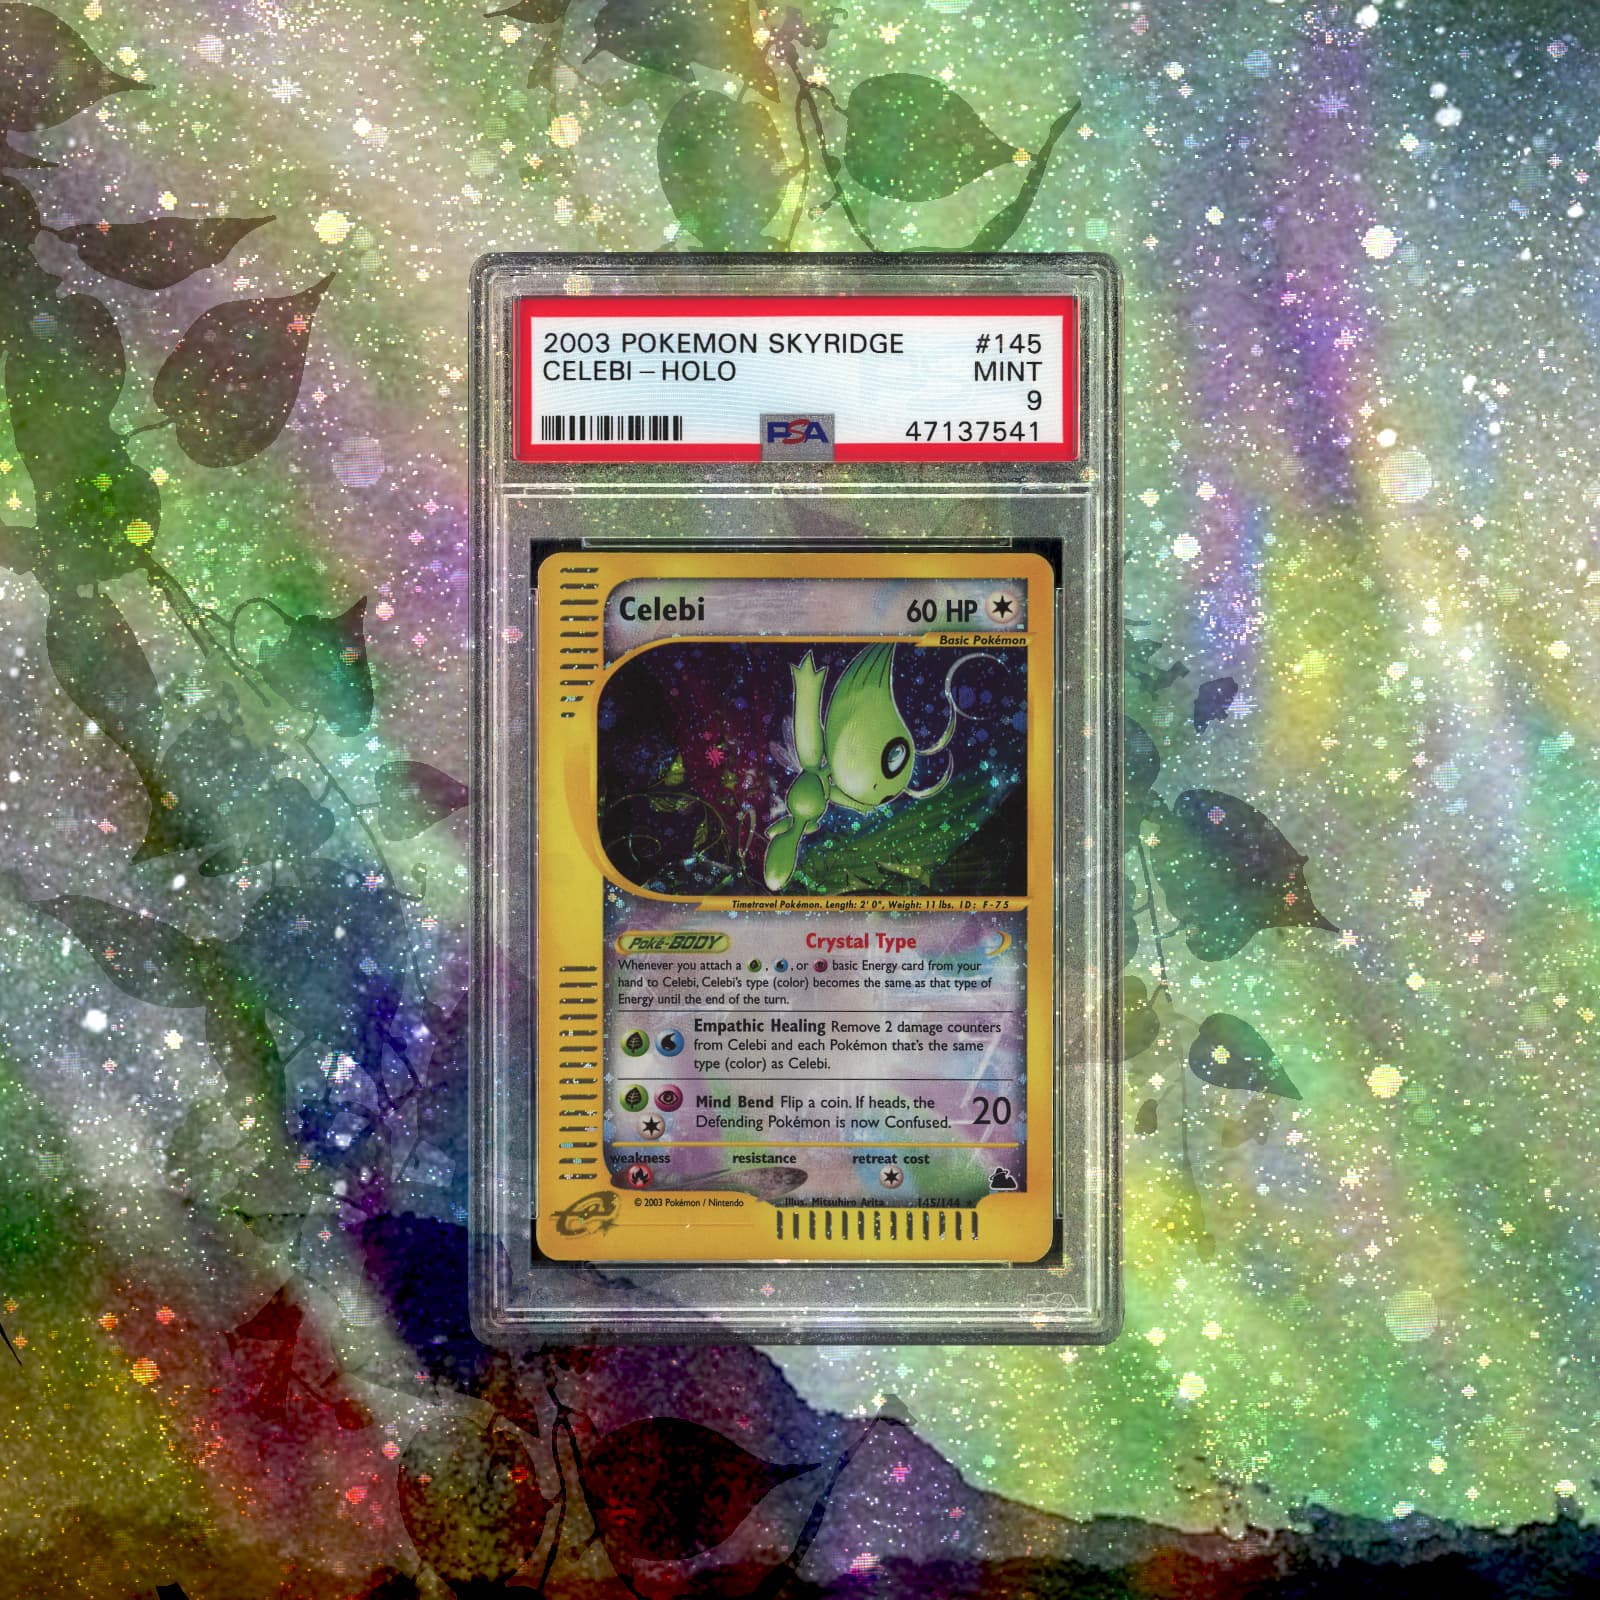
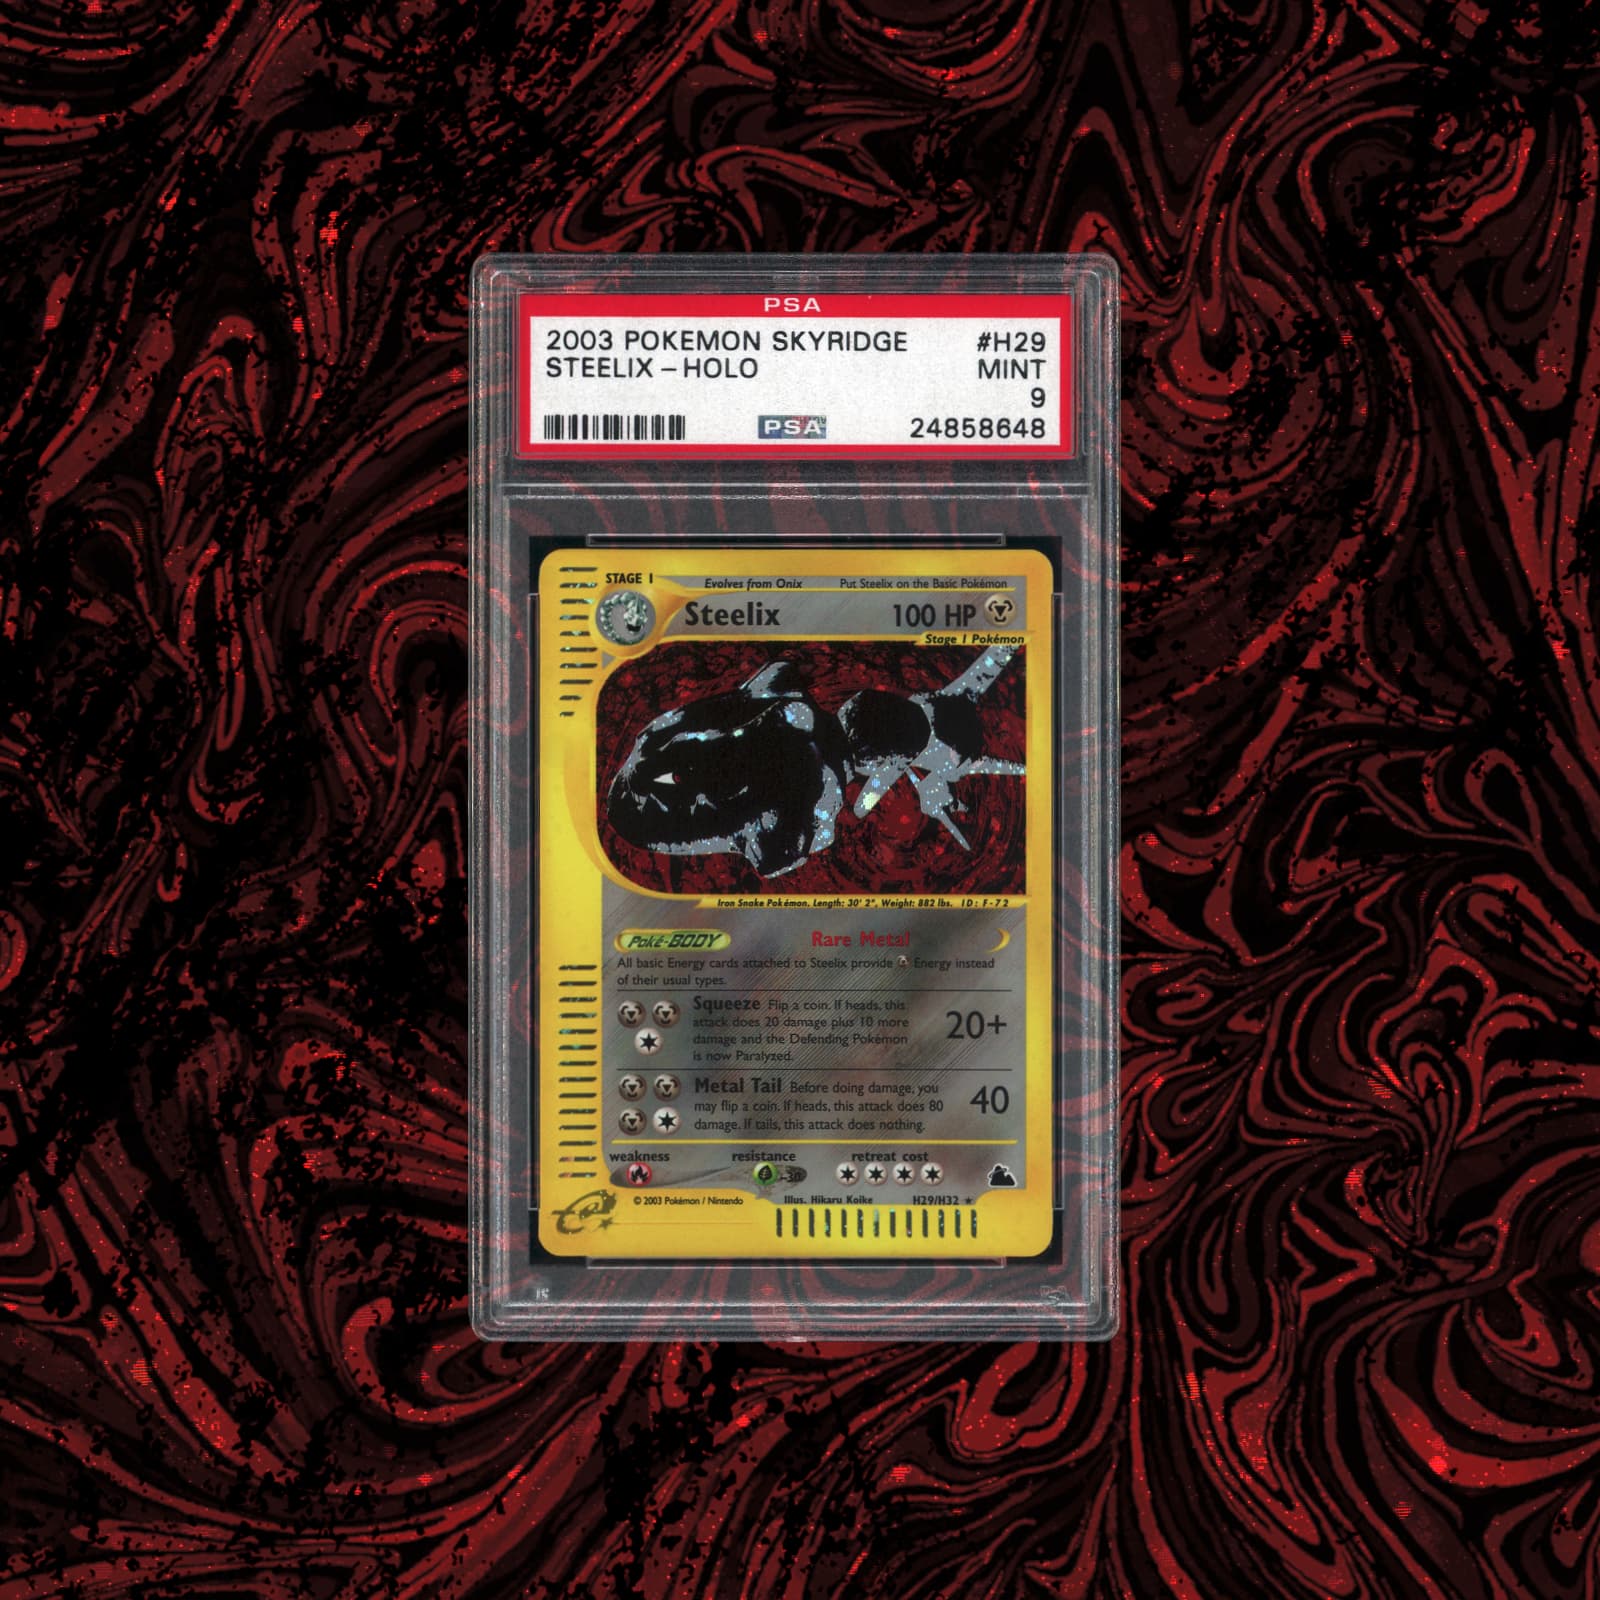
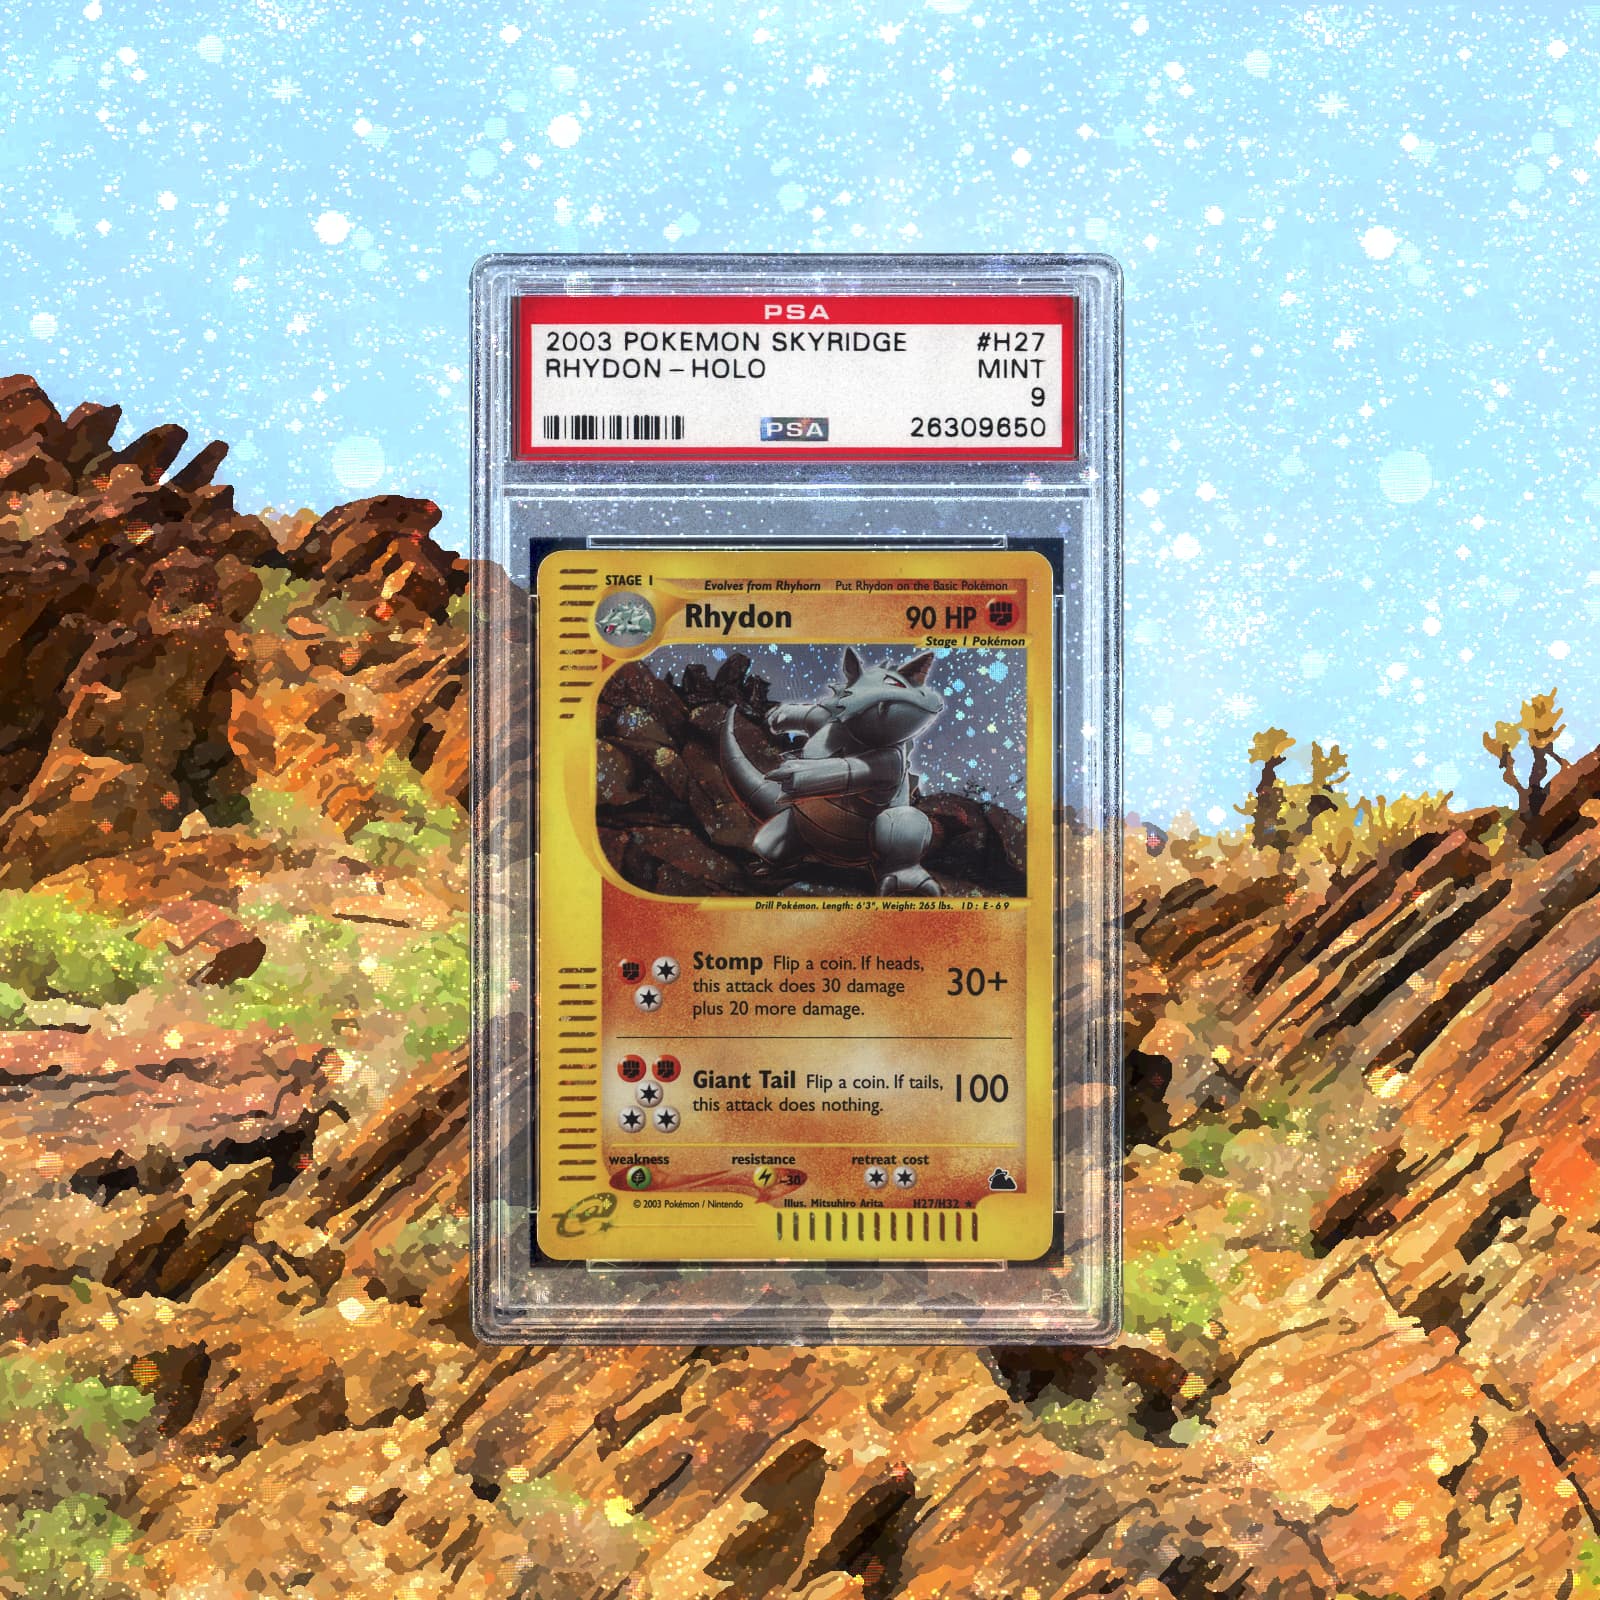
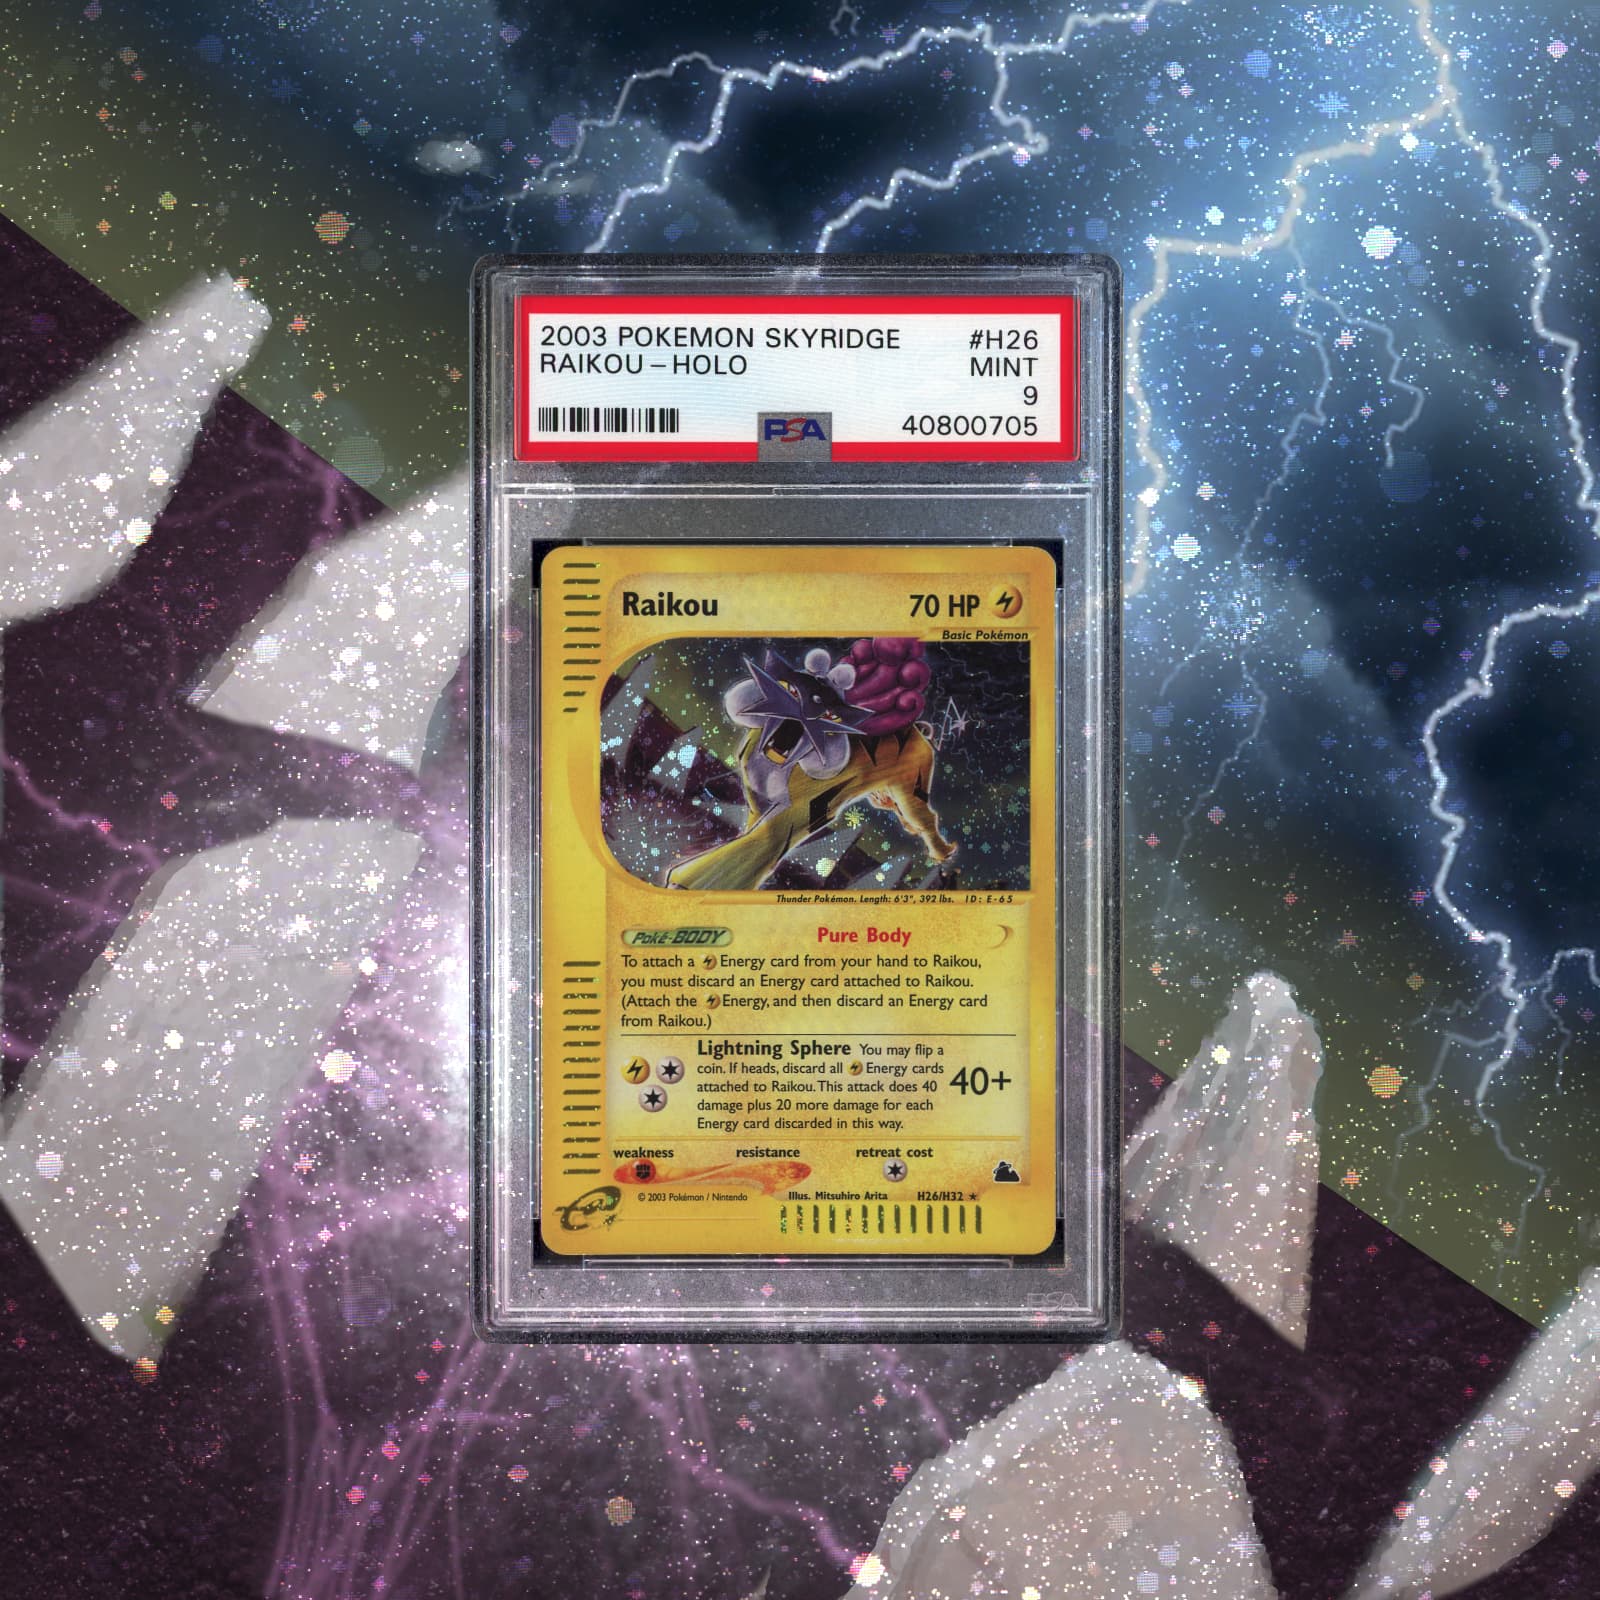
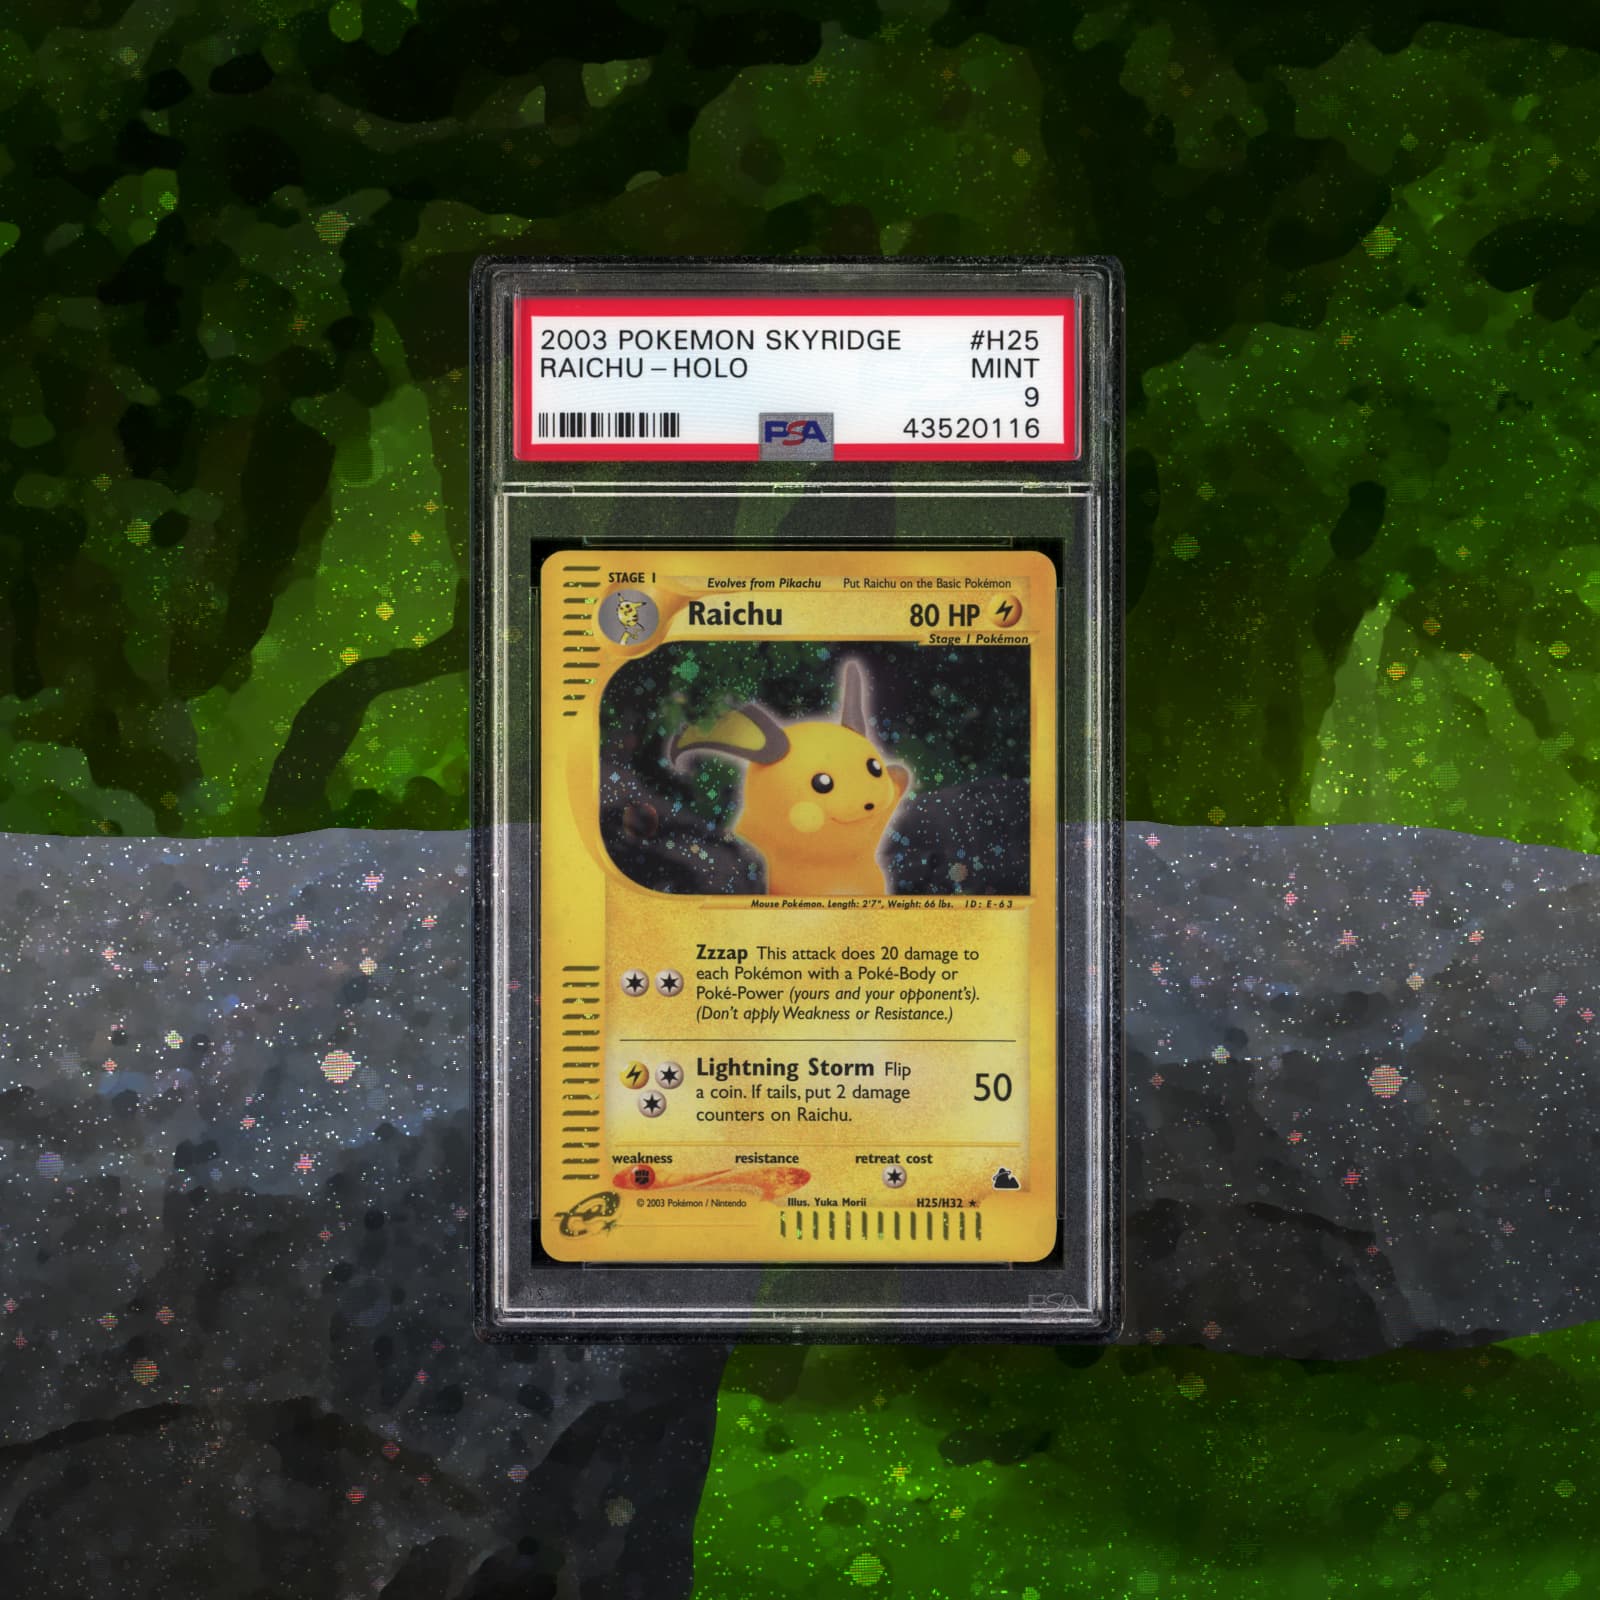
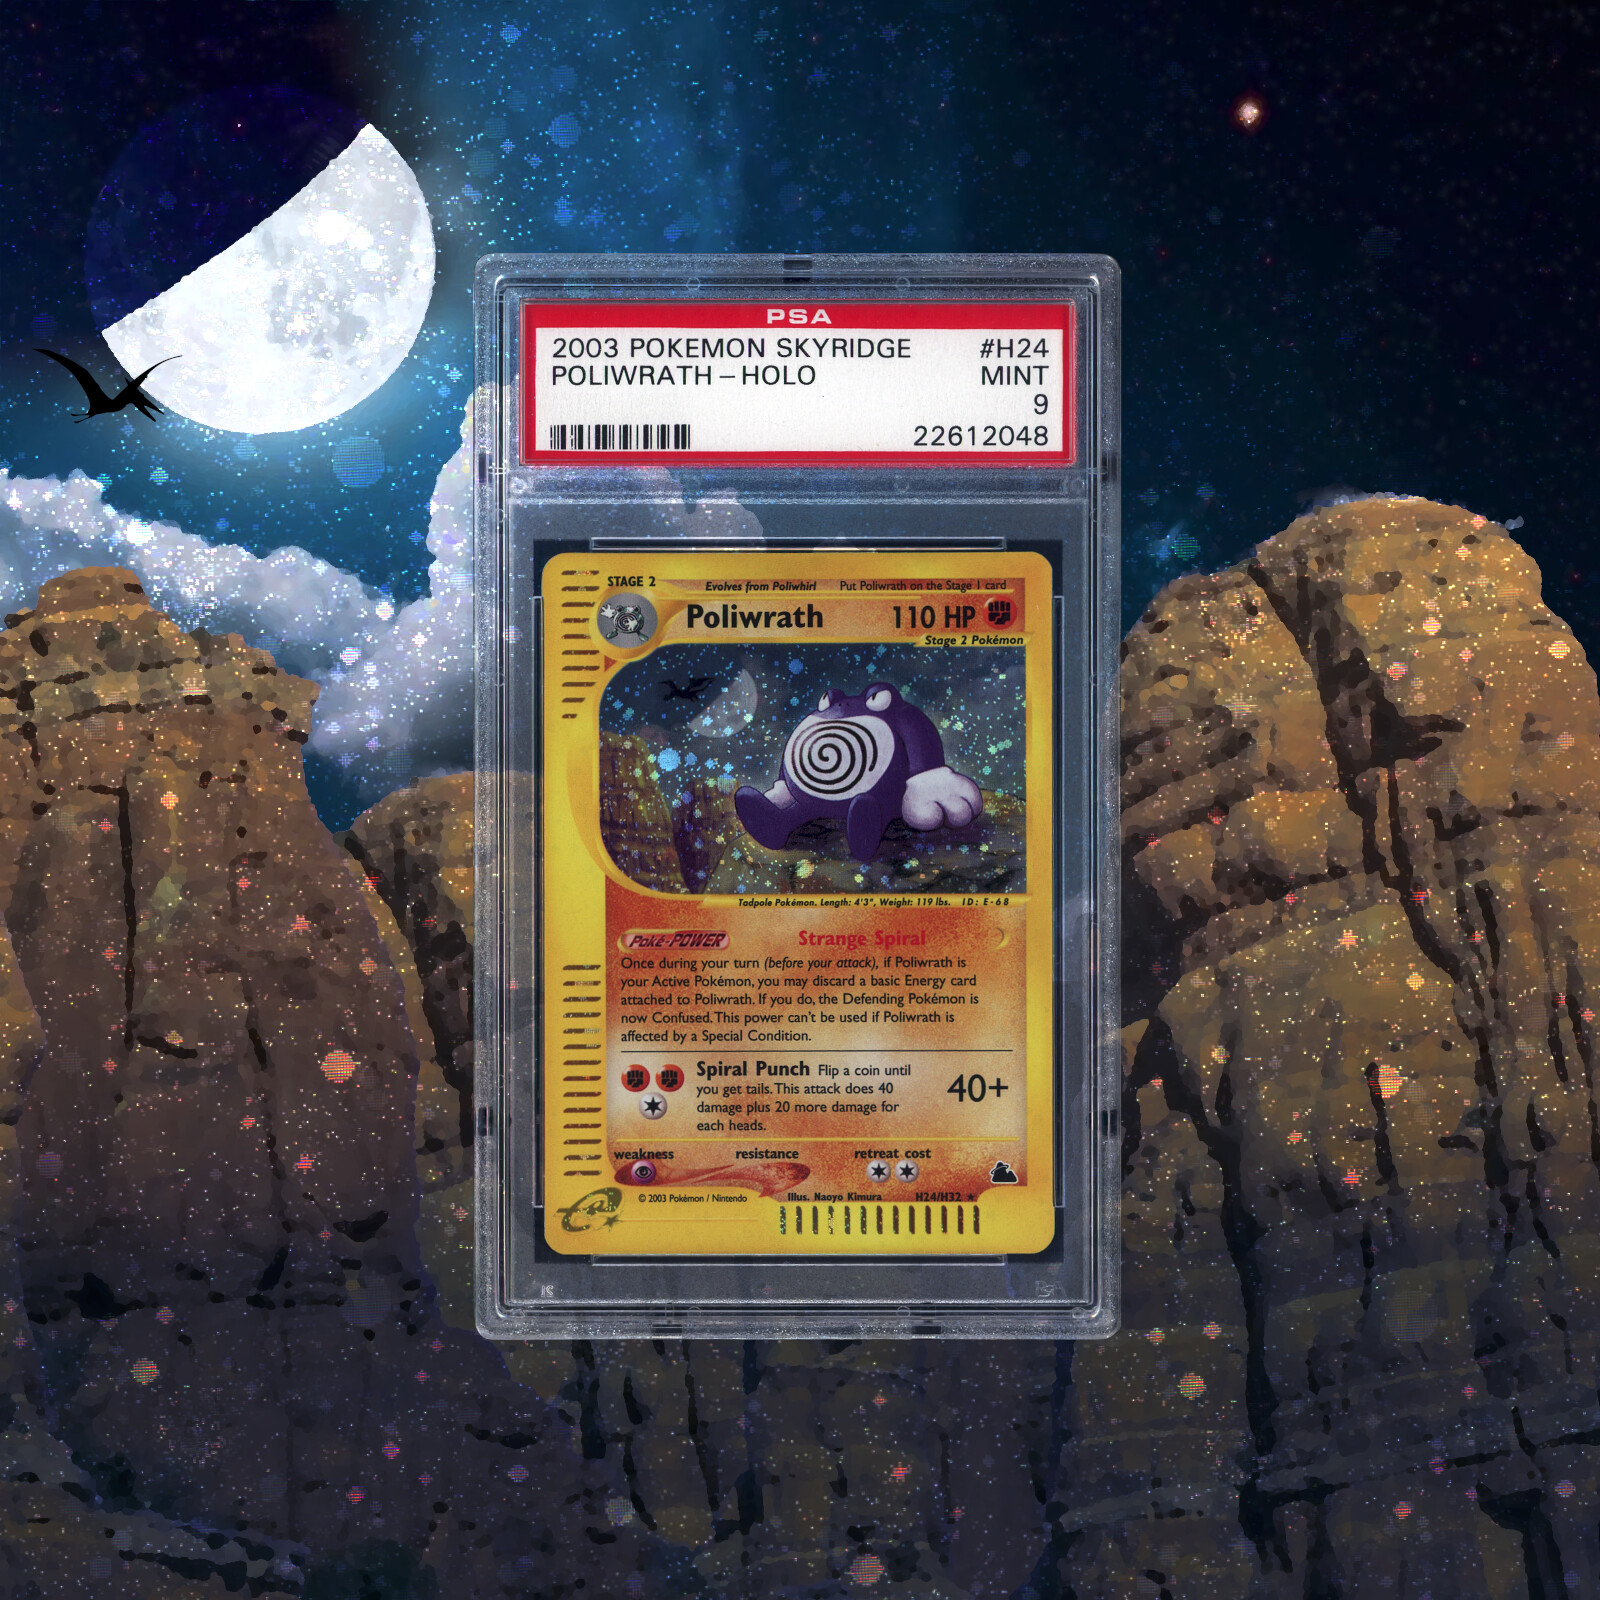
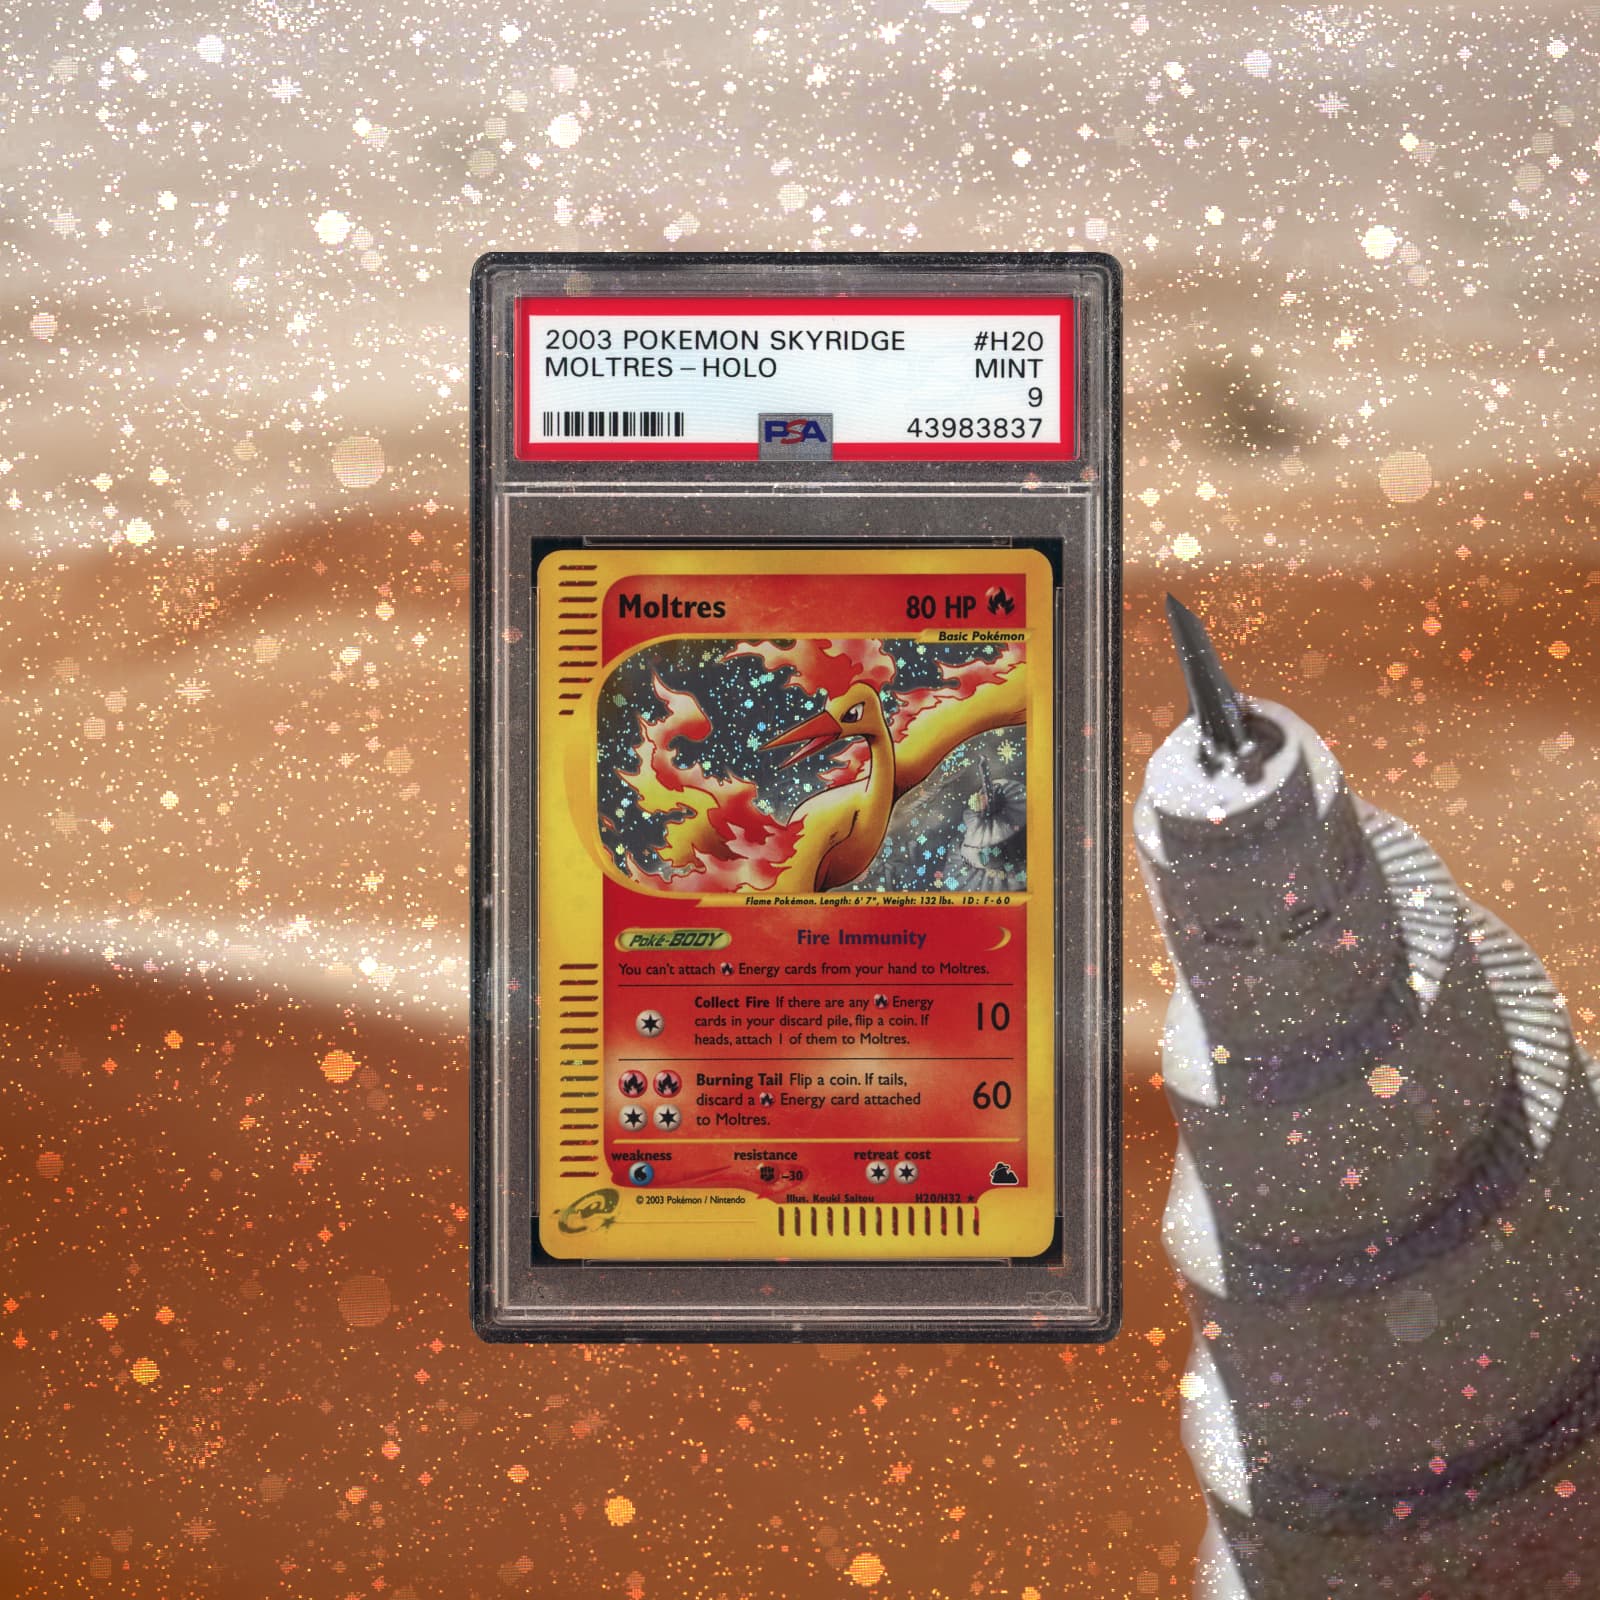
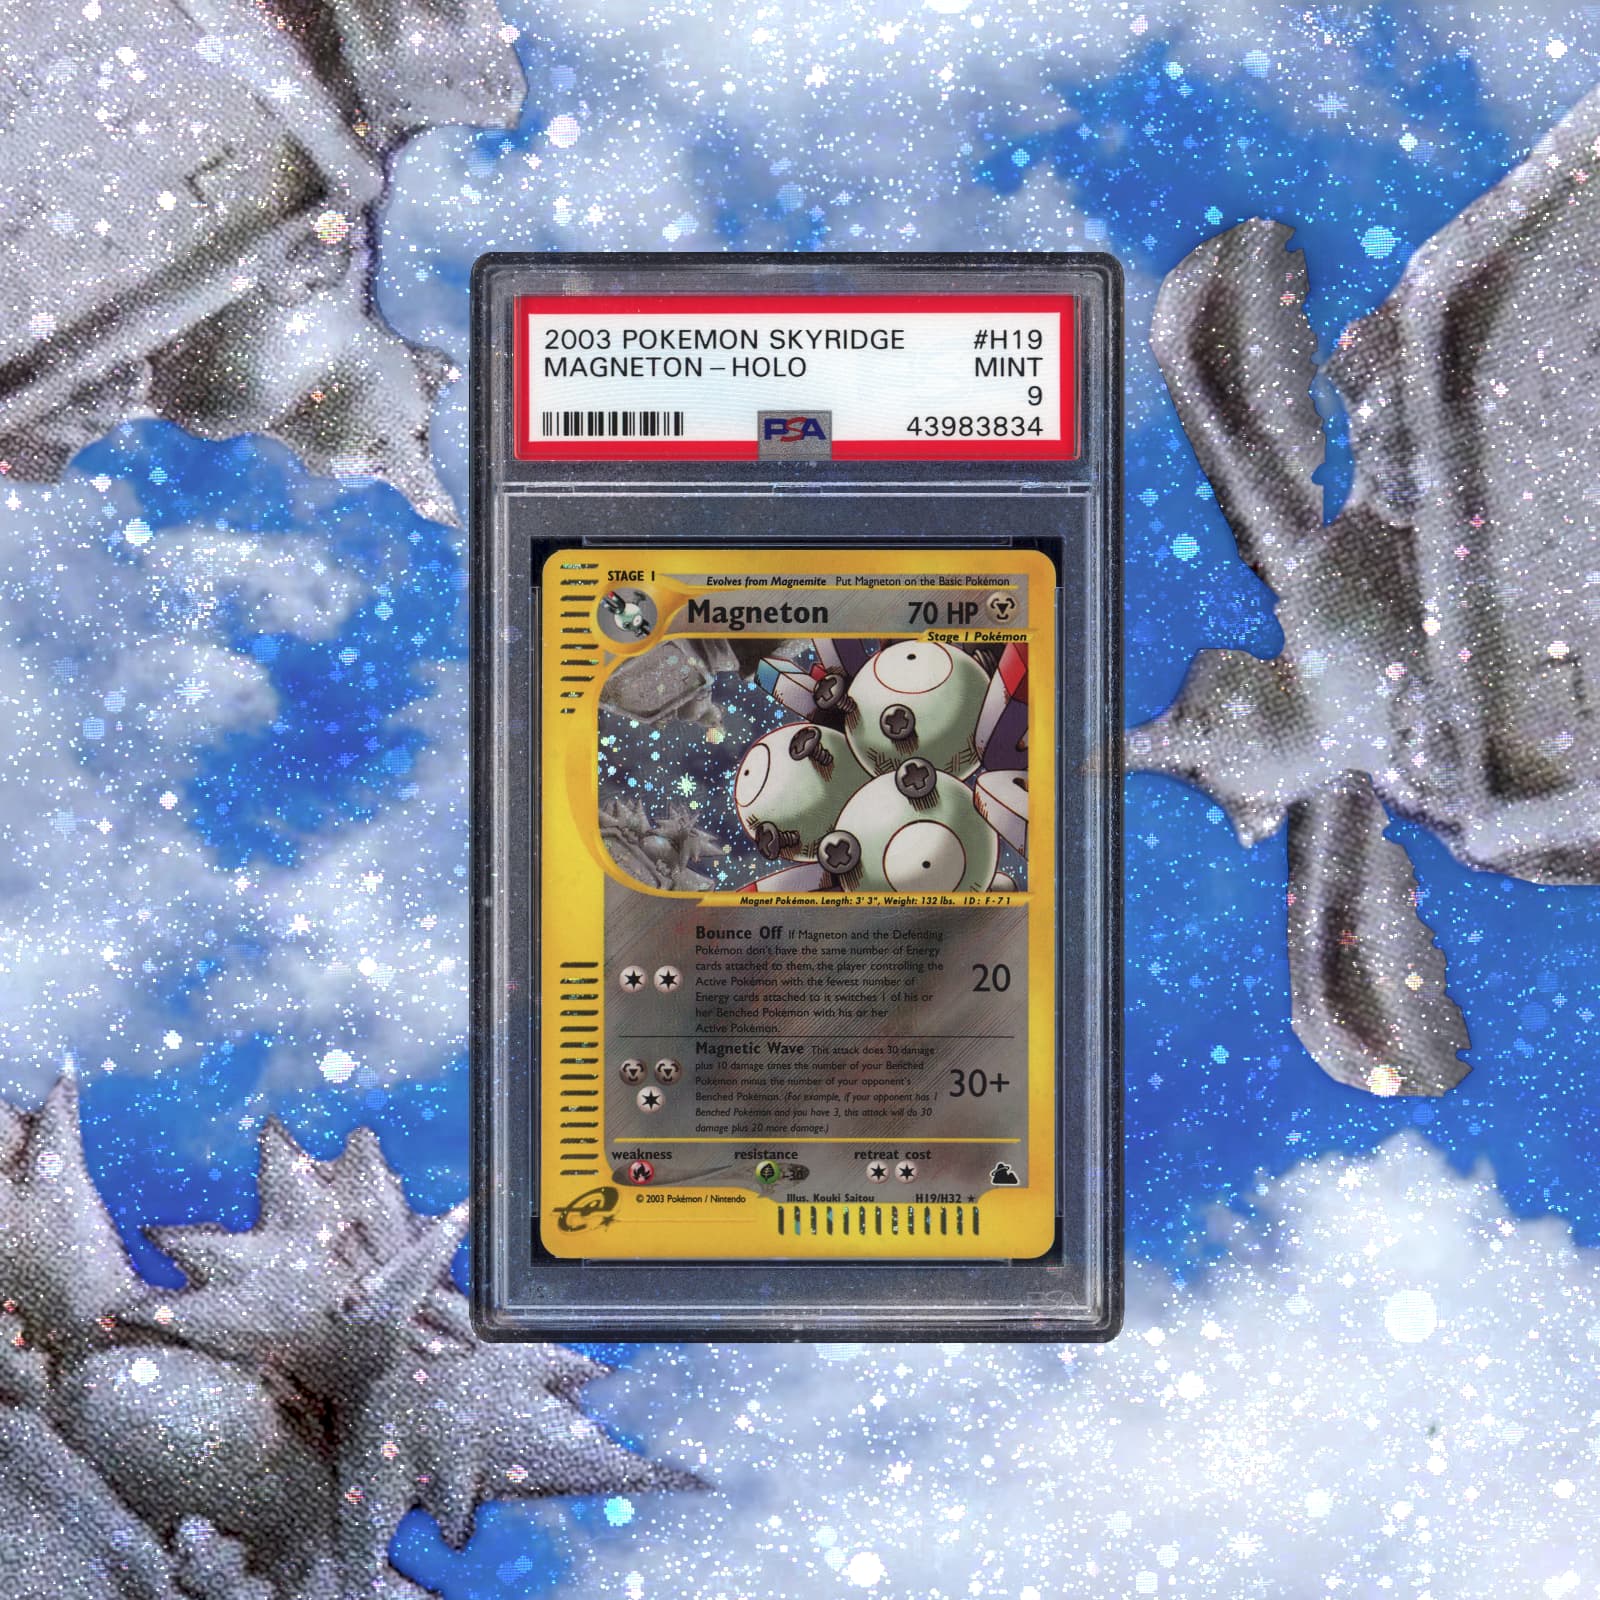
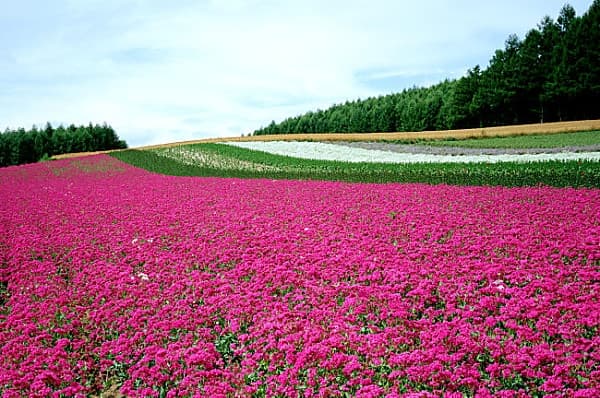
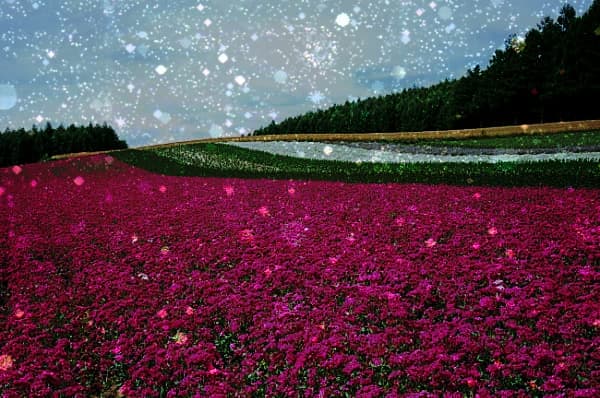
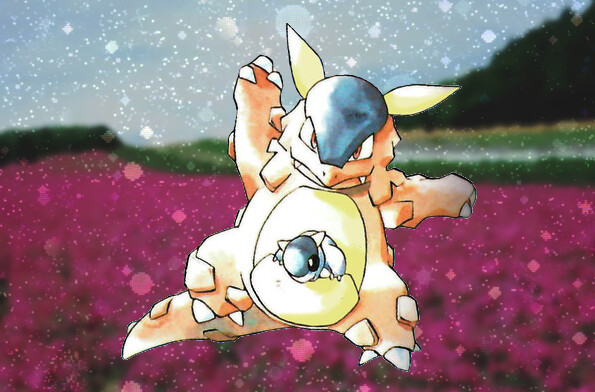
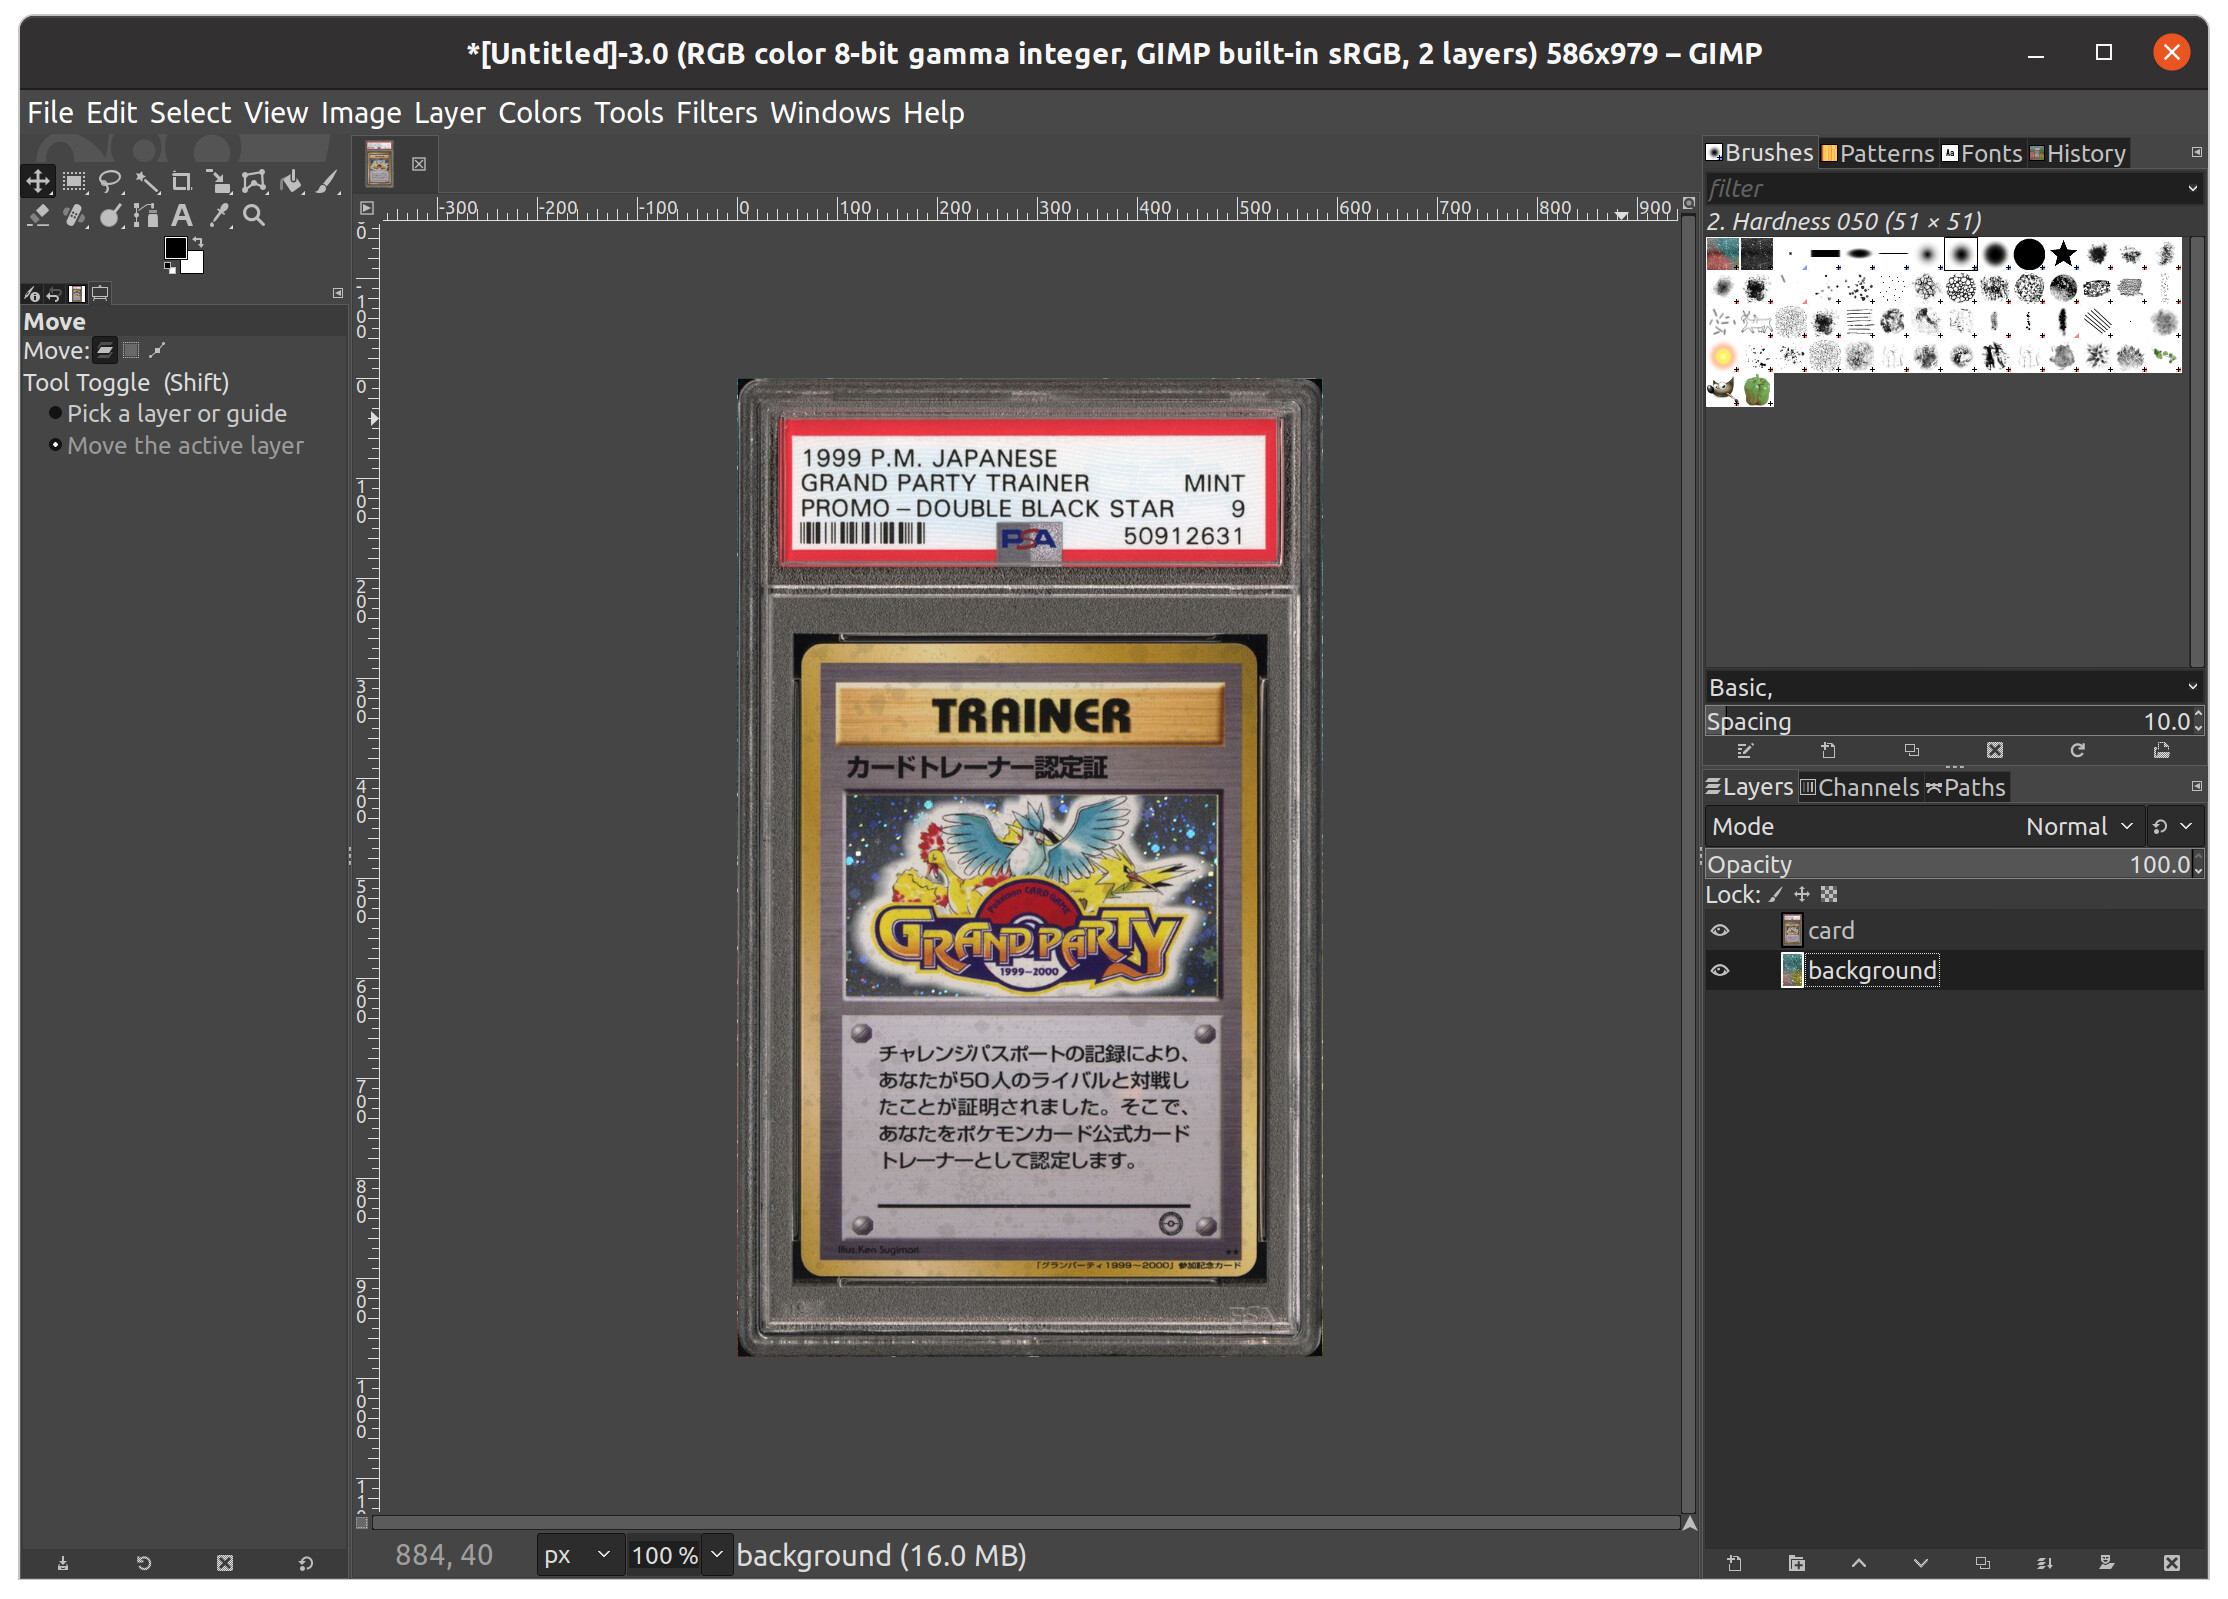
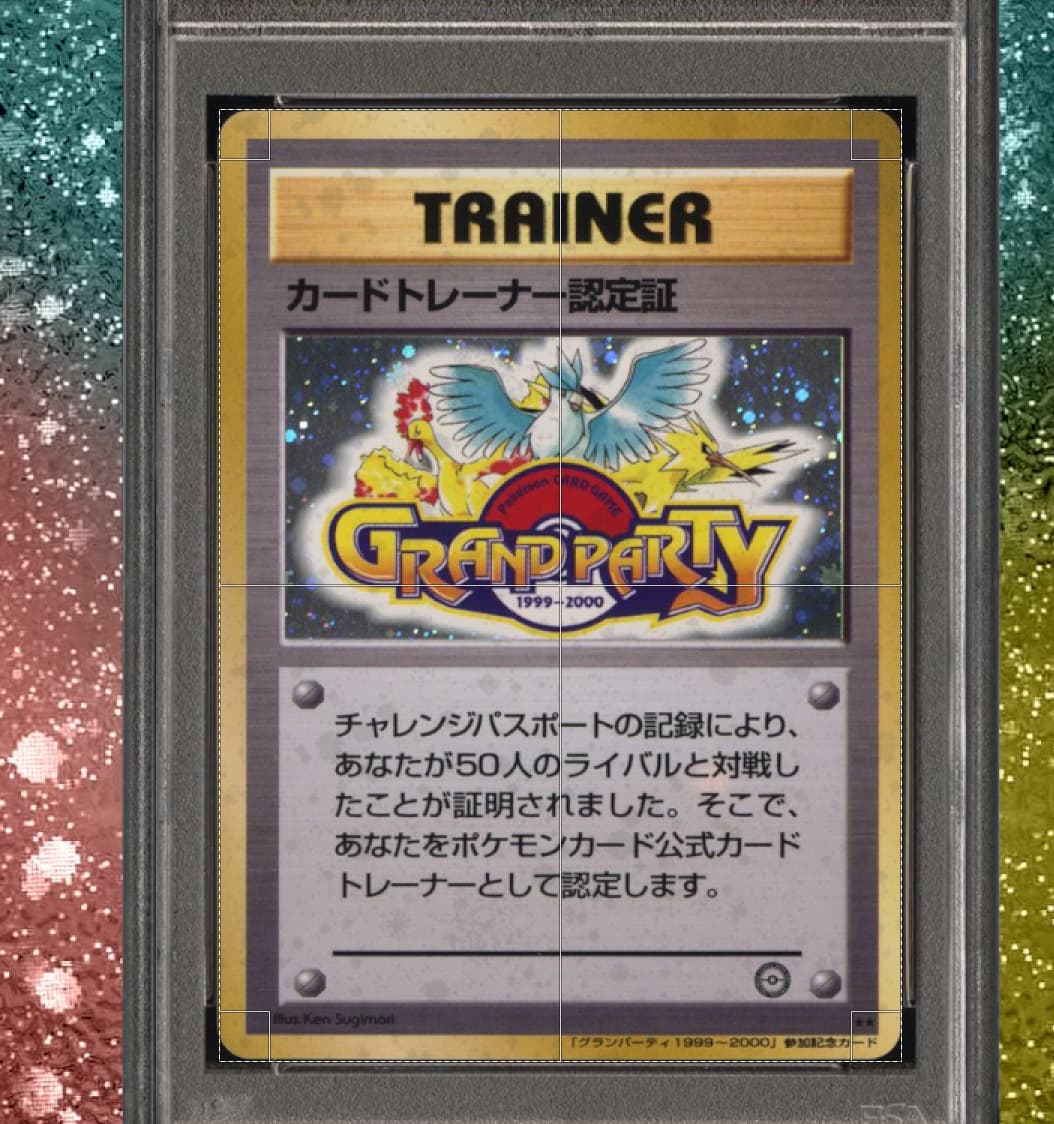
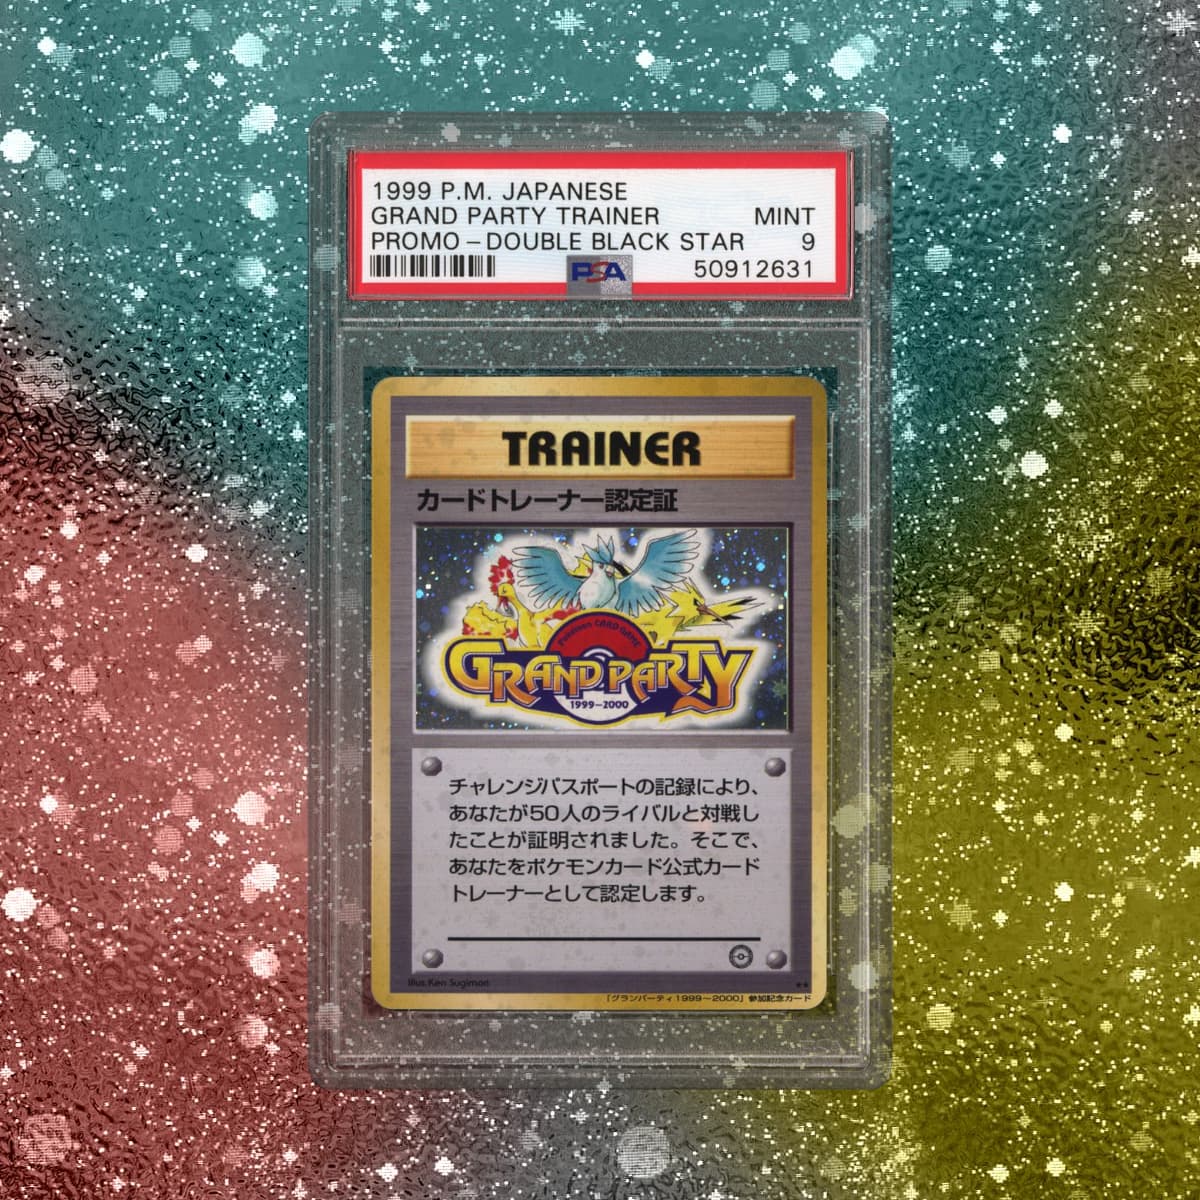
This is a tutorial on how to take a scan of a graded card and make it look something like this

An image editor is needed. This guide uses GIMP which is free and available on all operating systems.
Step 1. Open the image.
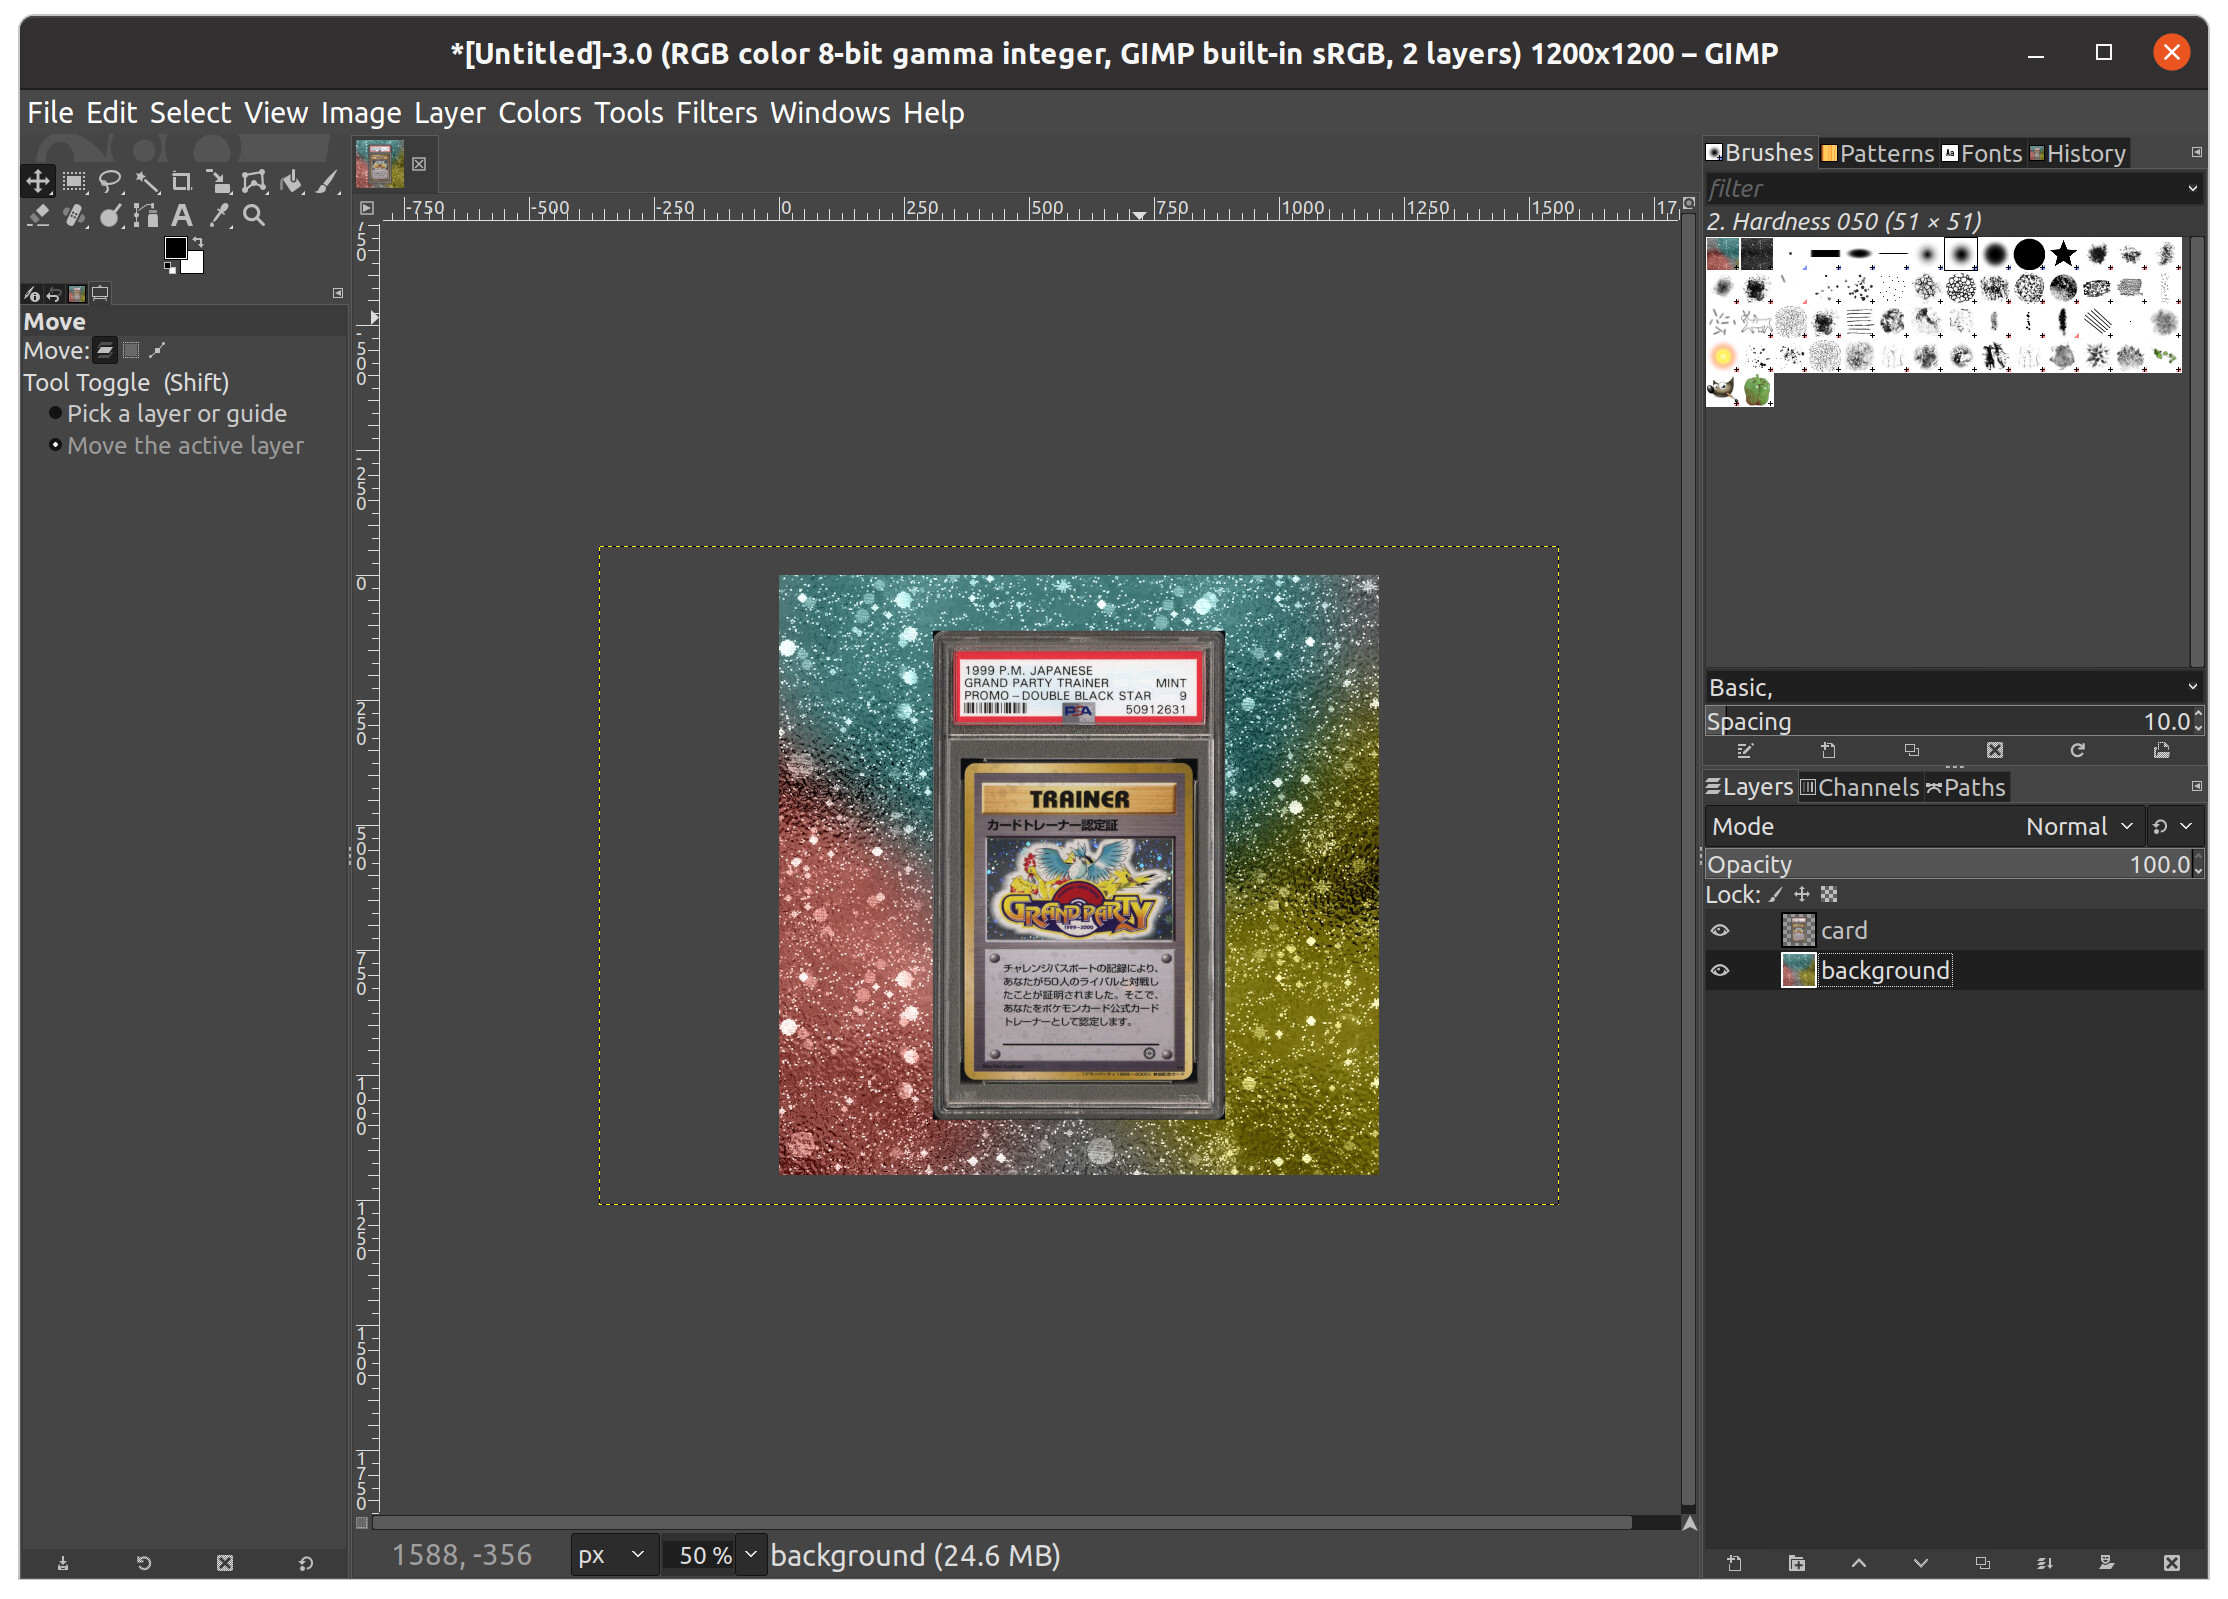
Open GIMP, it should be blank with no image data yet.
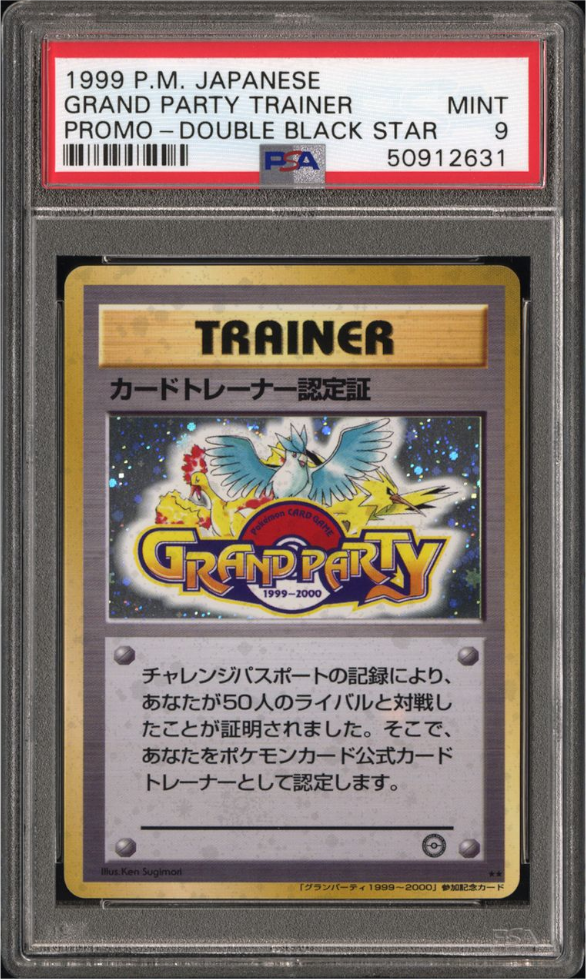
You can either copy & paste your image directly into GIMP OR drag & drop into the software from a file OR File > Import as Layers...
Great, that was easy.
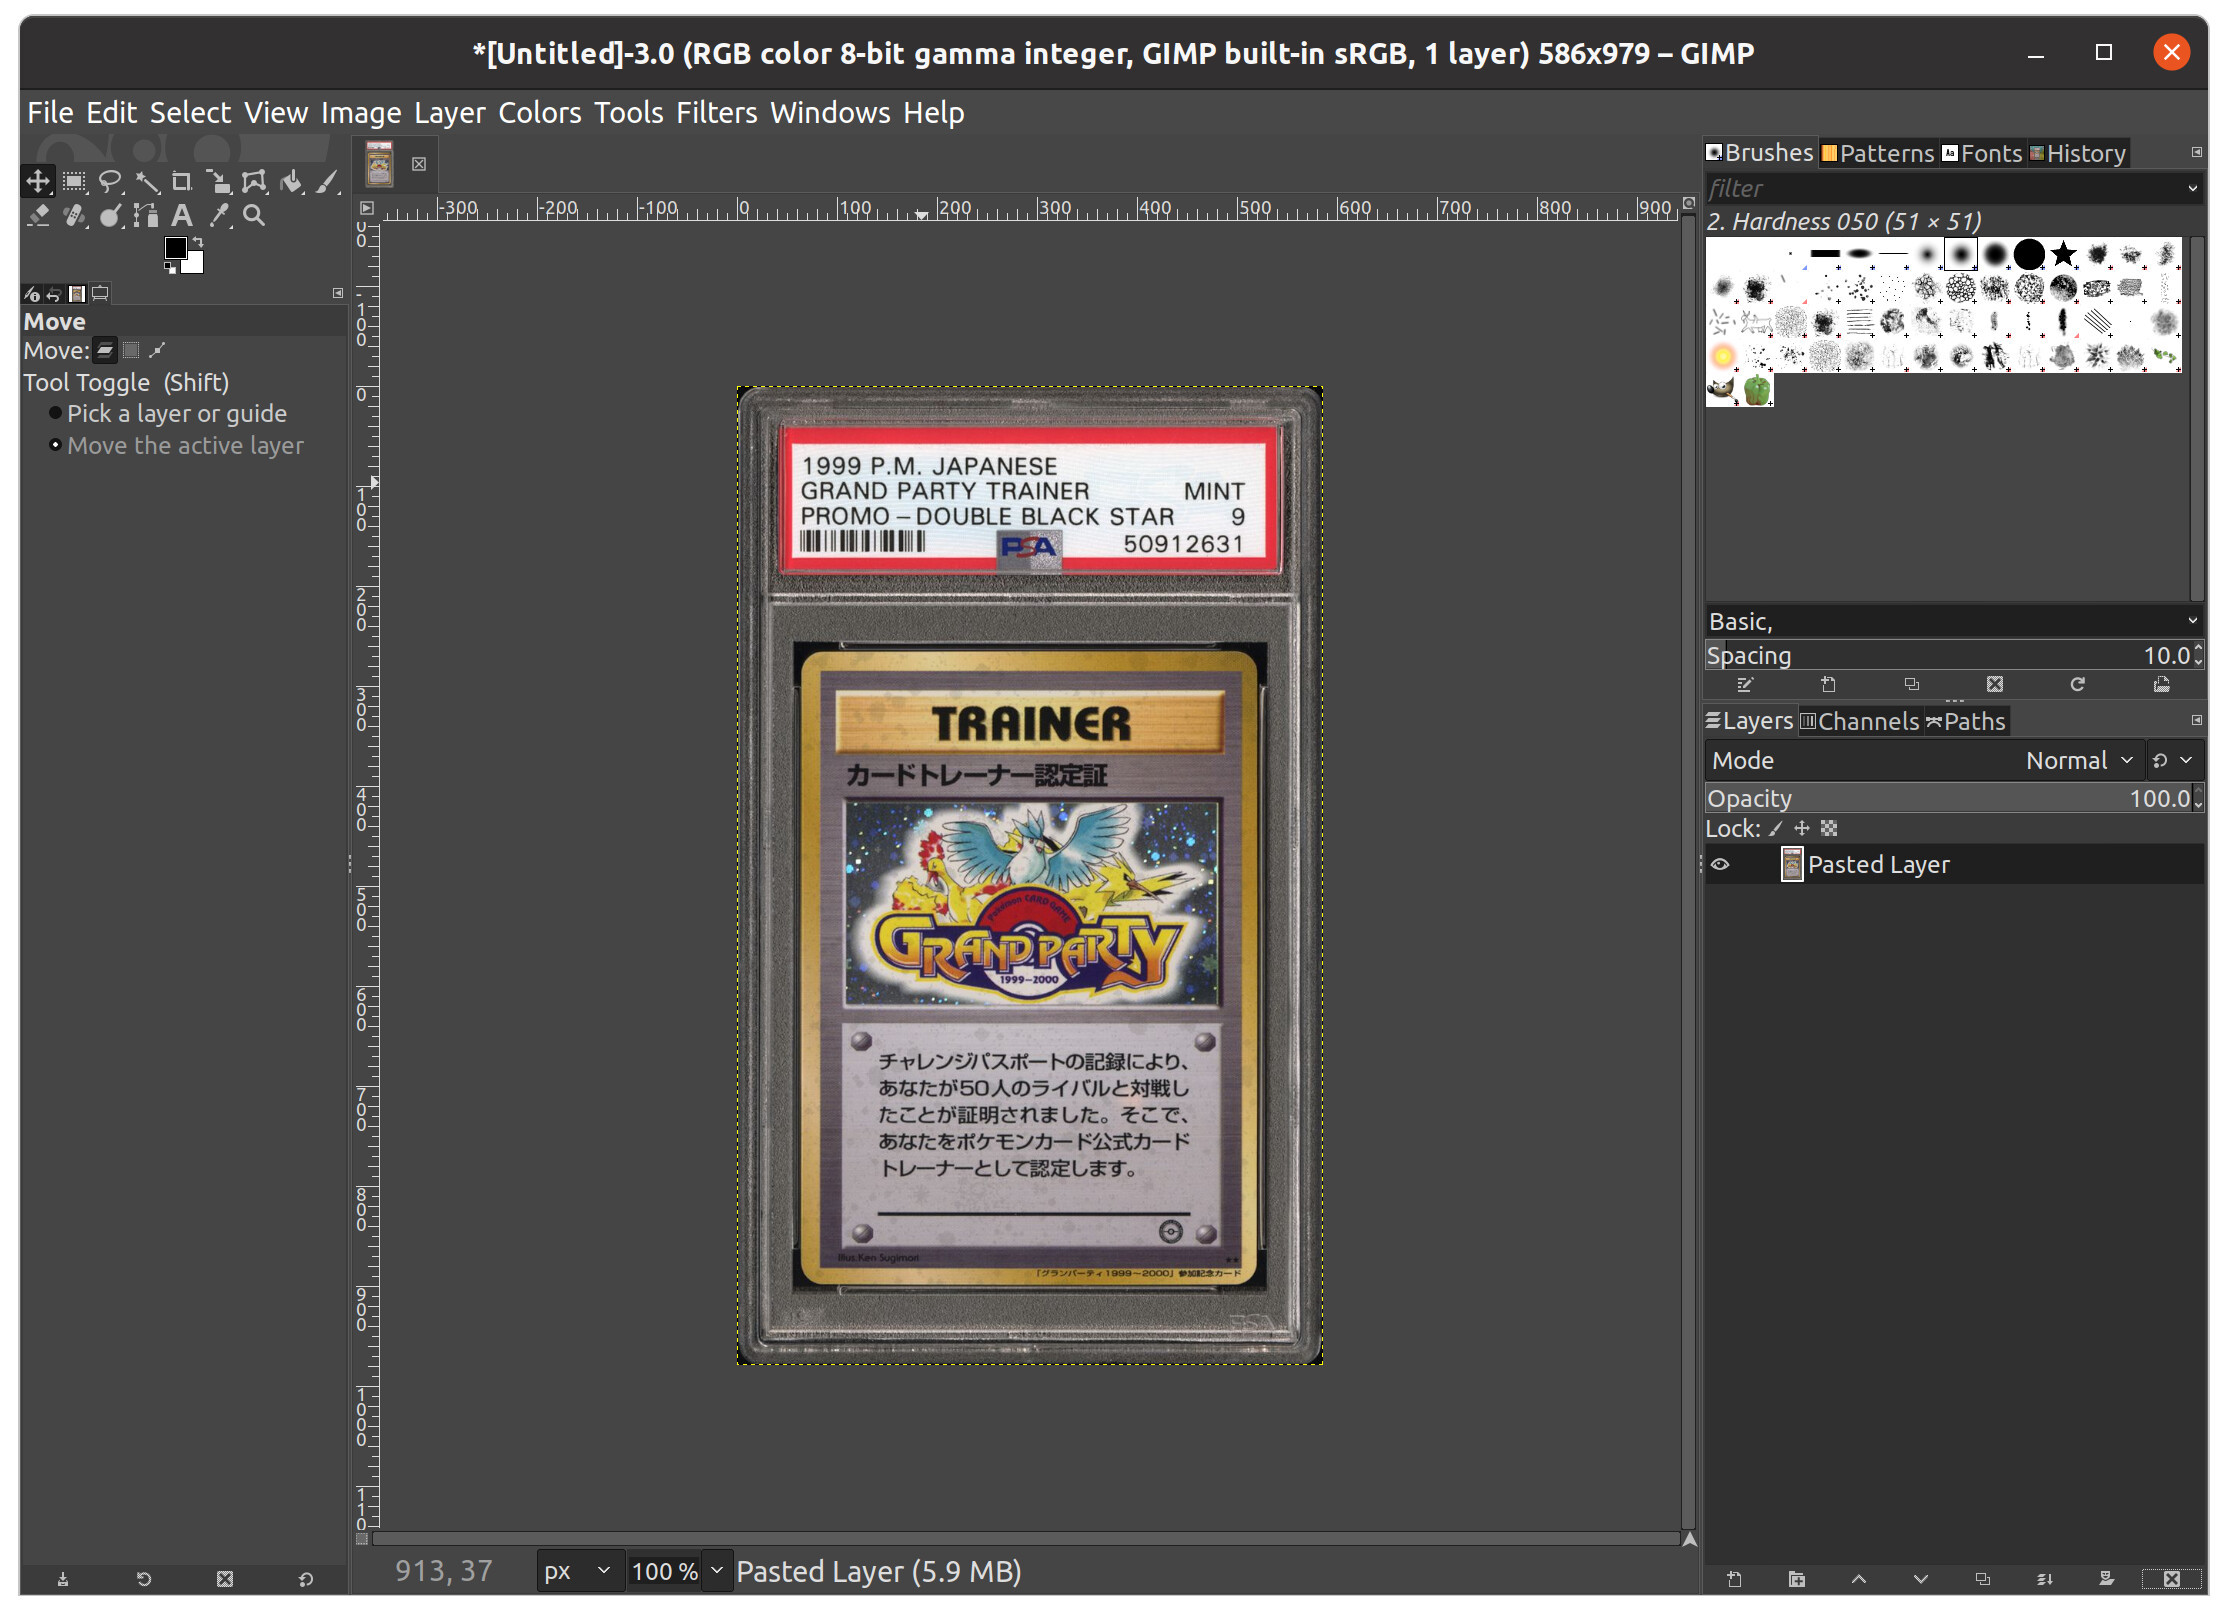
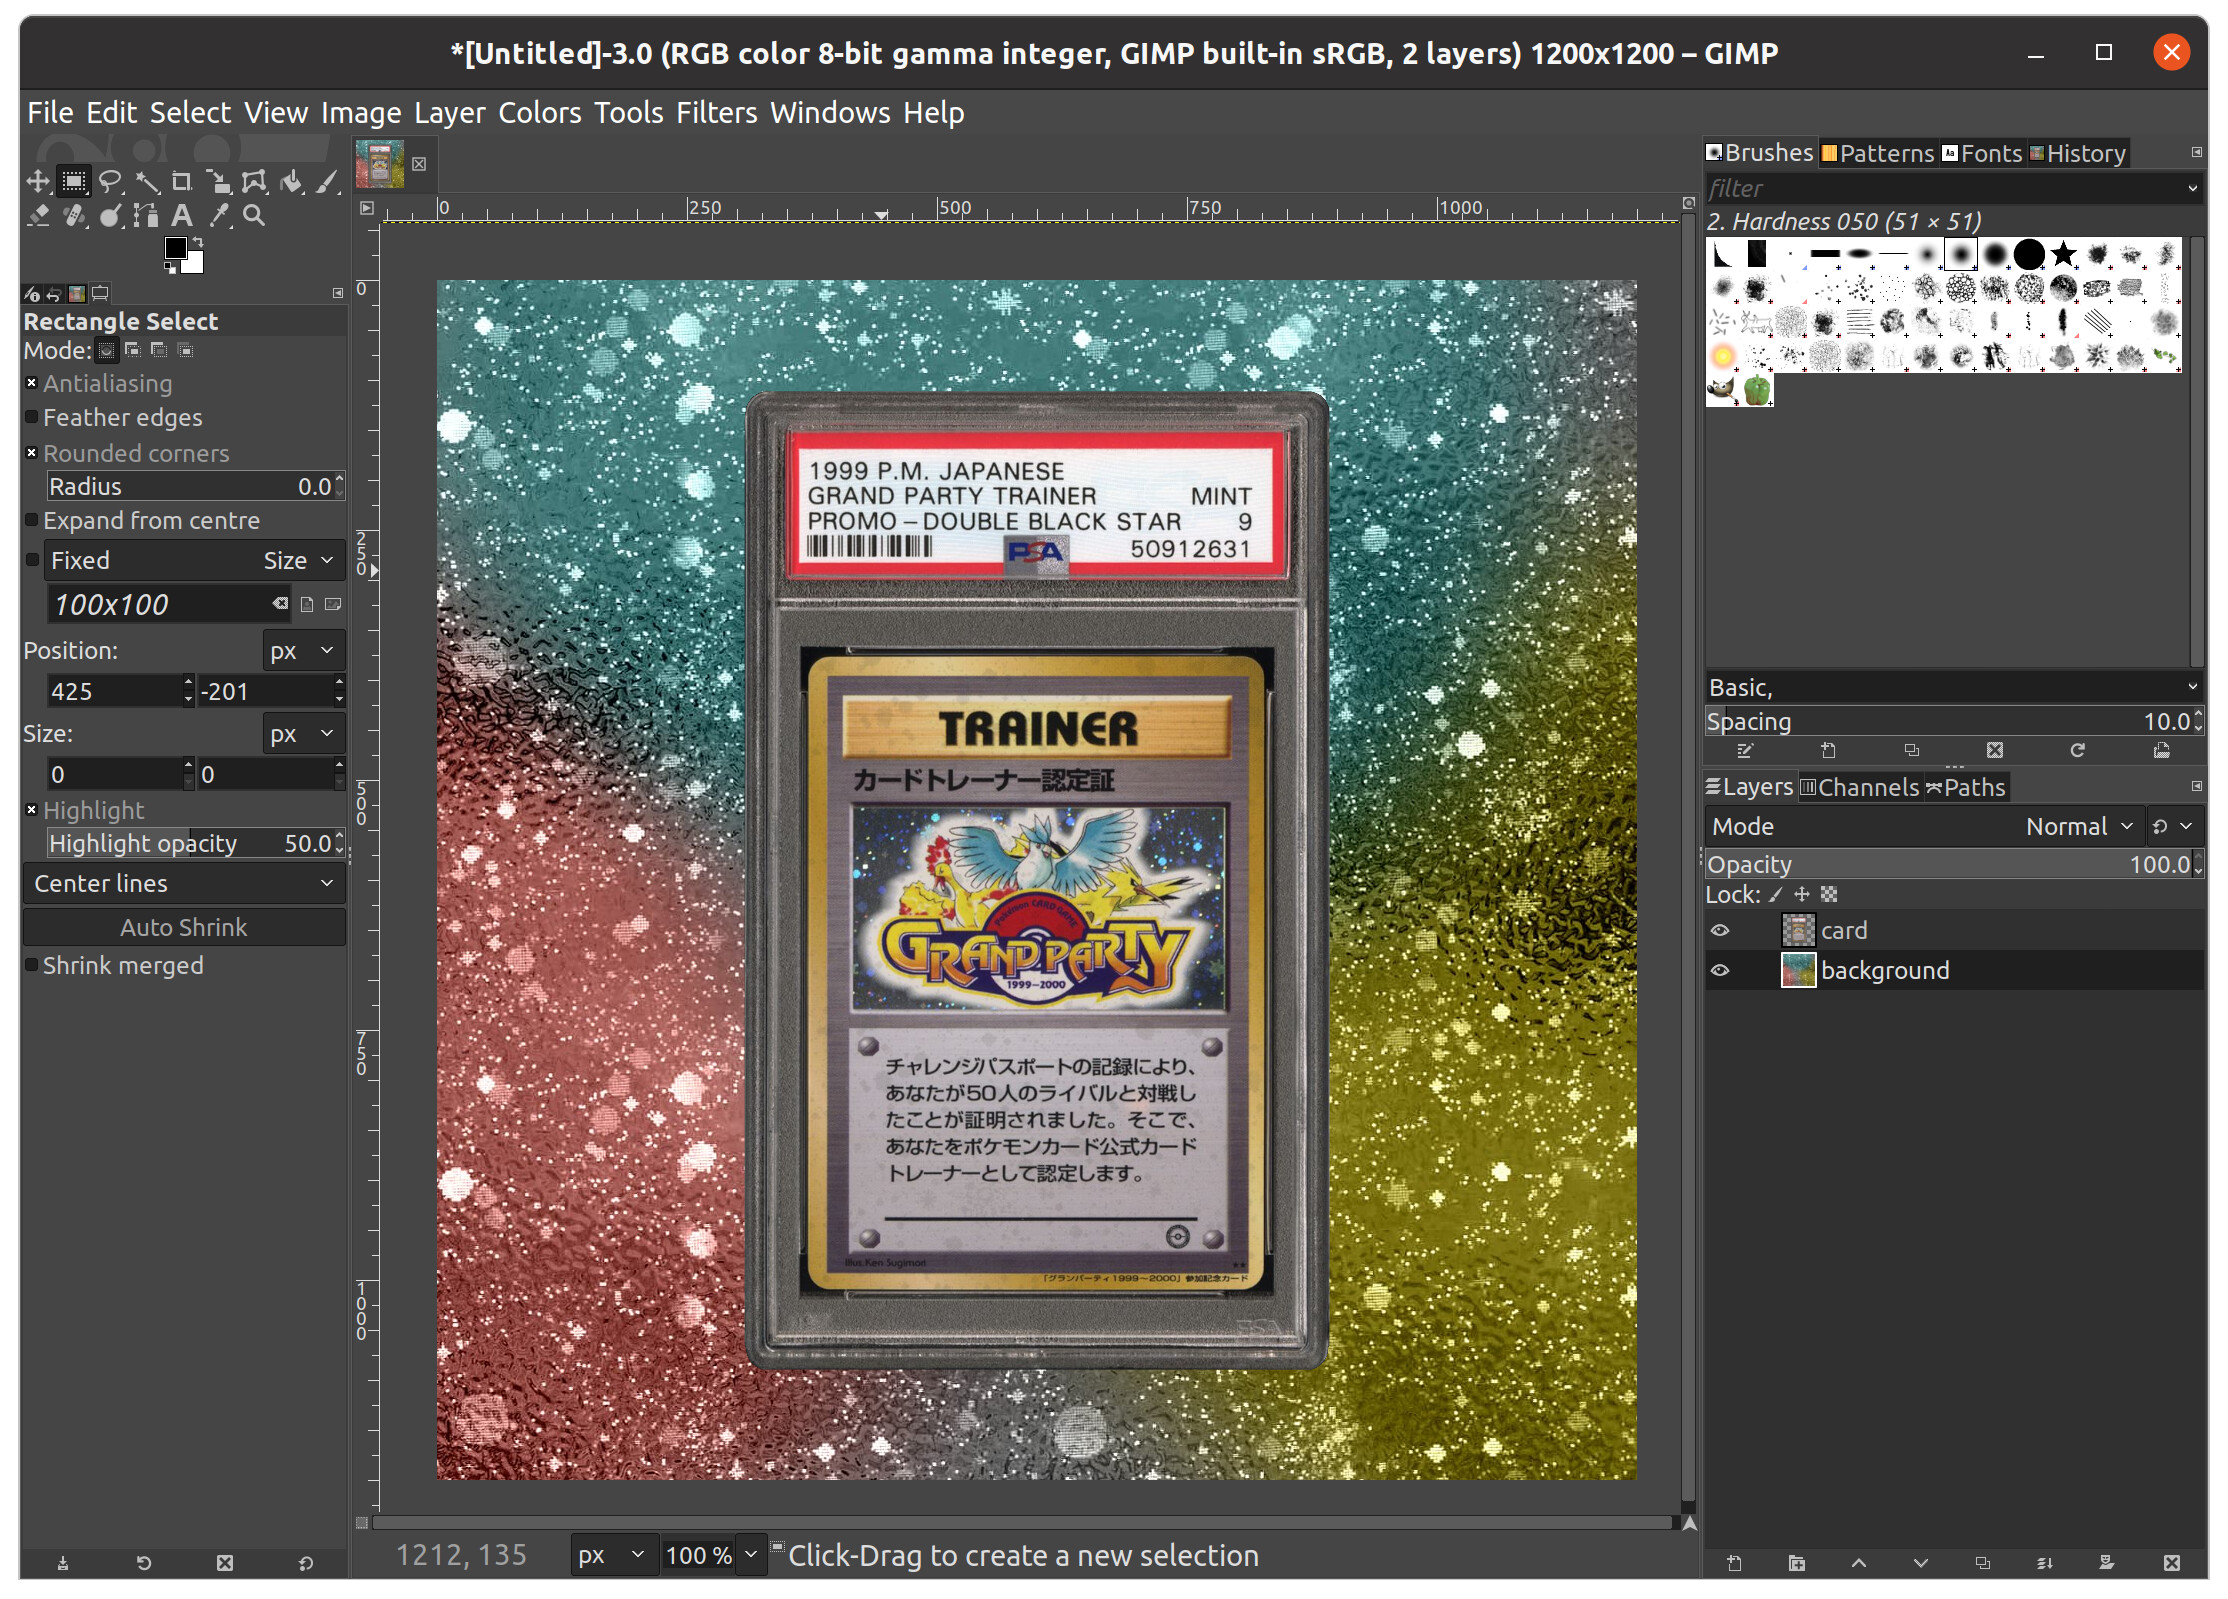
If you’ve never used GIMP there are two things you should pay attention to right now. First, these are the various tools you can use to manipulate images shown in the left image below. Right-clicking some of them reveals more tools with similar behaviours. Next, the layers are shown on the right. For this tutorial, layers are extremely important.

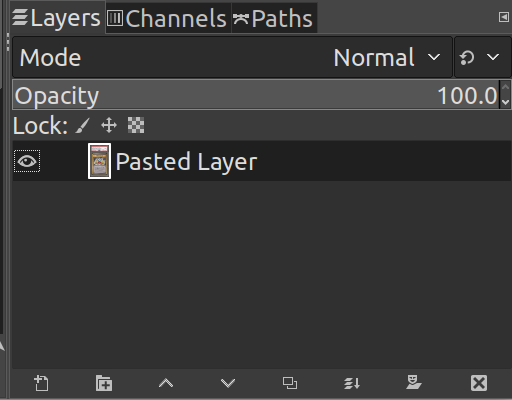
The image we added lies on it’s own layer. We can double-click the name to change it. This is optional but it helps keep track of what is on each layer. Here I will rename it from “Pasted Layer” to “card”
Step 2. Find a background.
You can either get it from Google or make it yourself. But that might require an entire other tutorial ![]()
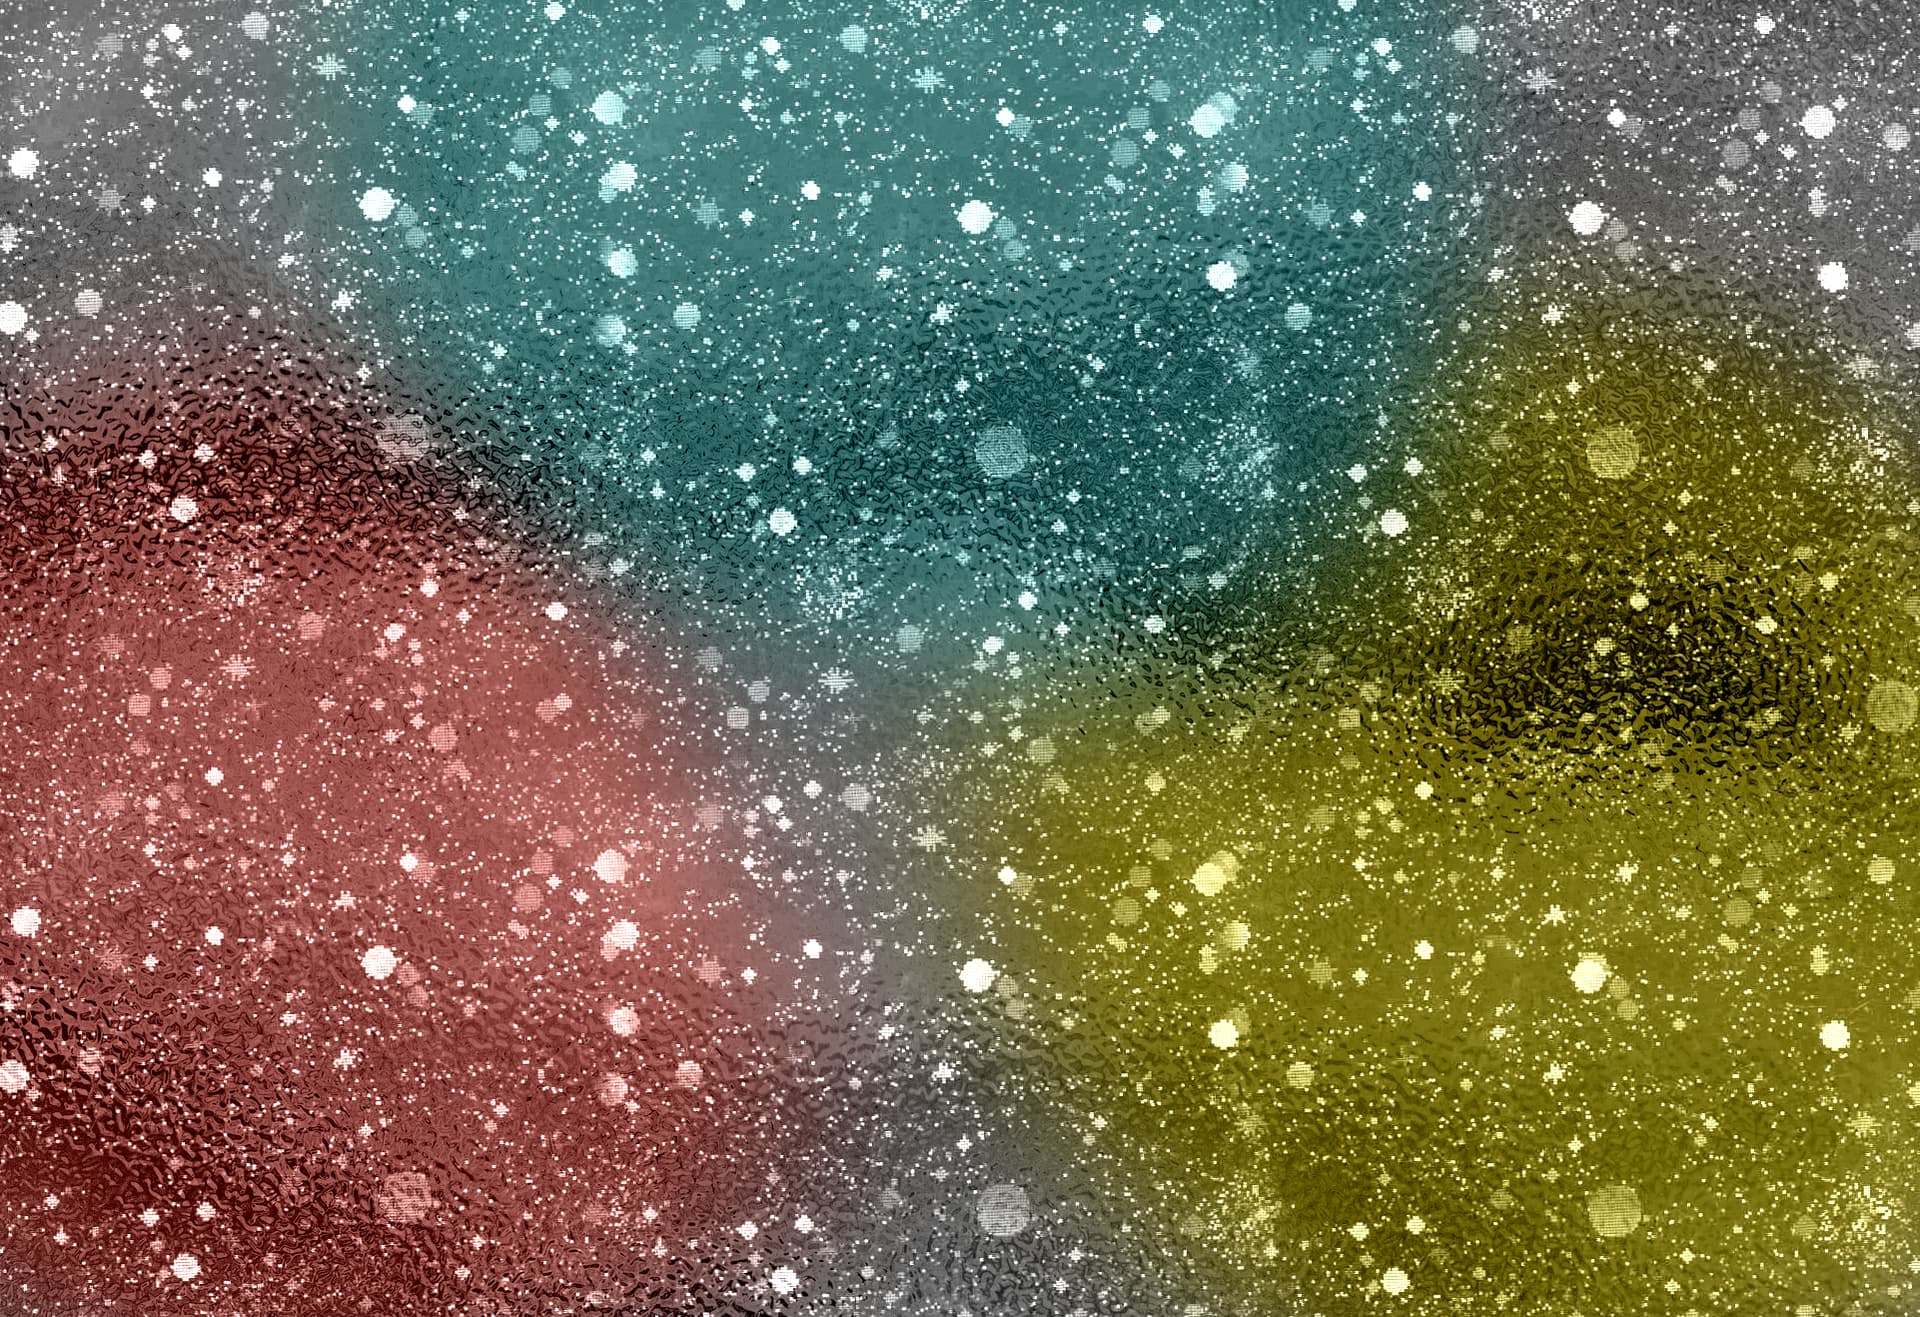
Copy & paste it into GIMP. It will appear on a different layer.

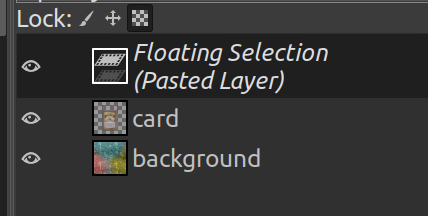
There are a couple problems though. It’s been added as a “Floating Selection” which is technically not a true layer. The second problem is that it’s a background but it’s appearing on top of our card.

What we want to do is click the icon on the left here, the “page with plus sign” which will place the Floating Selection on it’s own layer. The other options that would be commonly used is the “anchor” that would place the Floating Layer right on top of the layer below it. The “x” will delete that layer if you pasted it by accident. But for now, we want to put the background on it’s own layer.

Next, you can either use the “up” and “down” arrow buttons OR just drag the background layer below the card layer. You can optionally name the background layer too which I will call “background”.
Another problem though! Where is the background?? It’s being covered fully by the card! This is because the image size is too small. Layers that extend beyond the image dimensions will be cropped when the final image is produced. To fix this, we need to change the image size
Image > Fit Canvas to Layers
This is an easy way to make the image as big as needed to fit all the layers. If you want to fine-tune it more, you can try
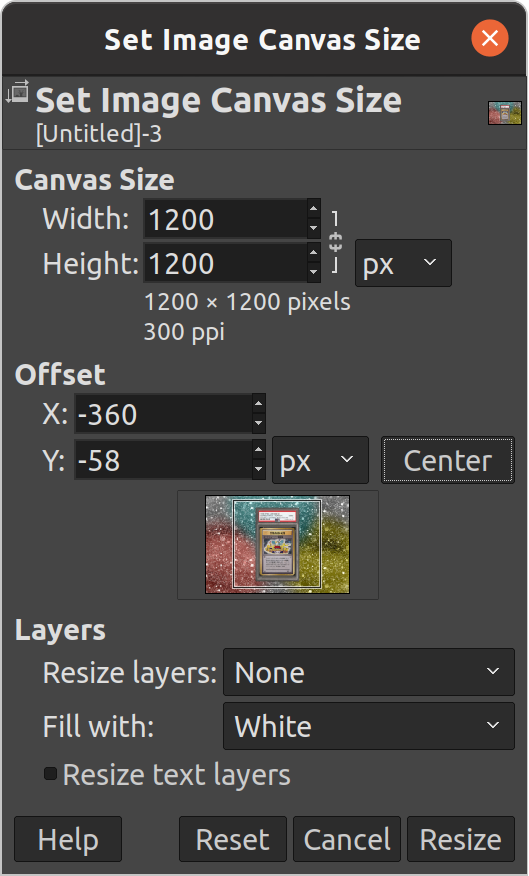
Image > Canvas Size...
You can then make it as big as you want. If it’s for Instagram, a square is ideal. I will do 1200x1200px
For more info click here.
GIMP will try to maintain the ratio of width to height by default so click the “chain” button next to the dimensions if you don’t want the ratio to stay constant. Use the “Center” button to center all the layers within the new dimensions.
We could be done right here if you wanted to be! or we can do better ![]()
Keep going if you want to go from amateur to professional ![]()
Step 3. Trimming the corners.
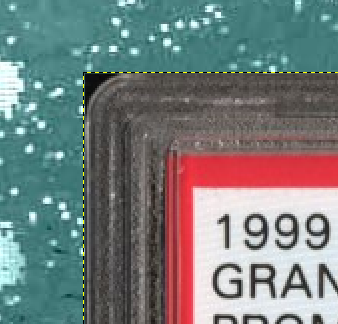
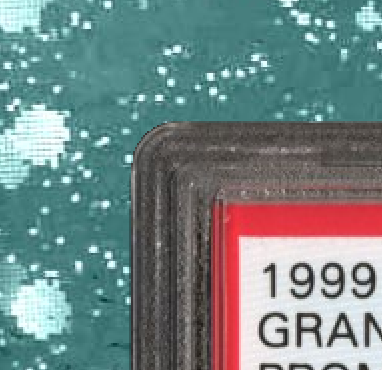
So the image looks good but when we zoom in there is some stuff we can make better. Depending on the card image you have, you might have some little corners sticking out, as seen below in black.

First you have to make sure that you are working on the card layer. Meaning you have to click on the card layer so it is highlighted in the Layers panel. To confirm, the active layer will have a yellow dotted line around it.
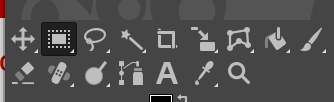
Next, you want the “magic wand” tool as highlighted below (if you can’t see it, try right-clicking that tool slot).
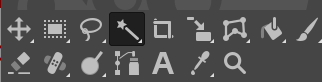
With the magic wand, click and hold on the black triangle we want to remove. While holding the mouse down, move the mouse. The wand will select nearby pixels with similar colors - moving the mouse makes this selection either more or less inclusive. When you are satisfied, release the mouse click.

Then you can either press the Delete key or “cut” (ex. CTRL+x on Windows) the selection.
Wow, that’s looking professional! Now do the same to the other corners.
Can we go even deeper?
Step 4. Making the slab transparent.
Yes we can. Ready? The main idea is that we want to separate the parts of the image that should be transparent from the parts that are not.
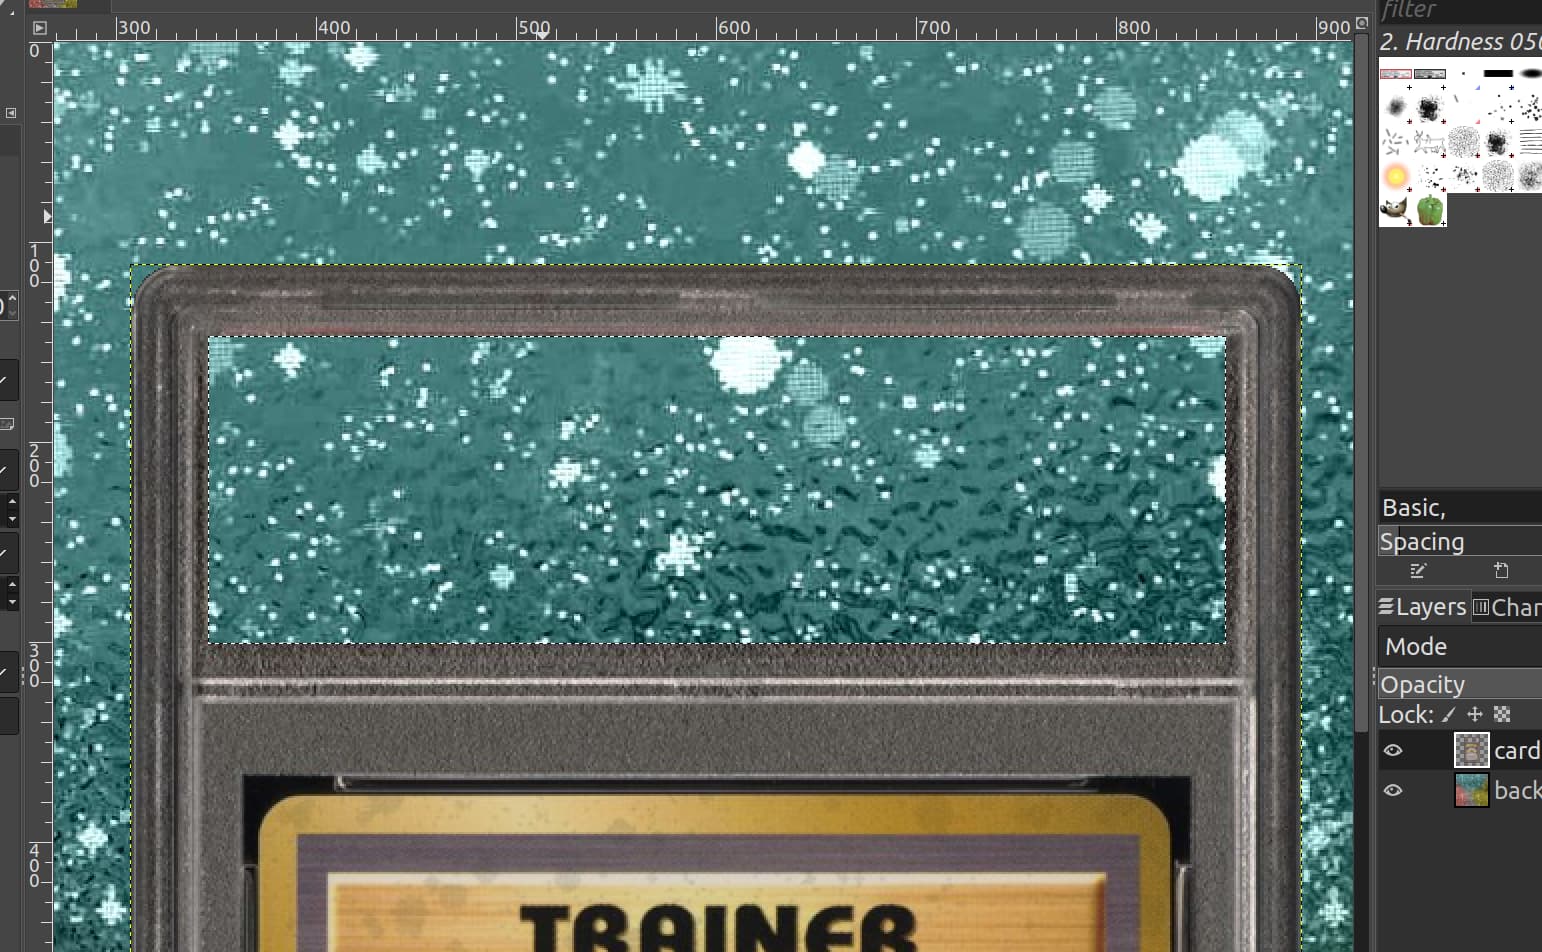
For starters, let’s do the label. Since it’s a nice rectangle, it’s easy. Use the Rectangle Selection tool below.
Make sure your active layer is the card again! Click and drag to select the entire label and “cut” it (ie. CTRL+x). Then “paste” it back (ie. CTRL+v).
And after pasting, you will have a new Floating Selection layer.
Use the “page with plus sign” button to put the label onto it’s own layer like we did with the background. Optionally, name this layer.
Now, it should look like nothing has changed but that is far from true. You will see soon. Next we will do a similar thing to the card itself. Make the card layer the active layer again first! Then use the rectangle selection to select the entire card.
Next, we will do something sneaky. Instead of a square selection, you can make it rounded by using the Radius setting! In my case, 25 is a good value, it could be different for you.
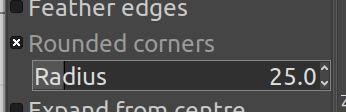

In this case, it’s better to not include a few pixels near the edge of the card rather than including too much. It’s up to you how you want to do it though, this might make sense why in a second.
Once you have the selection good, you will want to again “cut” it (ie. CTRL+x) and “paste” it back (ie. CTRL+v) and then place the Floating Selection on it’s own layer.
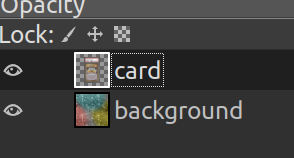
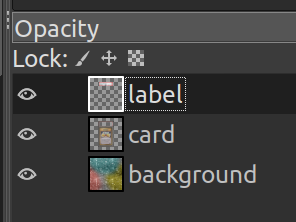
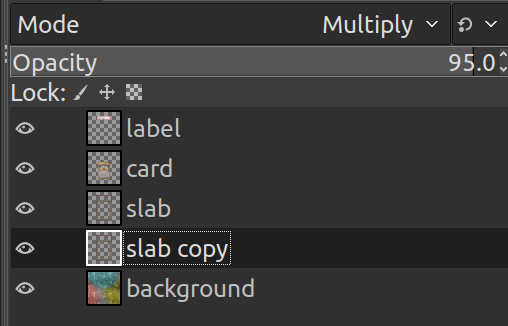
For me, the final set of layers looks like the image below. You can click on the “eyeball” to make layers visible and invisible, to confirm each layer makes sense.
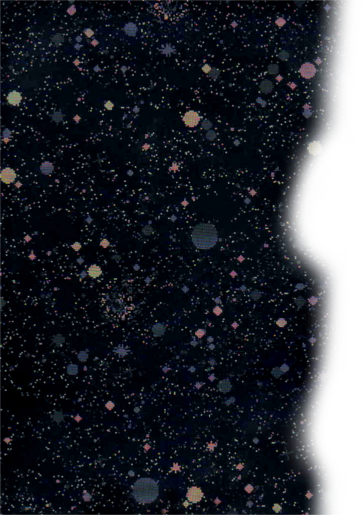
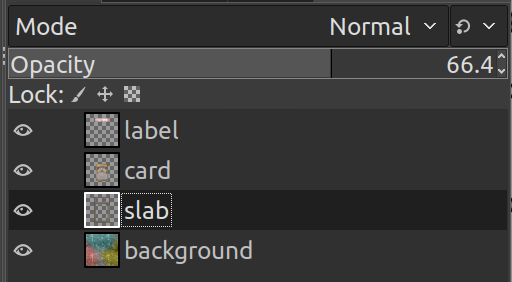
We are almost done! Now that the “slab” has been separated from the card and label, we can make that layer transparent. You can do it quick-and-dirty by reducing the Opacity of the slab layer, here I set it to 66%.
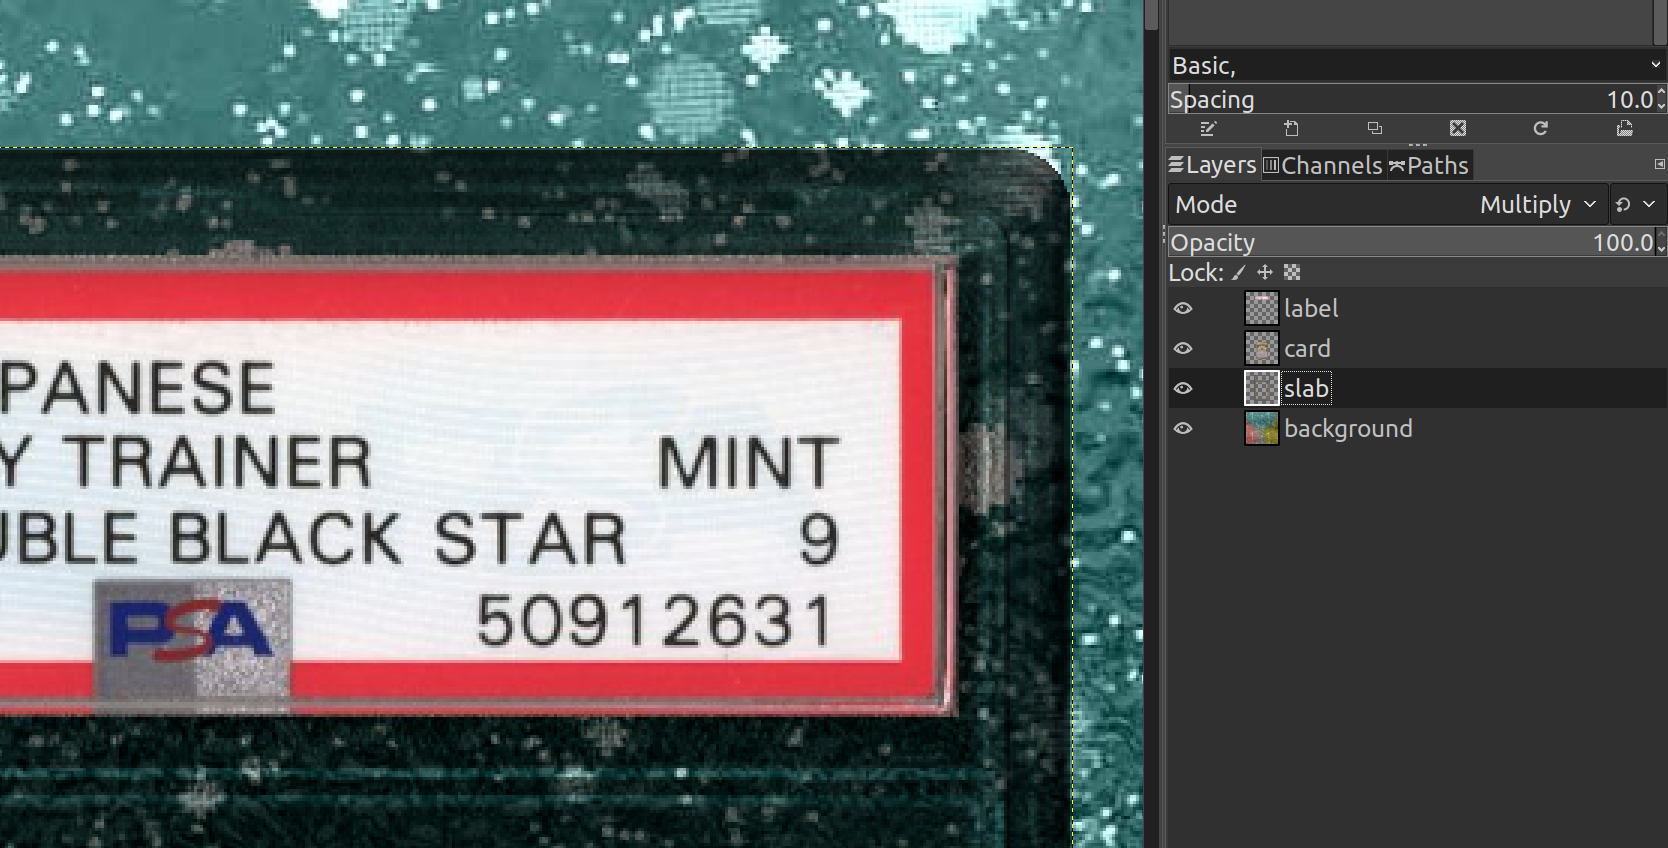
Eh. It’s kind of flat though. Was it really worth the effort? Well, we can do better. The other thing we can do is change the Mode of the “slab” layer. The Mode determines how a layer interacts with the layer below it.
For example, setting Mode to Multiply "multiplies" the value of the pixels in the "slab" layer with the pixels in the "background" layer.
The details aren’t important. Basically, it’s best to just eyeball it and pick a mode that looks look for what you’re trying to achieve. Another thing you can do is duplicate layers (right click > Duplicate Layer) and make them interact with themselves.
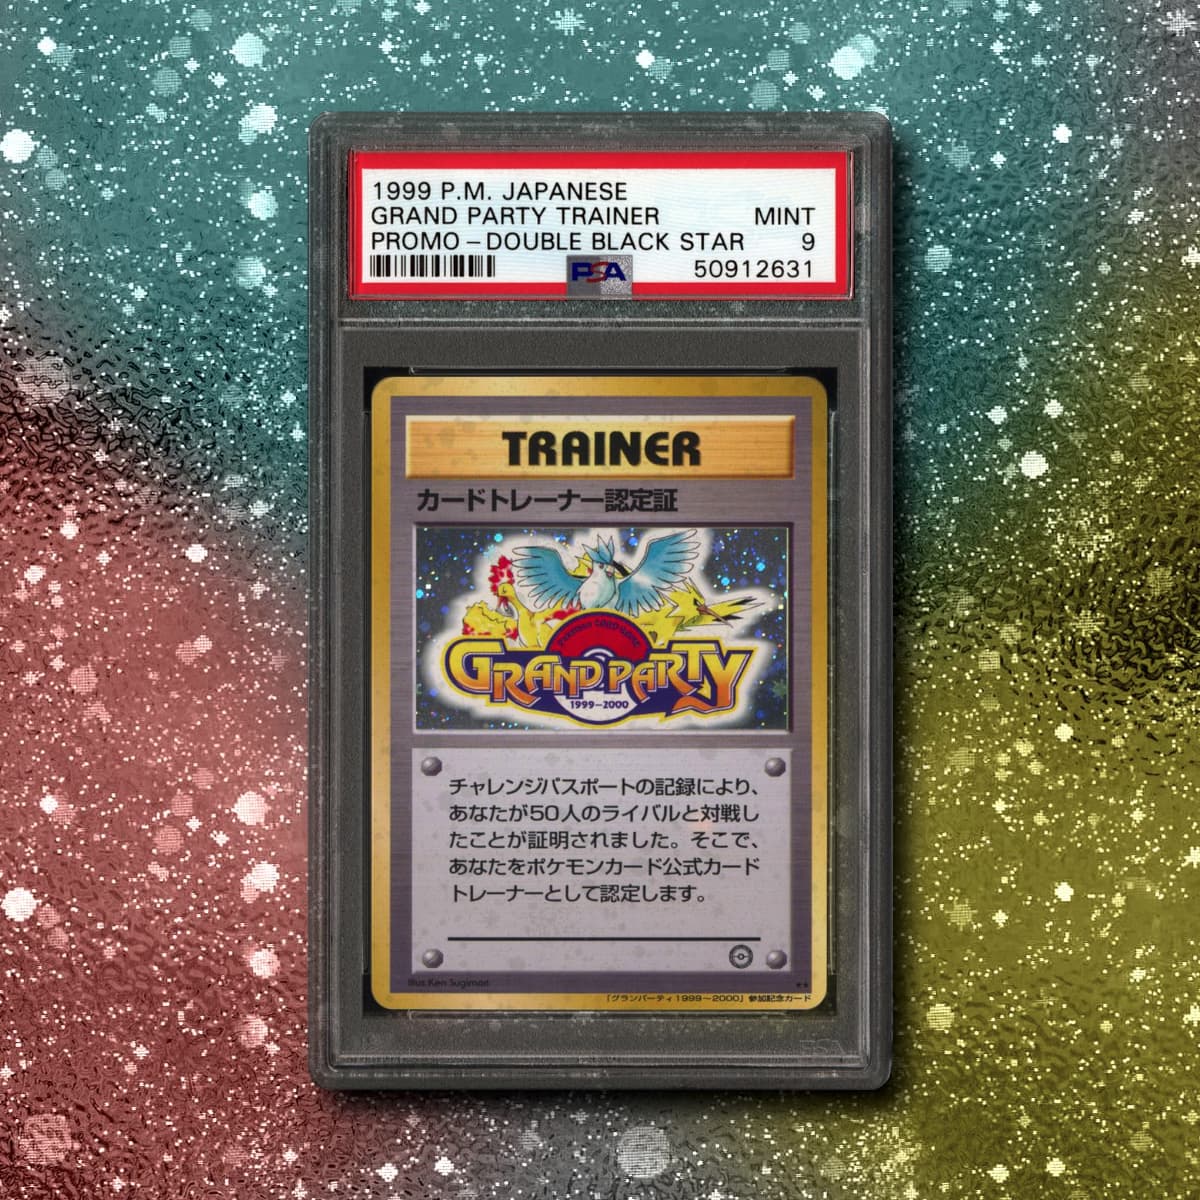
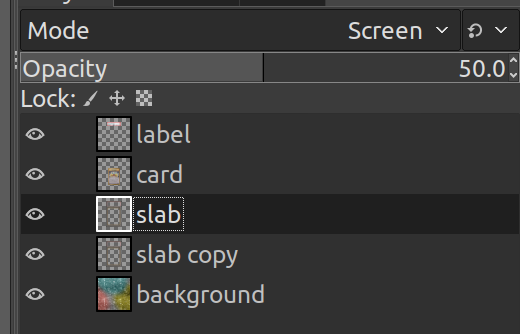
Here’s what I ended up with. I duplicated the “slab” layer. The top “slab” layer is set to Screen, 50% Opacity. The lower “slab copy” layer is set to Multiply, 95% Opacity. This produced the image show at the end of the tutorial!
Step 5. Saving.
The GIMP file format is a .xcf. It’s not really an image, it’s a file that holds all the layer information and GIMP settings so that you can come back to edit the same image later. You can save the final result as .xcf if you want, it’s optional. If you ever want to make a change to one layer later, you better hope you did!
Otherwise, you just do File > Export as... and you can save the resulting image as .png
It will show a dialog box about different settings, just hit the Export button.
And ta-da! It’s done. There it is.