A quick guide for photographing your cards for social media

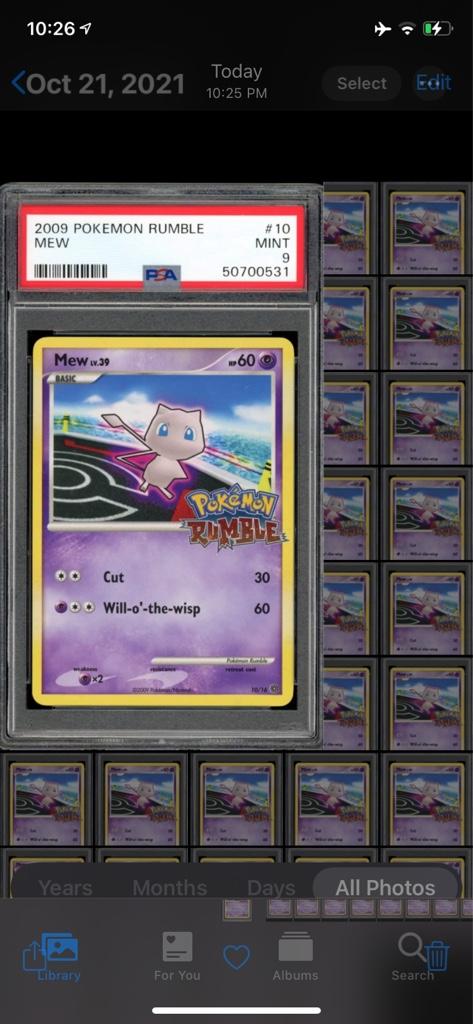
I’m always confused about when and where to take photos of my cards to show them off the best. Sometimes when I’m ready to take the photo the sun is behind clouds, or the sun is on the other side from my window and all I have to work with is ambient lighting. And when I use a room light my camera and body always cast a shadow on the card.

So this post is just showing off different lighting conditions with a few notes and whether I like it or not. I will recommend or not recommend each method for whether you should use it on your own posts or not.

I hope you enjoy and find this useful!

If there is any interest I would be keen to post other cards/rarities in these same conditions for comparison.

HQ Scan. Good for uniformity and showing condition but not very colourful. Recommended as it is a good neutral way to show off your cards. But the presentation is a bit dull with a pure white background.

Inside with ambient outside lighting from the top. Does not show very much detail. Not recommended as it shows none of the natural beauty of the card and you dont get a very good image of the artwork either.

Inside with ambient light with back facing the light. As you can imagine this has even less detail as less light is exposing it. Not recommended as the card is backlit and this does not show the card very well to the audience.

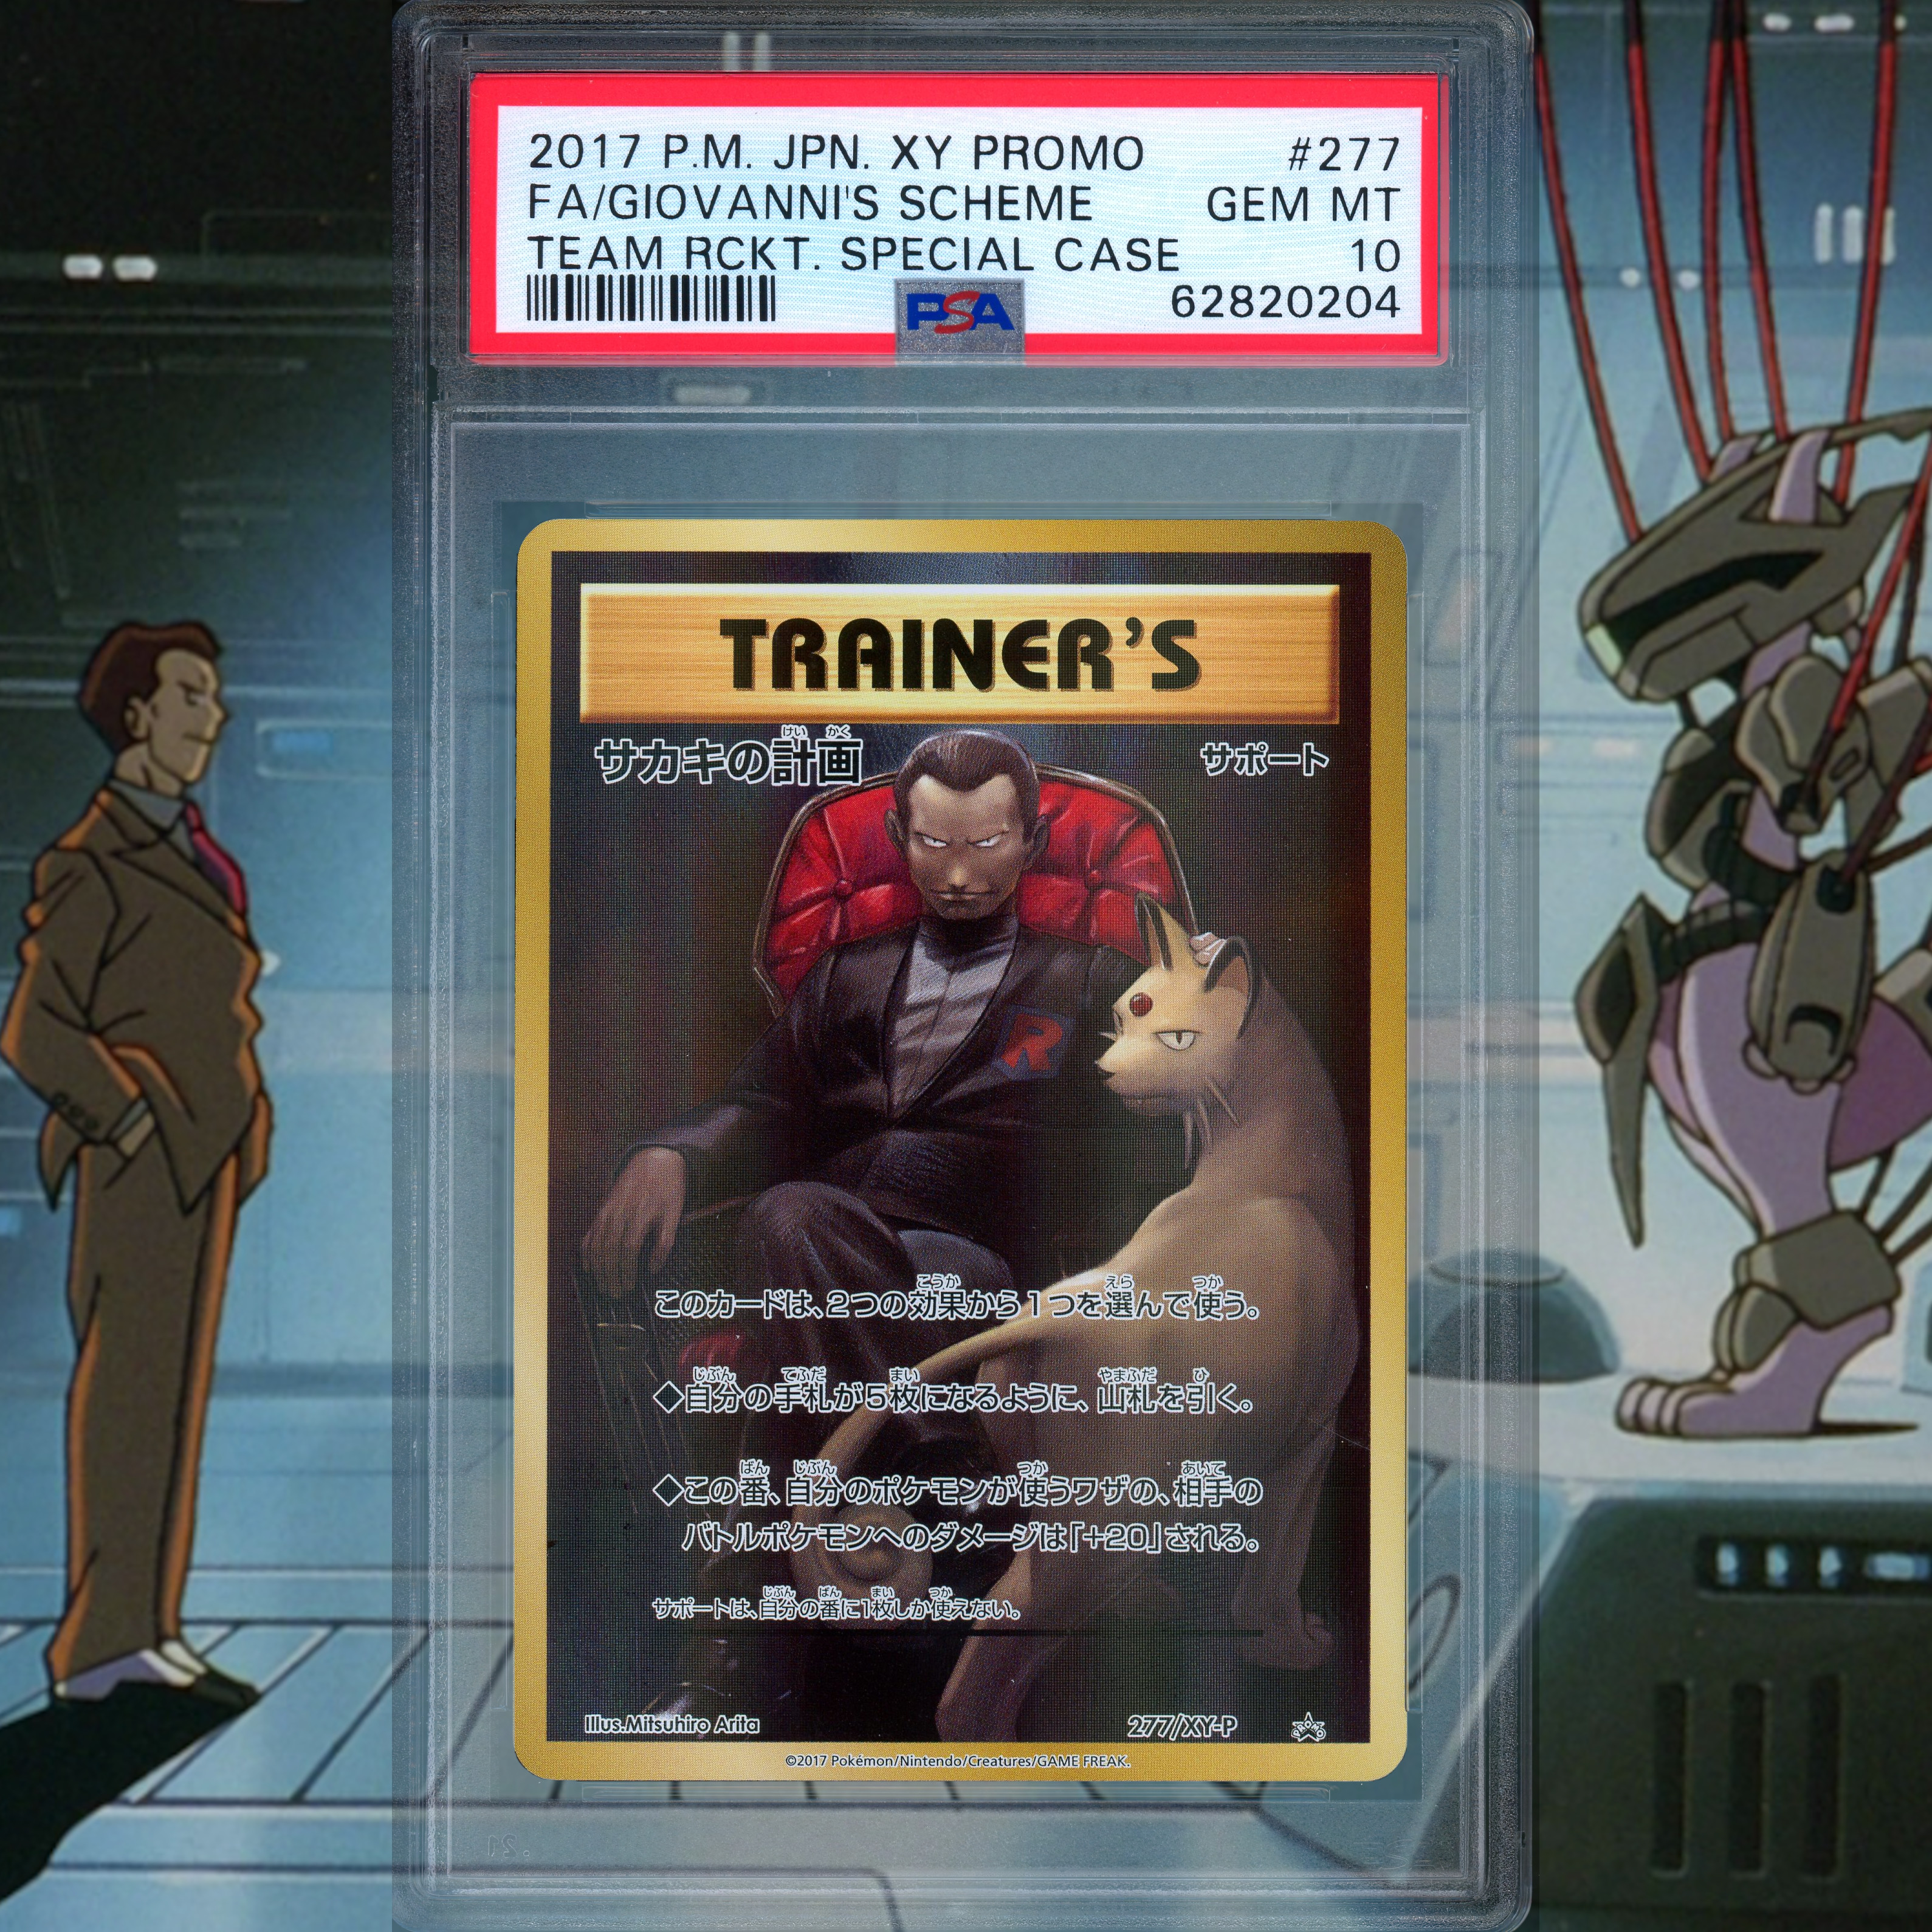
Outside in full sunlight. This shows well the texturing and colours of the holo pattern but the artwork becomes obscure. Recommended as it is the best way to show the holo pattern, however, try to take a photo with the artwork still visible.

Outside in sunlight angled down. Excellent for showing the artwork and shows a bit of texturing and colour. Recommended as it shows the artwork and artwork is not neutralised by excess light.

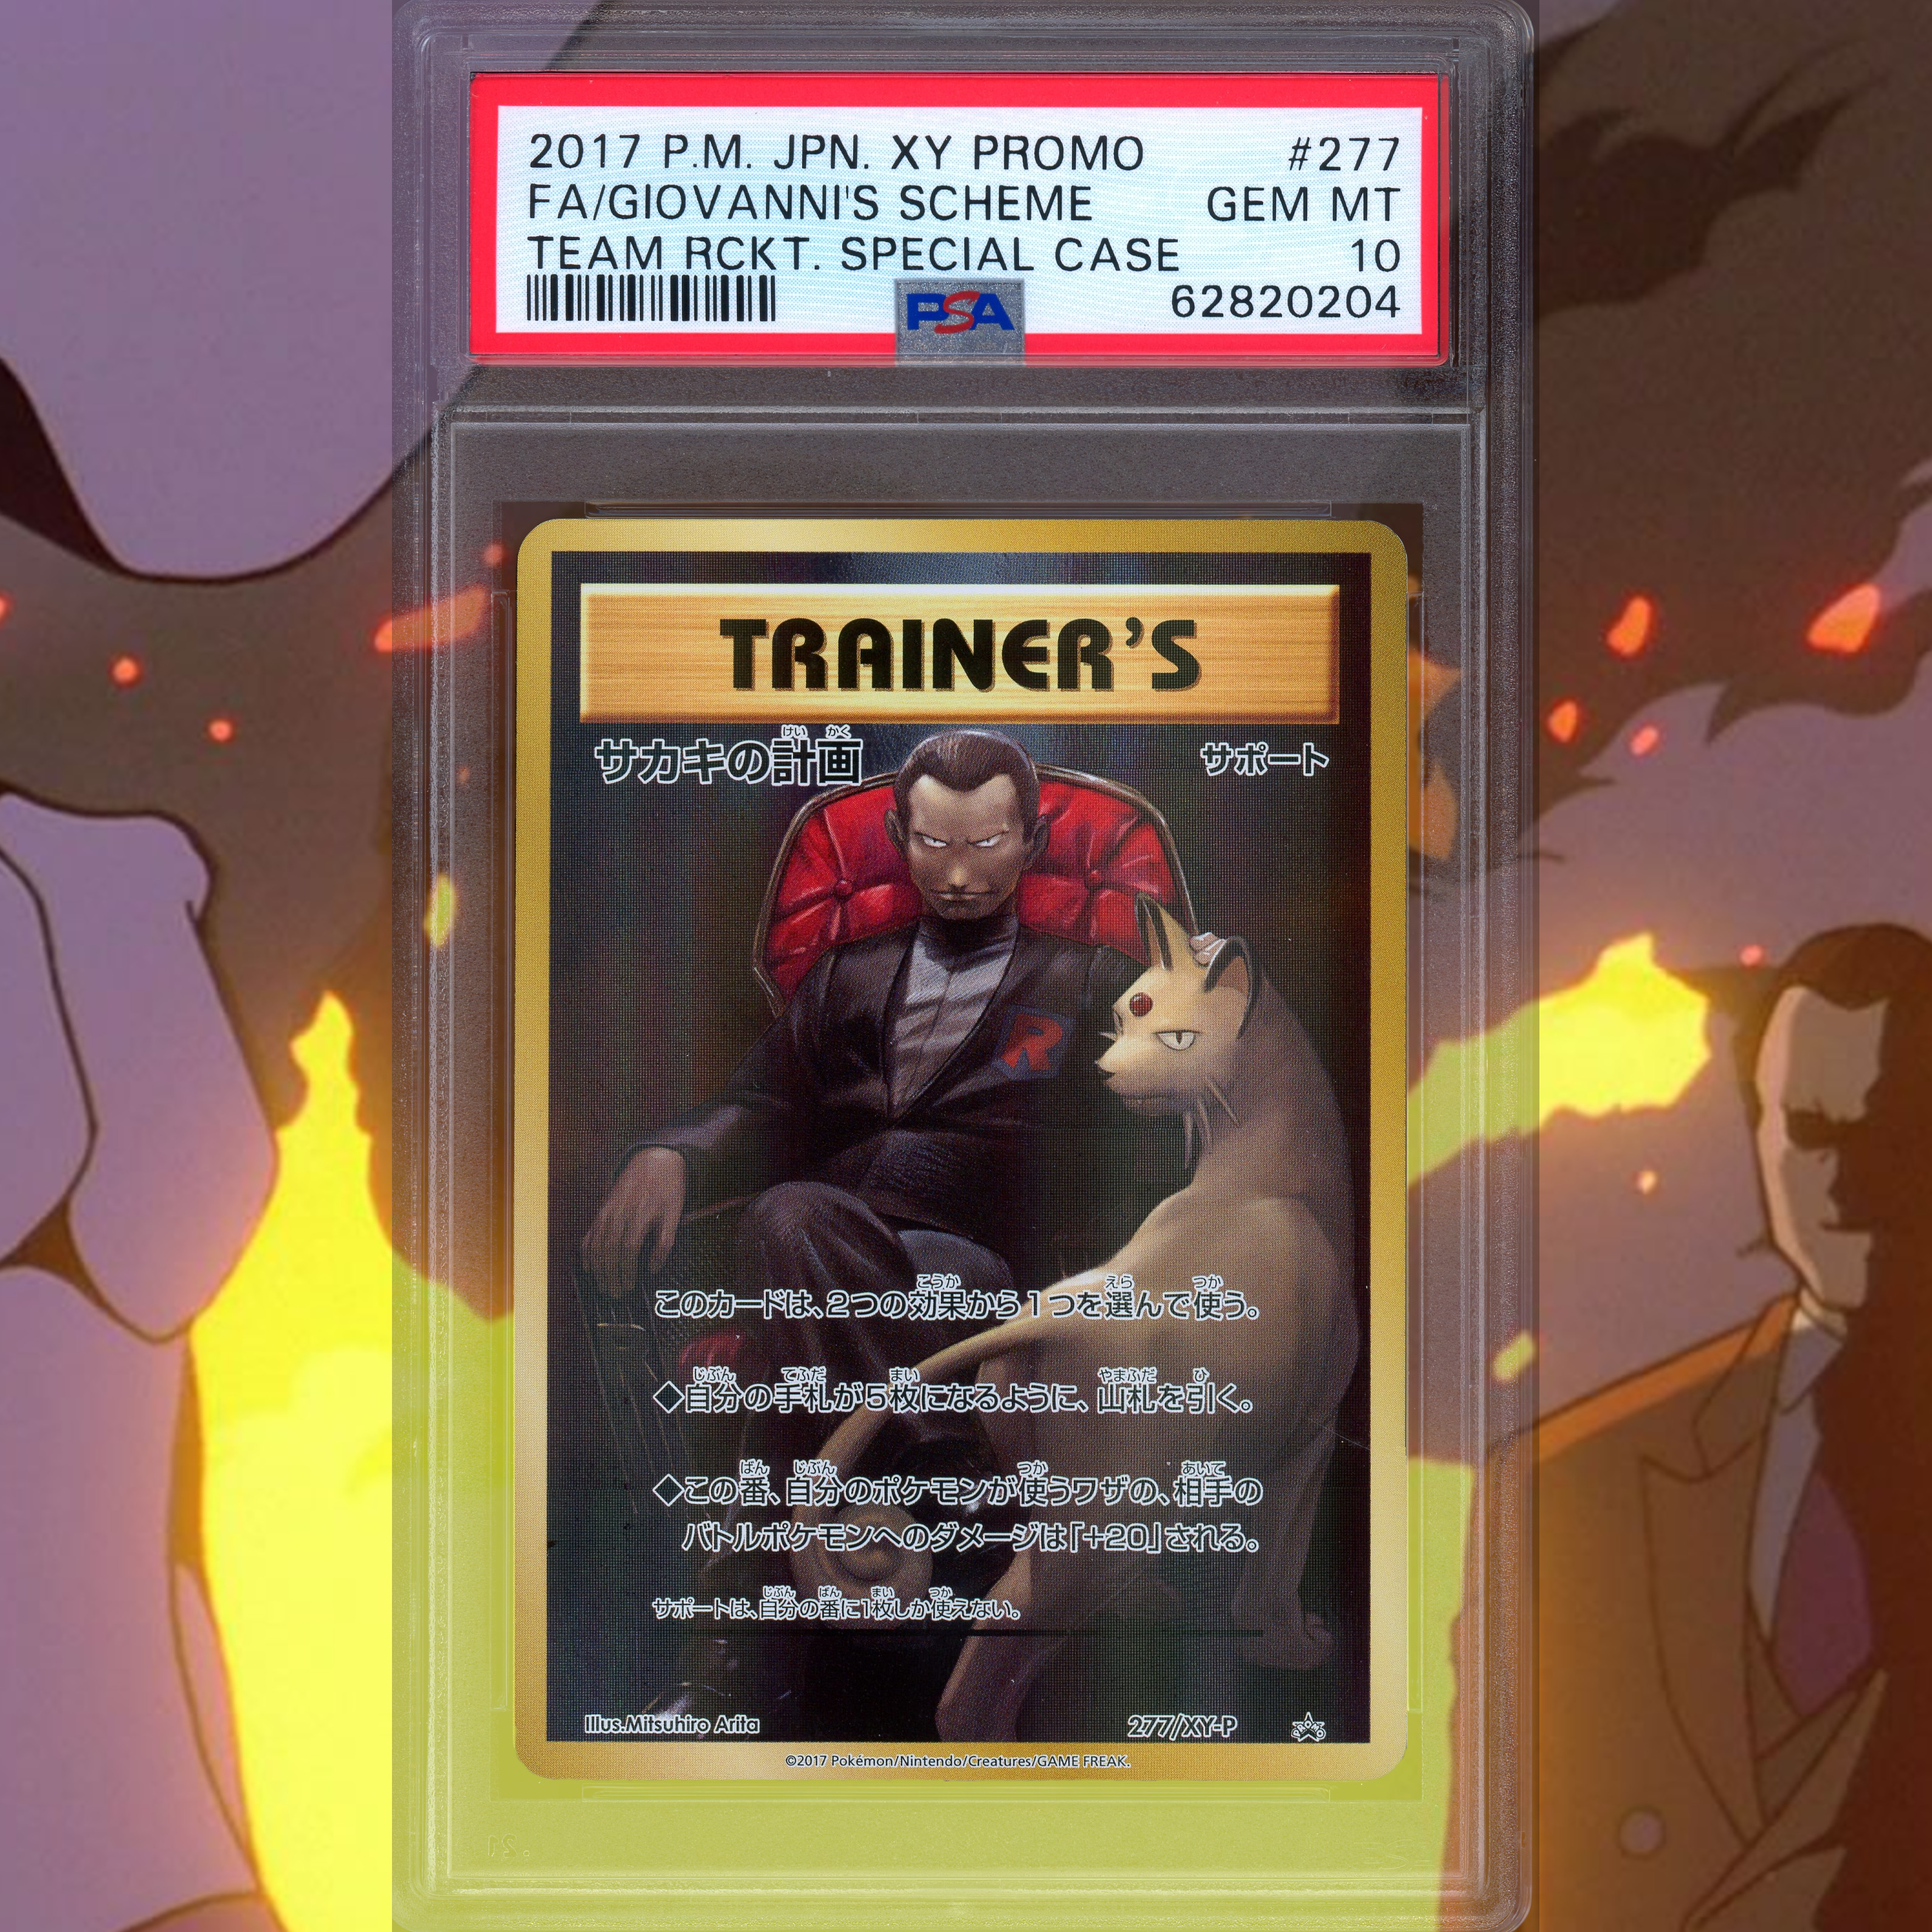
Outside back to sun. Similar to the ambient light with back facing light, this does not show much detail. There is more light exposing it than inside so a small amount of texture is seen and the artwork is still visible. Recommended as it does the job of showing the cards artwork.

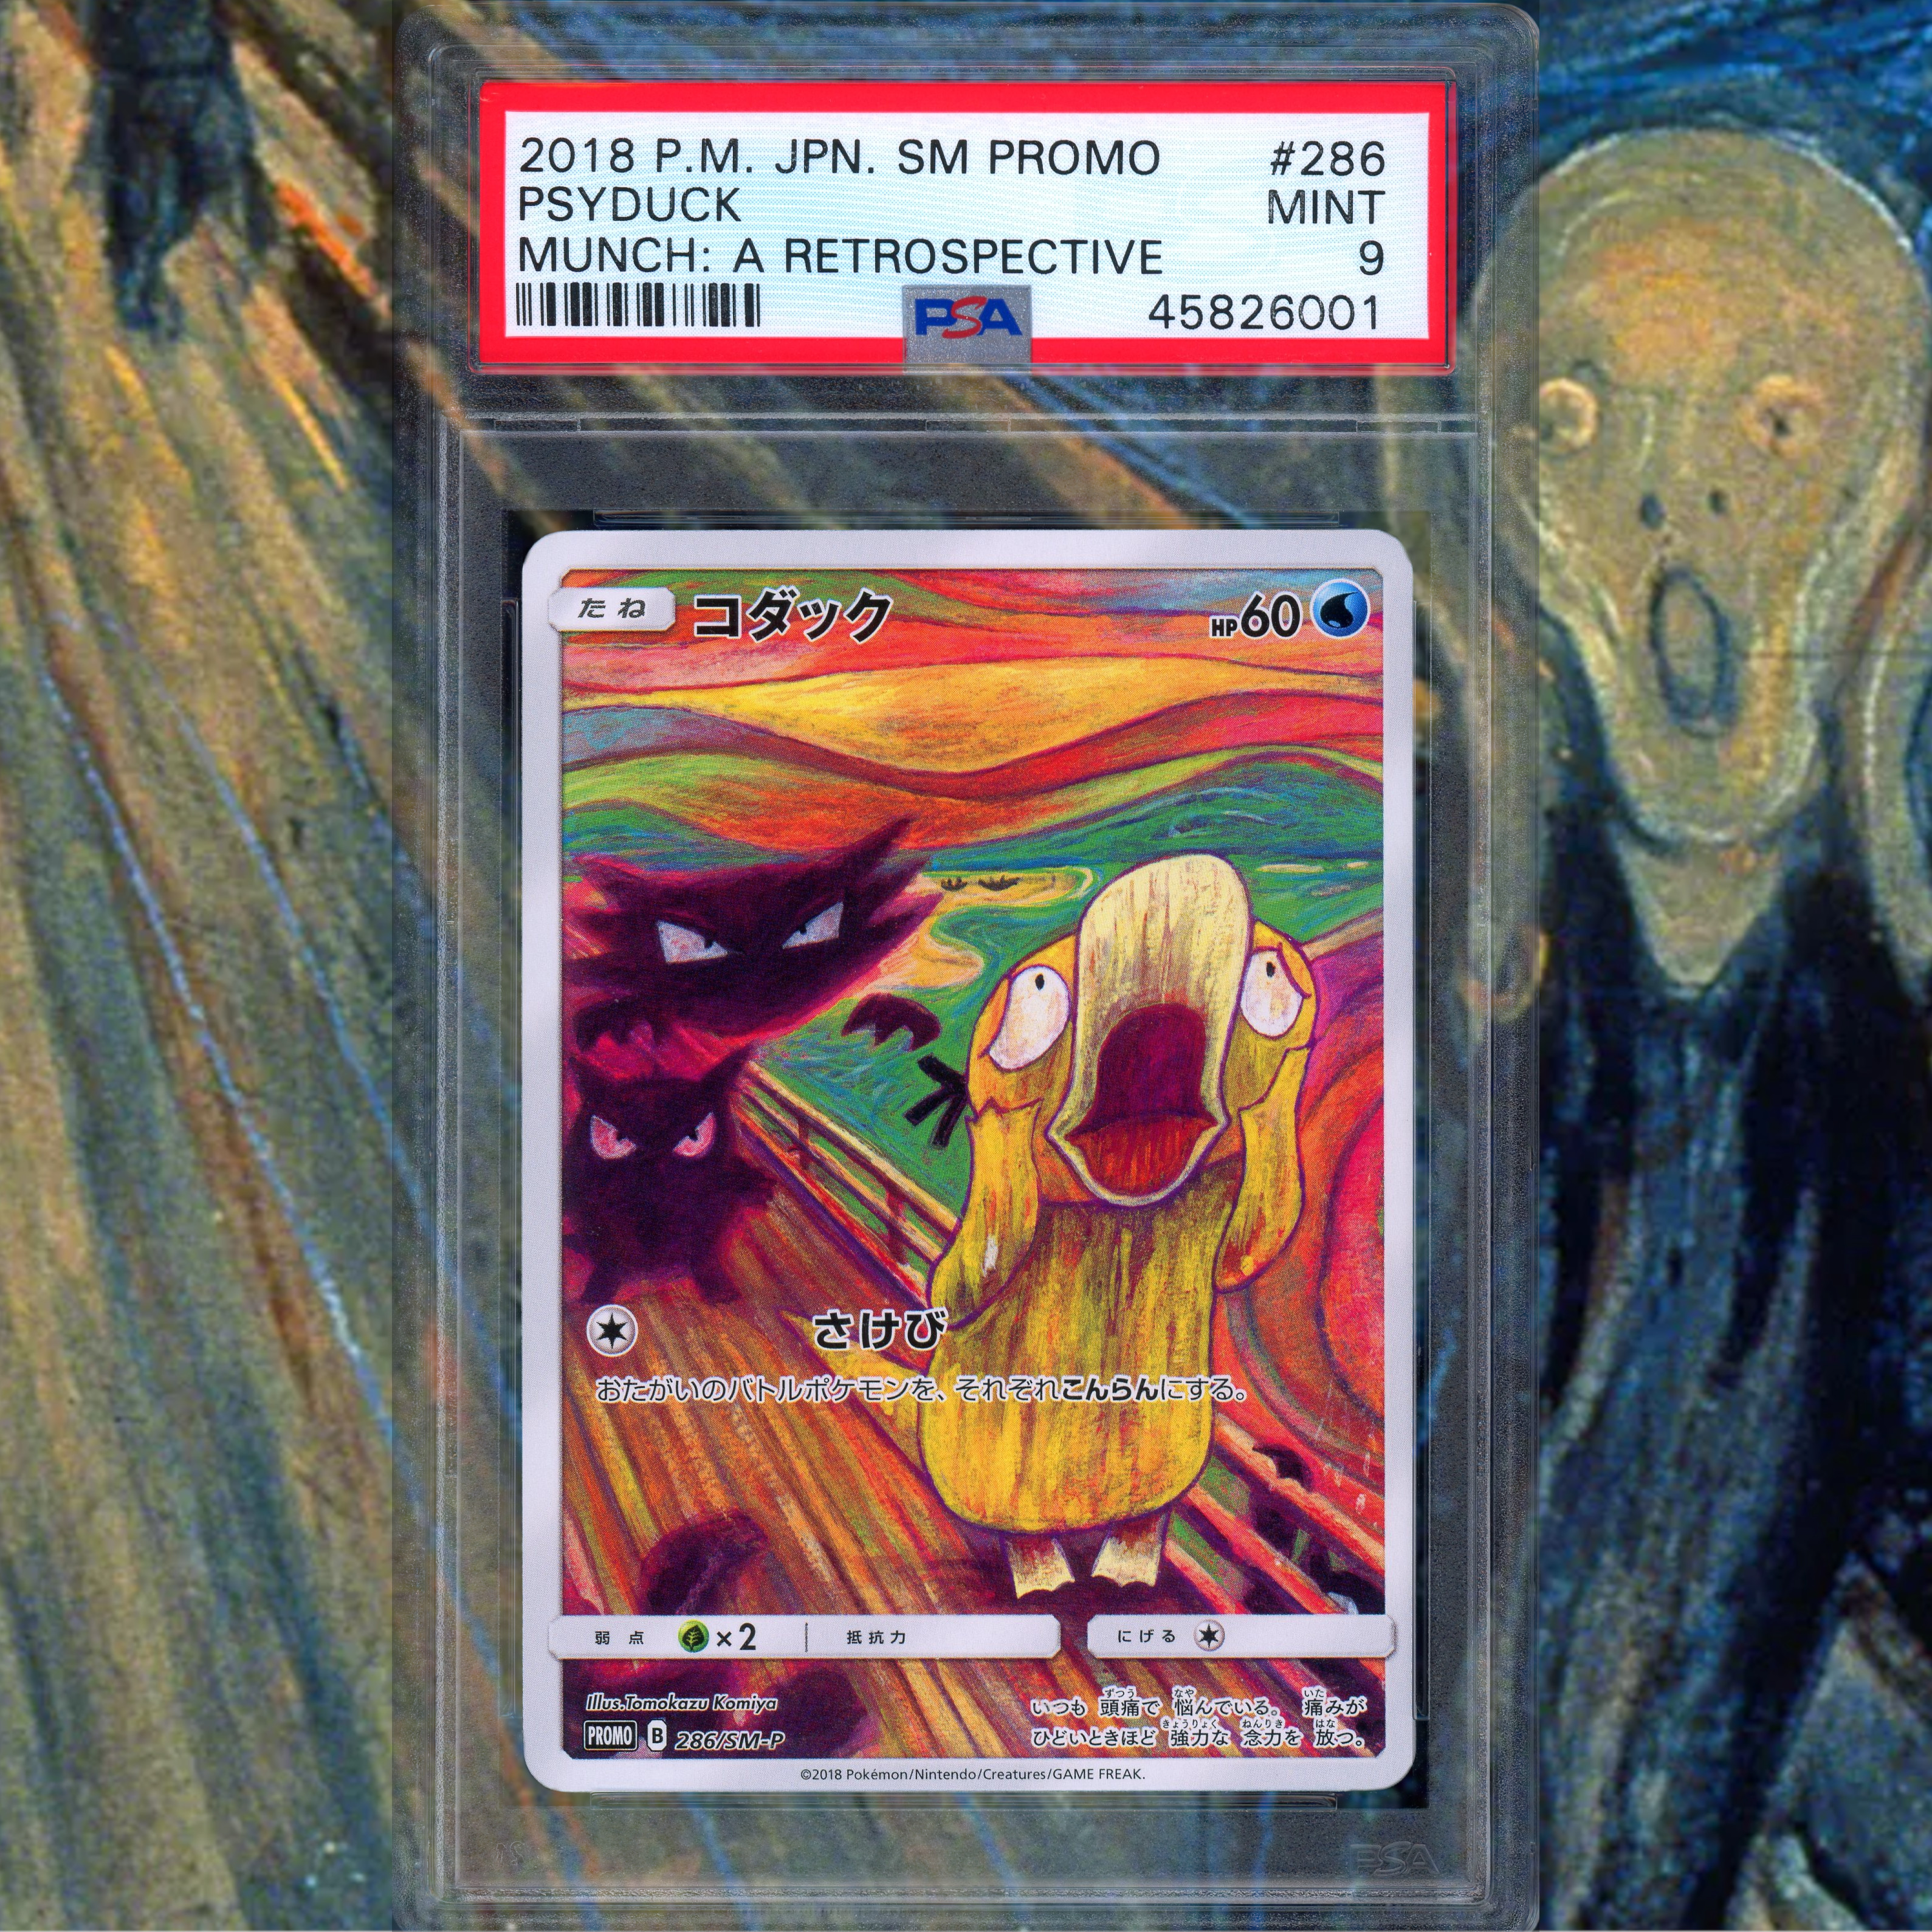
Outside Overcast. Very neutral. No exaggerated holo pattern or texture and artwork not obscured. This is slightly nicer than the scanned image as it has some variance in lighting, which can be more pleasant than being uniformly lit. Recommended for a nice clean neutral photo.

Flash on (lights on or off). These next ones are a bit excessive but I found the results interesting. The flash shows the texturing and a bit of glitter/holo pattern well but parts of the card are darkened. First photo was angled and so has a large white spot in the corner, which completely obscures that part of the artwork. Second photo is directly above and so the spot is neutralised and the light floods a larger area of the holo pattern. Recommended only for showing your cards in an excessive fancy way when you are not focused on showing too much artwork and want the holo pattern to show.

Most recommended:
Outside Full Sun or Outisde Overcast are both fine. Always outside as it produces the best neutral lighting without any bias in colour like most inside lights have. Outside also is easier to avoid your shadow being cast on the card. The biggest problem you will face is having a uniform background such as a white background as you will need to find a place to rest the card that is also lit by sunlight. If you have studio lights then this would be the best practice, however this post is for when you do not have photography equipment.

Thanks for making it to the end

23 Likes

Interesting post, thanks for sharing :blush: I’ll try this soon!

I take a scan of my slab, send it to my phone, then i take a ton of screenshots of the slab on my phone, i click on the first picture of it, half zoom out so its taking up part of the screen but squared into the corner, then take another screen shot. It ends up giving the slab a background and some depth. I crop the image for whatever platform im posting on, but this is what it looks like uncropped.

4 Likes

DM promte it on “thecardworld69baller”

9 Likes

Thank you for sharing!

I dont have a scanner myself, but what I find works for me is to stand beside my window (it’s relatively big) in the middle of the day, and take the picture looking on a down-diagonal angle of the card. sometimes, standing effectively parallel to the window, I can tilt the card toward or away from the window to light up the foil. i don’t typically experience glare in this way. in this case, I usually catch some background and my hand in the photo, but I find the natural light makes the card look AMAZING. just wanted to add my two-cents, as this is what works for me! thanks for sharing!

Thanks, I suck at taking photos

2 Likes

Great guide, thank you!

Nice guide to different lightings. I disagree with you when you say scans are dull – they don’t have to be. Recently I’ve been doing something that I believe I first saw done by either Barracuda or PFM on Discord. Once you take your scan (making sure color settings are adjusted; you can really get the card to pop with appropriate settings), you can put whatever background you want behind the card. It’s a little more work, but the knowledge of PS/GIMP you need is pretty basic (far from my area of expertise but I can get it to look decent in 10 minutes or so). The best part about doing it digitally is that you can choose whatever background you want; I usually try several before deciding on one to post.

The only part I agree with you on is that scans are generally fairly flat. This is a good thing for non-holo cards, but cards with crazy holo (Japanese Shinings and Crystals, Scroll, Pokekyun, etc) and texture (any full art) can really pop with an angled photo.

Here are some examples of what I’m talking about:

9 Likes

This is my first time seeing scans against backgrounds like those… that’s awesome.

On an entirely unrelated note, do you have any idea what that FA Giovanni’s Scheme goes for raw (or in a grade below PSA 9/10)? There seems to be next to no sales history on the card, and I love the art.

Thanks! Recently PSA 10s have been selling in the $5000 range. Raw in Japan at card shops seems to be around 450000 yen, but they occasionally get listed cheaper by individuals on Mercari and Yahoo. They really don’t sell raw in the west since they were all basically pristine right out of the case. Kind of a no-brainer card to grade. Pratte auctioned a pair for record high prices (they were the first graded sales in quite a while) and many more copies have come out since then, which is why the graded price is so close to the raw price (relatively, in my opinion).

Oh man, okay. Thanks for the info – I wasn’t in the hobby back when the case was released, so it’s good to learn why these are so scarce and expensive.

Thoughts on the card and how it’s valued?

Eh it’s kinda hard to say. They are pretty rare as far as modern non-trophy/prize promos go, and most people agree that it was one of the best releases in terms of theme, execution, art, etc. That being said of course the cards were maybe a few hundred dollars each the year they come out. There were briefly willing buyers in the 5 digit range earlier in the year, but mid thousands is the place it’s at now. Of course I’m biased since I own one, but I don’t think it’s a bad time to buy now if you want one. In my eyes, the high sale brought out a lot of willing sellers, but I don’t believe a card with a limited release like this can have supply last forever.

Its fun to try and match backgrounds with the cards! I think I was the first person to do it back in 2017, I think I used to over do the opacity though on the case. Looks especially cool with just the card art as the background too

3 Likes

Can I apply this to my d pics?

I guess the hunt begins… I love the art, my wallet doesn’t.

1 Like

d-ception

How could I forget I probably saw it first with you @_@

I like to use a cheap professional Camera (Canon 600D) and simple lighting/flash + proper angle to highlight features if it’s a Holo.

Now do one for binders :wink: